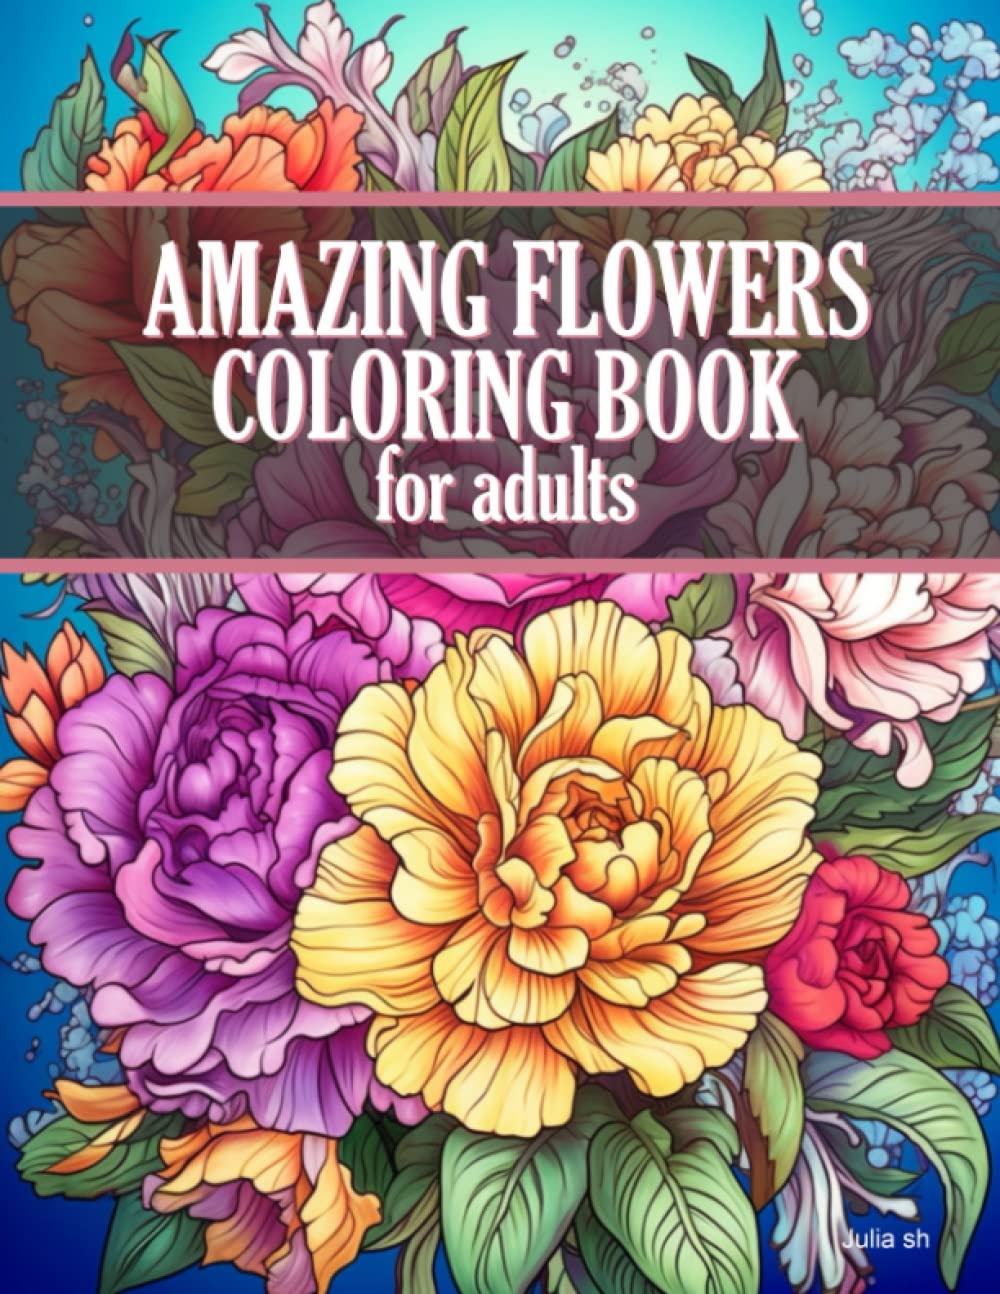
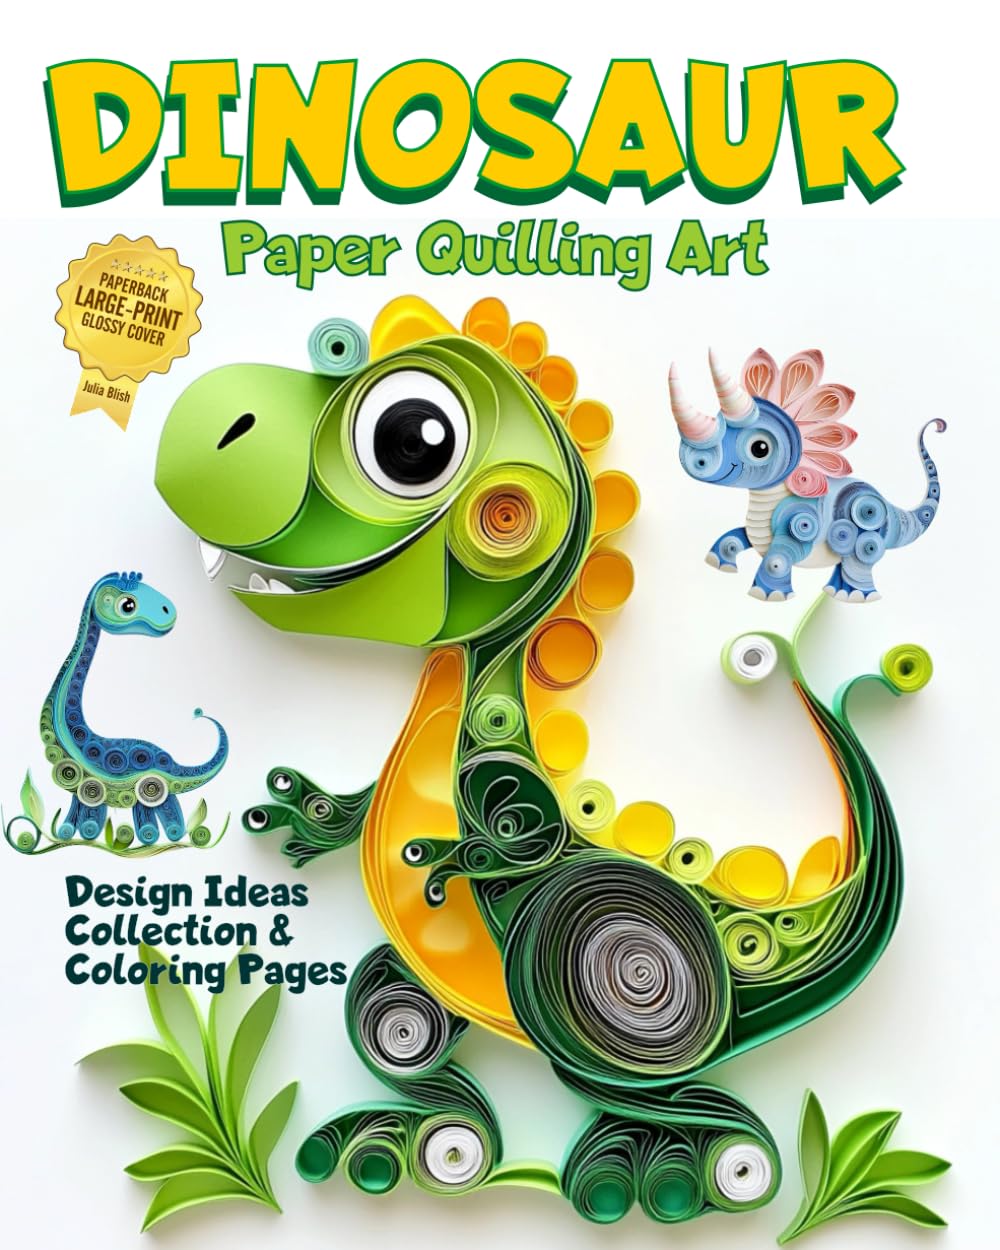
If you love the fine, curling lines of paper quilling and the dreamy translucency of watercolor painting, you don't have to choose between them. These two crafts were practically made to be paired. Watercolor brings soft backgrounds, atmospheric skies, and blended color fields, while quilling adds texture, dimension, and sculptural detail on top. Together they create mixed-media pieces that feel both painterly and tactile.
Many crafters keep these hobbies in separate boxes, but once you start layering them, you'll wonder why you waited so long. Here's how to get started combining paper quilling and watercolor painting in your own projects.
Why These Two Crafts Work So Well Together
Watercolor painting is wonderful at creating soft, atmospheric backgrounds — think sunsets, ocean waves, or blurred floral fields. But watercolor alone can sometimes lack texture. Quilling, on the other hand, is all about texture and dimension, but it can feel flat without a rich background to set it against. When you combine the two, the watercolor becomes the stage and the quilled paper becomes the star, standing up in gentle relief against a softly colored scene.
Getting Started: Materials You'll Need
- Watercolor paper (140lb cold press holds up well to both wet paint and glue)
- A basic watercolor set and a couple of soft round brushes
- Quilling paper strips in coordinating colors
- A slotted quilling tool and quilling glue
- Tweezers for placing delicate coils
Choosing watercolor paper as your base is important. Because quilled pieces will be glued directly onto the surface, you want something sturdy enough to handle both washes of water and the weight of dried glue without warping too much.
Planning Your Design
Start by sketching a simple design lightly in pencil. Decide which parts of your piece will be painted and which will be quilled. A classic approach is to paint the background — sky, water, or a soft color wash — and reserve the foreground elements, like flowers, birds, or trees, for quilled paper.
Let your watercolor dry completely before adding any quilled elements. This patience pays off, ensuring your paper coils adhere cleanly without smudging the paint beneath them.
Layering Techniques to Try
- Wash and Quill: Paint a loose watercolor wash for the sky or background, then add quilled flowers, trees, or animals on top once dry.
- Silhouette Quilling: Paint a bold watercolor silhouette (like a mountain range or tree line) and add fine quilled details, such as birds or leaves, for texture.
- Frame and Fill: Use watercolor to create a soft, painted border or vignette, then fill the center with a fully quilled design for contrast.
Experimenting with these techniques will help you discover your own favorite way to combine the two mediums. Some artists prefer subtle, minimal quilling accents on a mostly painted piece, while others love bold, dense quilled focal points set against a simple wash.
Tips for Success
Keep your quilling paper colors in the same palette family as your watercolor paint for a cohesive look. If your watercolor background has warm autumn tones, choose quilling paper in complementary oranges, golds, and browns rather than clashing cool blues.
Also, be mindful of glue application. A thin layer of quilling glue goes a long way, and using tweezers to place your coils keeps your fingers — and your painted background — smudge-free.
Finally, don't rush the process. Both watercolor and quilling reward patience, and combining them means allowing extra drying time between each stage. The result, though, is worth every extra minute: a piece of art with depth, texture, and painterly beauty all in one.
Whether you're creating a greeting card, a framed piece of wall art, or a scrapbook page, blending paper quilling and watercolor painting opens up a whole new world of creative possibility. Give it a try, and watch your projects come to life in ways you never expected.