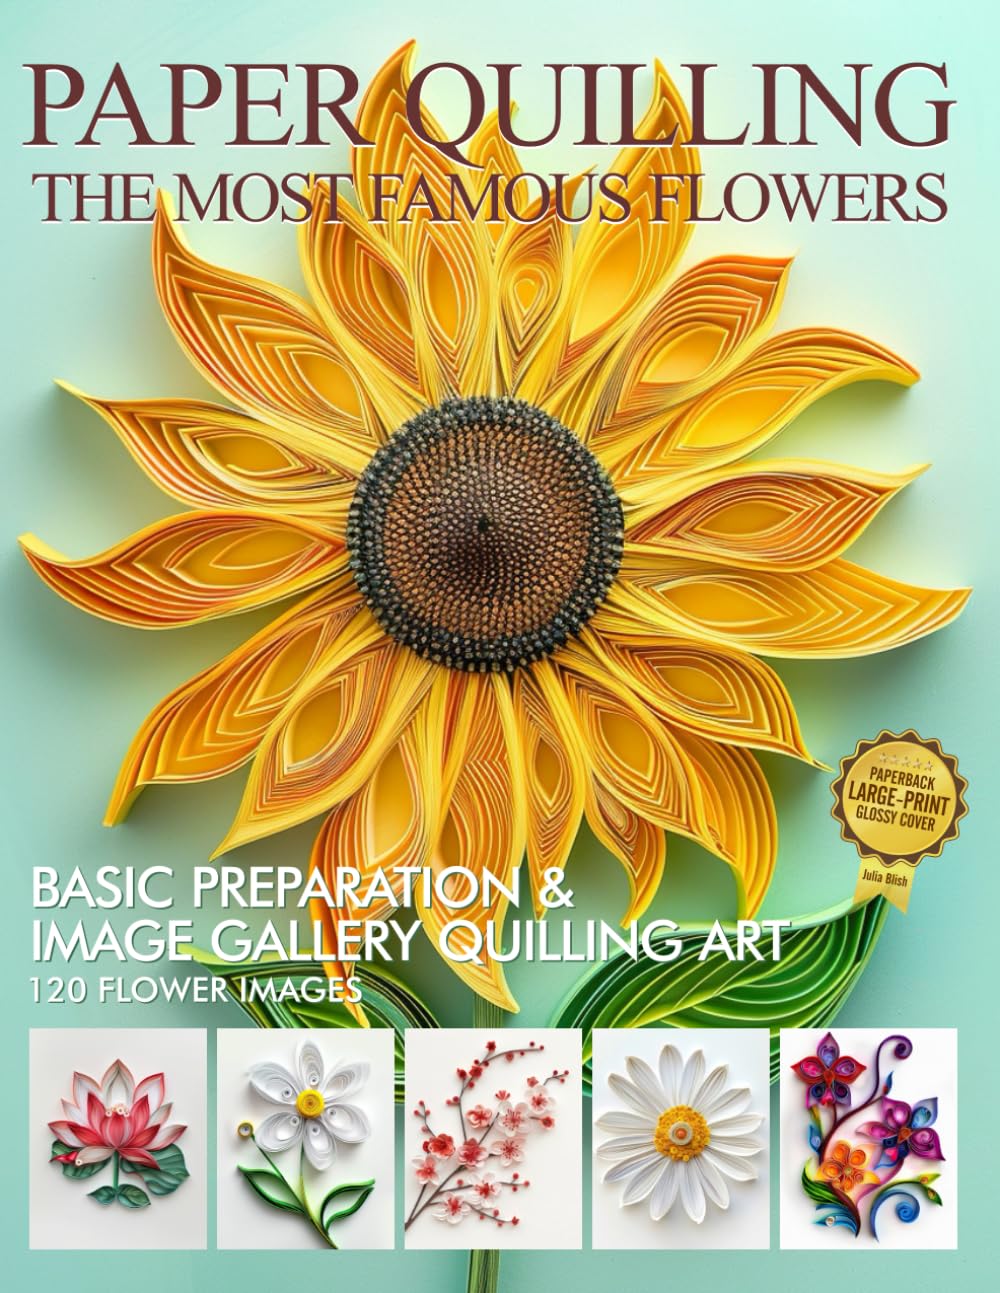
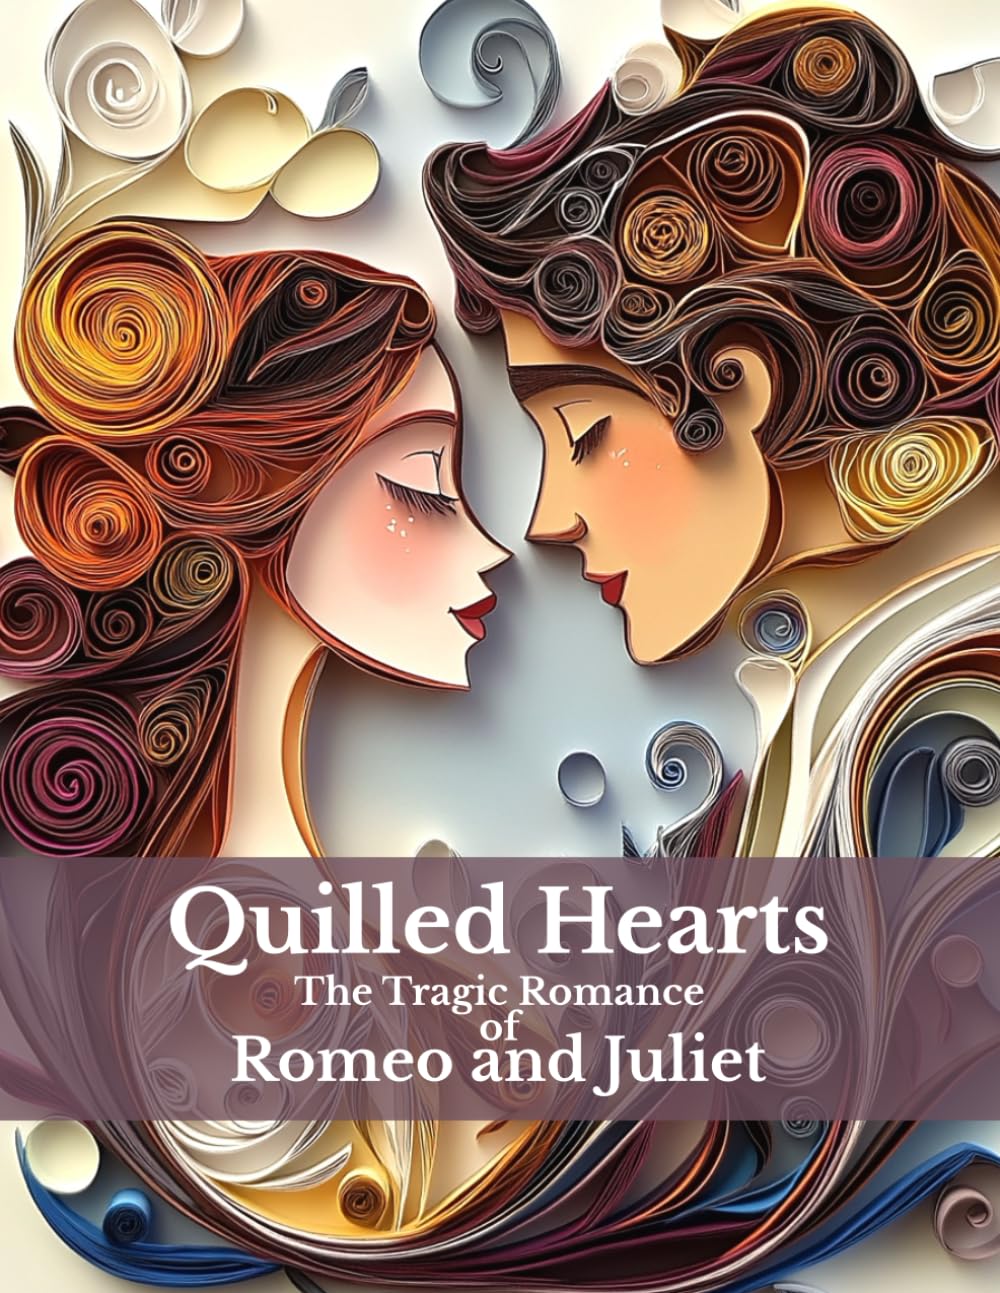
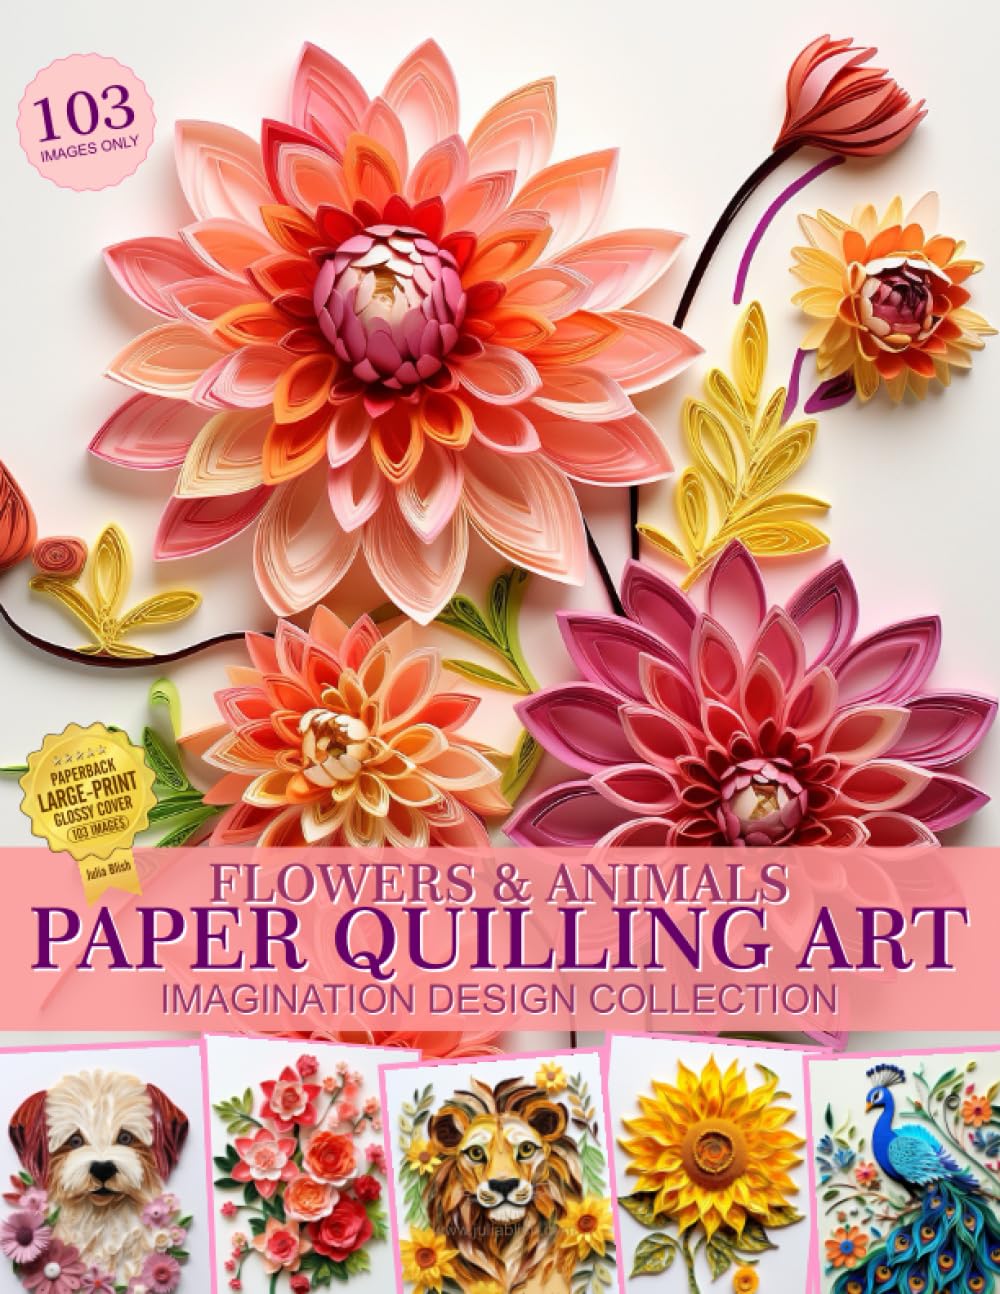
Papercraft is one of the most rewarding hobbies out there — it's affordable, endlessly versatile, and forgiving enough for beginners while still challenging enough for seasoned crafters. Whether you're into paper quilling, cardmaking, origami, or mixed-media collage, a few smart habits can transform your results. Here are my favorite tips and ideas to help you get more joy (and less frustration) out of every project.
Start With the Right Paper
Not all paper is created equal. Cardstock works best for structure and dimension, while quilling strips need to be lightweight yet strong enough to hold a curl. Test scraps before committing to a big project, and always store your paper flat, away from humidity, so it doesn't warp or fade.
- Use cardstock (65-110 lb) for bases and layered designs.
- Choose acid-free paper for anything you want to preserve long-term.
- Keep a scrap bin — even tiny leftover strips are perfect for quilling accents.
Invest in a Few Essential Tools
You don't need a huge toolkit to get started, but a handful of quality tools make a noticeable difference. A sharp pair of scissors, a bone folder for crisp creases, a slotted quilling tool, and a good adhesive (like a fine-tip glue pen) will cover most projects. Precision tools like a craft knife and cutting mat are worth the investment once you start tackling more detailed designs.
Plan Before You Cut
One of the biggest time-savers in papercraft is planning your layout before you make a single cut. Sketch your design lightly in pencil, or print a template if you're following a pattern. This simple step prevents wasted paper and helps you visualize color placement, spacing, and proportions before committing.
Play With Texture and Dimension
Flat paper projects are lovely, but adding texture takes things to the next level. Try these ideas to build dimension:
- Layer die-cut shapes with foam adhesive for a 3D pop.
- Emboss paper with a stylus for subtle raised patterns.
- Combine quilled coils with flat cut shapes for contrast.
- Fold or score paper strips to create pleats and folds that catch the light.
Color Theory Makes a Big Difference
Even a simple design can look stunning with the right color combination. Stick to a limited palette of three to five colors for a cohesive look, or use a color wheel to find complementary shades that make your project pop. Ombré effects — gradually shifting from light to dark — work beautifully in quilled flowers, layered cards, and paper wreaths.
Ideas to Try This Season
If you're looking for inspiration, here are a few project ideas to keep your creativity flowing:
- Quilled botanical wall art using dried-flower color palettes.
- Handmade greeting cards with layered paper cutouts and hidden messages inside.
- Paper garlands for seasonal decor, made from coordinating patterned scraps.
- Mini shadow boxes featuring 3D paper scenes — great for gifts.
- Coloring-book pages transformed into framed art once colored and cut.
Practice Patience and Precision
Papercraft rewards a slow, steady hand. Rushing often leads to torn edges or crooked folds. Take breaks during detailed projects, keep your workspace clean, and don't be afraid to redo a piece that isn't quite right — it's part of the process, not a failure.
Keep Learning and Sharing
The papercraft community is full of generous makers sharing tutorials, templates, and encouragement. Join online groups, follow crafters whose work inspires you, and don't hesitate to share your own projects, even the imperfect ones. Every finished piece — quilled, folded, or cut — is proof of your growing skill and creativity.
With the right materials, a little planning, and a willingness to experiment, papercraft can become a lifelong source of joy. So grab your paper, pick one idea from this list, and start creating something beautiful today.