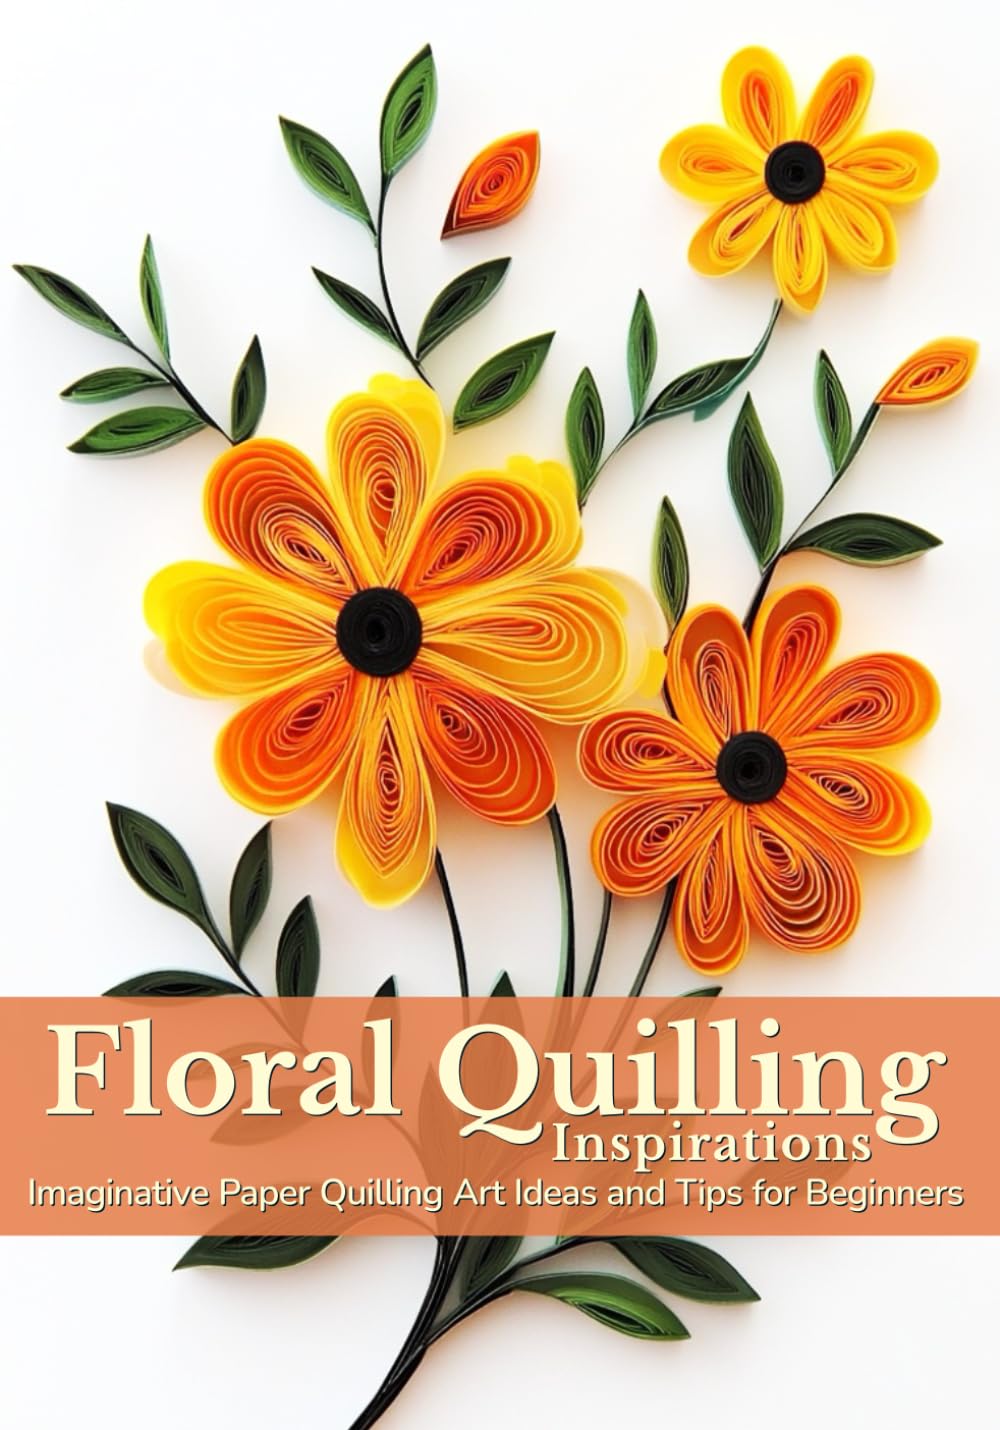
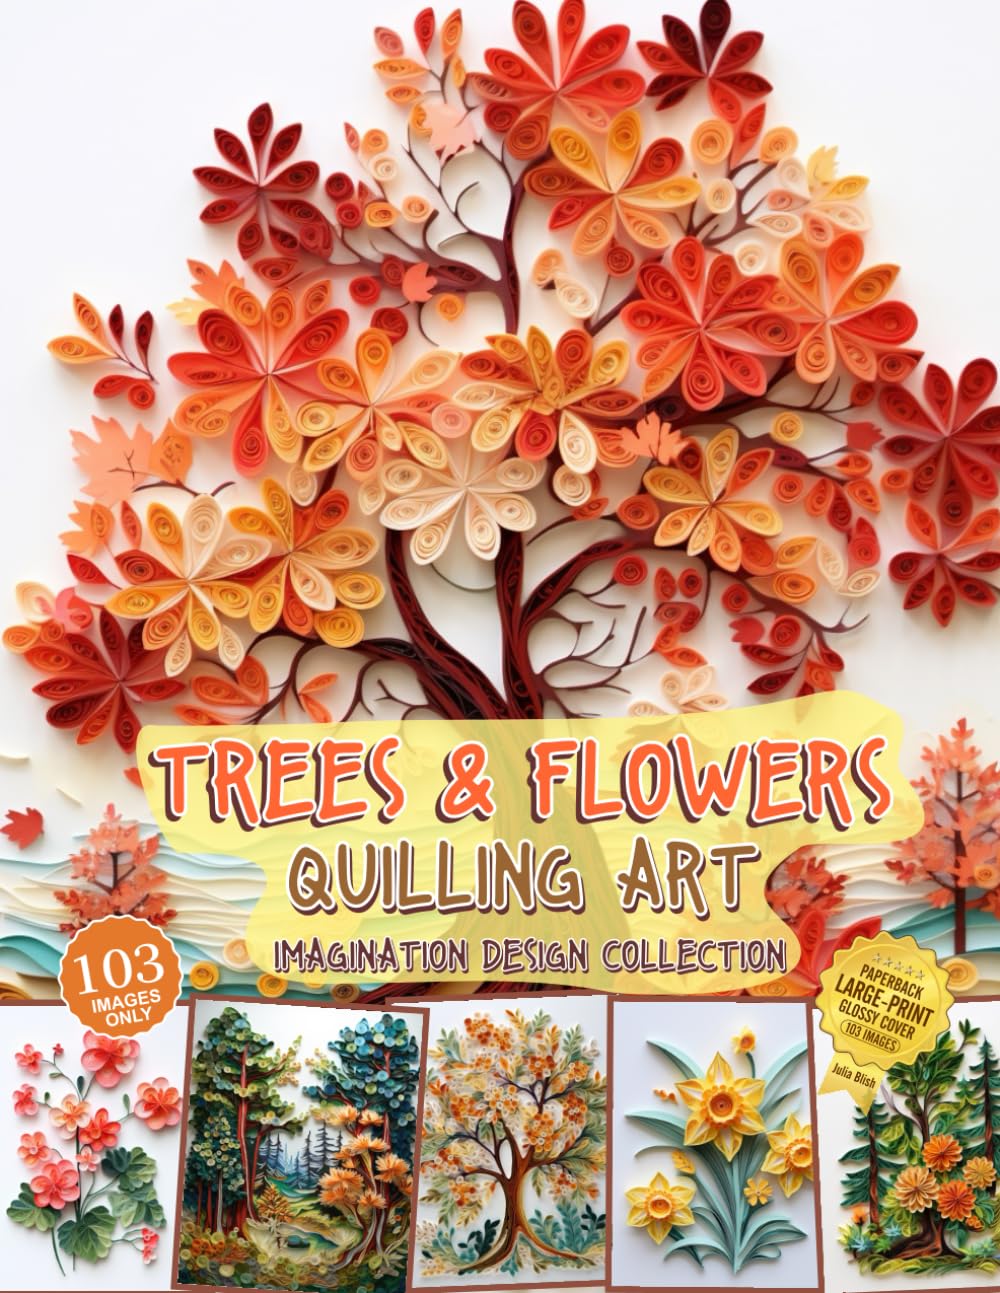
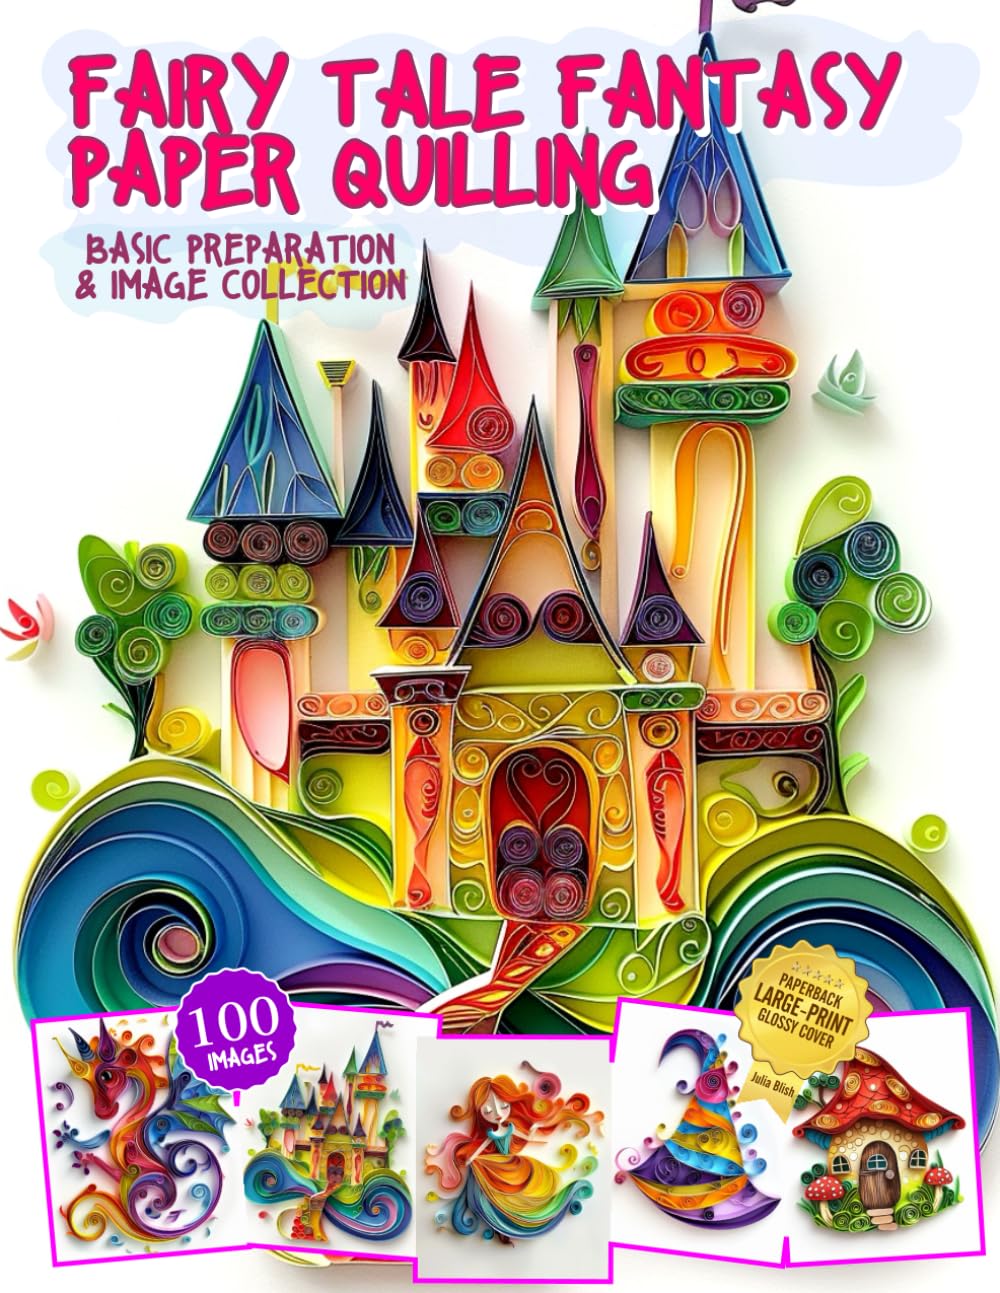
Papercraft is one of the most rewarding hobbies you can pick up in 2026 — it's affordable, portable, and endlessly versatile. Whether you're new to paper quilling, card making, or origami, or you've been folding and rolling paper for years, there's always a new trick to learn. Here are my favorite tips and ideas to help you get more joy (and better results) out of every project.
Start with the Right Paper
Your finished project is only as good as the paper you use. Cheap, thin paper tears easily and doesn't hold shape well, while paper that's too thick can be stiff and hard to manipulate. For quilling, look for strips specifically designed for the craft — they're pre-cut, consistent in width, and come in a rainbow of colors. For card making, cardstock between 65-110 lb gives you sturdy structure without being difficult to fold or cut.
- Keep a variety of weights on hand: lightweight for delicate details, heavyweight for bases and frames.
- Store paper flat, away from sunlight and humidity, to prevent warping and fading.
- Test scraps before committing to a full design, especially with new paper types.
Invest in a Few Quality Tools
You don't need a huge toolkit to make beautiful papercraft, but a few reliable tools make a world of difference. A sharp pair of precision scissors, a bone folder for crisp creases, a slotted or needle quilling tool, and a good adhesive (like a glue pen for control) will cover most projects. A self-healing cutting mat and craft knife are also worth the investment if you plan to do detailed cutting.
- Replace craft knife blades often — dull blades tear paper instead of slicing it cleanly.
- Use a bone folder every time you fold cardstock for professional-looking, crisp lines.
- Keep tweezers nearby for placing tiny quilled coils or embellishments precisely.
Plan Your Design Before You Glue
One of the biggest papercraft mistakes is gluing pieces down too early. Instead, lay out your entire design — whether it's a quilled flower, a layered card, or a paper sculpture — before any adhesive touches the page. This lets you adjust spacing, balance colors, and catch mistakes while everything is still moveable.
- Take a photo of your layout before gluing so you have a reference if pieces shift.
- Work from the background layer forward, gluing the furthest-back elements first.
- Use a light adhesive first (like a repositionable glue stick) for placement, then switch to a stronger glue for the final bond.
Play with Color and Texture
Papercraft comes alive when you experiment beyond a single sheet of solid-colored paper. Mix textures like vellum, metallic foil, and patterned scrapbook paper to add depth and visual interest. Layering different shades of the same color family (ombré effects) can make quilled flowers or paper florals look incredibly realistic.
- Combine matte and glossy finishes in the same project for contrast.
- Use a color wheel to pick complementary or analogous palettes that feel intentional.
- Don't be afraid of negative space — sometimes an uncolored background makes your design pop more.
Practice Patience with Small Projects
If you're new to papercraft, start small. A single quilled flower, a mini gift tag, or a simple pop-up card builds your confidence and skill without overwhelming you. As your muscle memory improves, you'll naturally take on more ambitious projects like framed paper art or intricate 3D sculptures.
Find Inspiration Everywhere
Nature, architecture, textiles, and even old greeting cards can spark new papercraft ideas. Keep a small sketchbook or phone folder of images that inspire you, and don't hesitate to put your own spin on a technique you admire. Papercraft is as much about personal expression as it is about precision.
With the right materials, a little patience, and a willingness to experiment, papercraft can become a lifelong creative outlet. Grab some paper, pick a project, and start creating today!