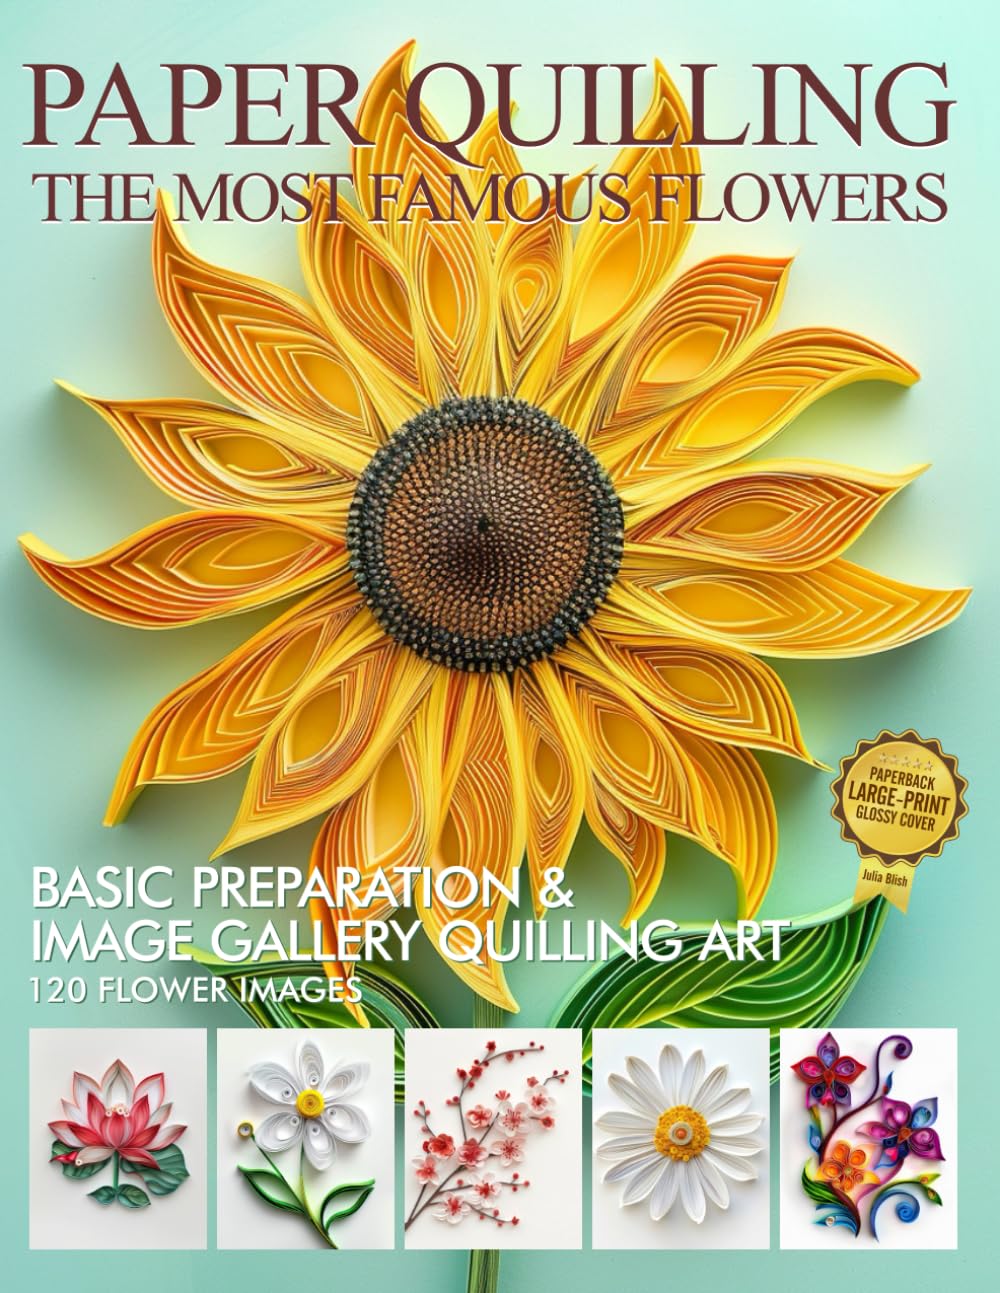
Papercraft is one of the most rewarding hobbies you can pick up — it's affordable, portable, and endlessly versatile. Whether you're a longtime quiller, a coloring book enthusiast, or just discovering the joy of paper art, there's always room to learn new techniques and refresh your creative approach. Here are my favorite tips and ideas to help you get more out of every paper project in 2026.
Start With the Right Paper
Not all paper is created equal, and choosing the right weight and finish can make or break your project. For quilling, look for strips specifically designed for the craft — they're pre-cut, consistent in width, and coil beautifully. For coloring, thicker paper (at least 80lb) prevents markers and gel pens from bleeding through. Keep a small stash of cardstock, vellum, and specialty papers on hand so you're never limited by materials when inspiration strikes.
Organize Your Workspace
A cluttered desk leads to a cluttered mind — and lost supplies! Invest in small trays or divided containers to keep your quilling strips sorted by color and width. Store your coloring tools upright in a caddy so you can see every shade at a glance. A clean, organized space makes it easier to jump into a project the moment you have a spare fifteen minutes.
Master the Basics Before Getting Fancy
It's tempting to dive into intricate designs right away, but mastering foundational skills pays off. For quilling, practice these core shapes until they feel effortless:
- Tight coils
- Loose coils
- Teardrops
- Marquise shapes
- Scrolls
Once these become second nature, you'll be able to combine them into complex, beautiful designs without second-guessing every step. The same goes for coloring — understanding blending, shading, and layering techniques will elevate even simple designs into gallery-worthy pieces.
Experiment With Texture and Dimension
One of the joys of papercraft is adding physical depth to a flat medium. Try layering cardstock cutouts behind your quilled pieces for shadow-box effects, or use embossing tools to add subtle texture to backgrounds. Mixing techniques — like adding a few quilled accents to a finished coloring page — can create stunning, one-of-a-kind results that feel entirely your own.
Find Inspiration Everywhere
Great ideas don't just come from other papercrafters — look to nature, architecture, textiles, and even old greeting cards for color palettes and design inspiration. Keep a small sketchbook or a folder of saved images so that when you sit down to create, you already have a starting point instead of staring at a blank page.
Practical Tips for Better Results
- Always keep a damp sponge nearby to smooth glue without leaving fingerprints on your paper.
- Use a slotted quilling tool for beginners and switch to a needle tool once you've built confidence — it reduces creasing at the coil's center.
- Test colored pencils or markers on a scrap piece before committing to your final project.
- Store finished pieces flat or upright in acid-free sleeves to prevent warping or fading over time.
- Set a timer for short, focused crafting sessions if you're prone to losing track of time — it helps prevent hand fatigue.
Make It a Community Experience
Papercraft doesn't have to be a solitary hobby. Join local craft groups, share your progress on social media, or start a monthly paper-craft night with friends. Teaching a beginner the basics is also a wonderful way to solidify your own skills while spreading the joy of this beautiful, tactile art form.
Whatever stage you're at in your papercraft journey, remember that every strip of paper, every colored page, and every folded edge is an opportunity to slow down and create something beautiful with your hands. Keep experimenting, keep practicing, and most importantly, keep having fun with it.