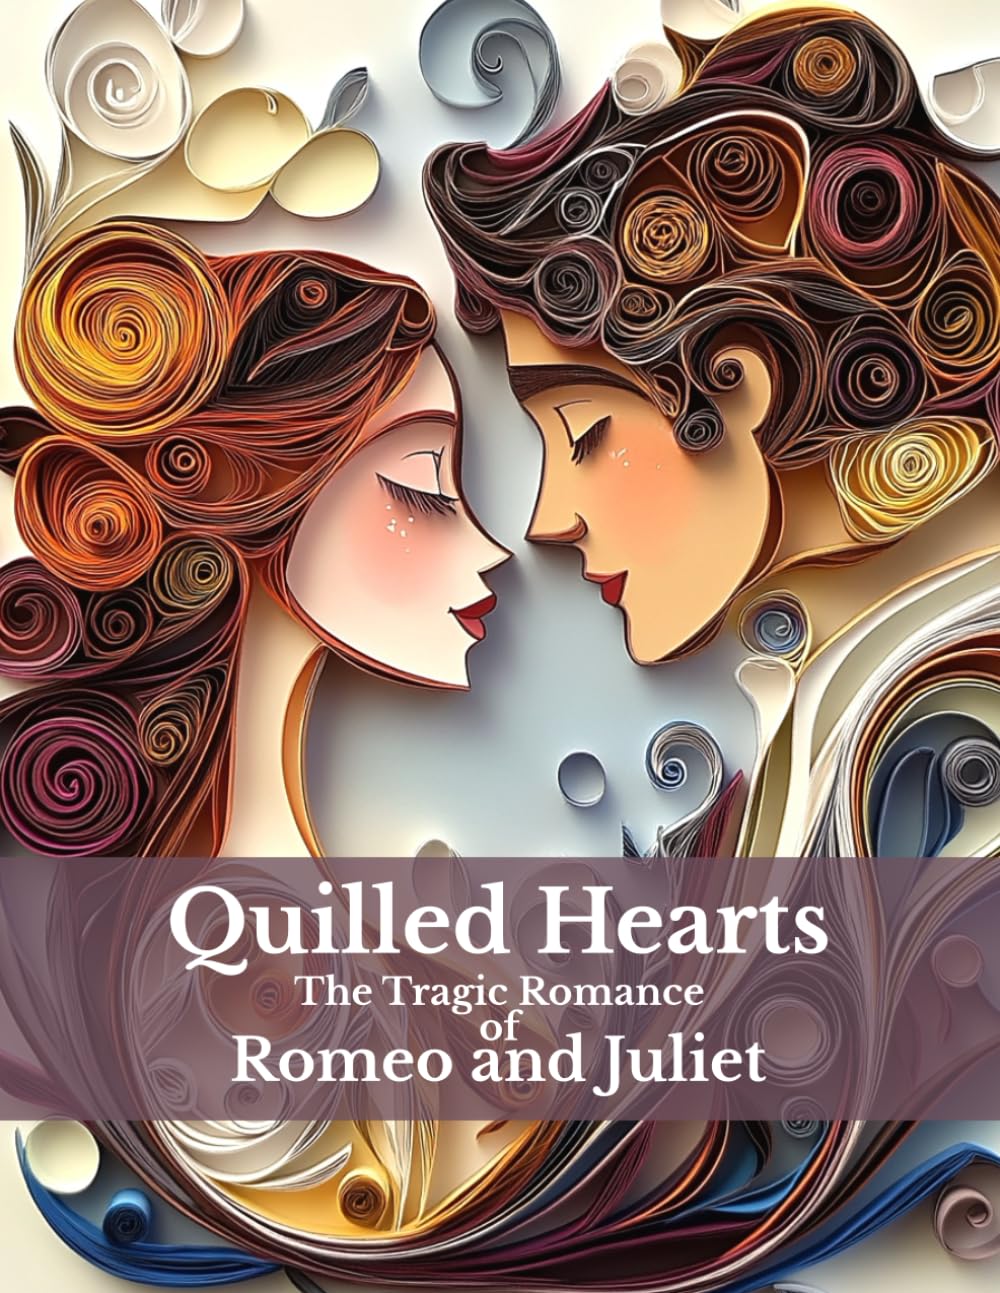
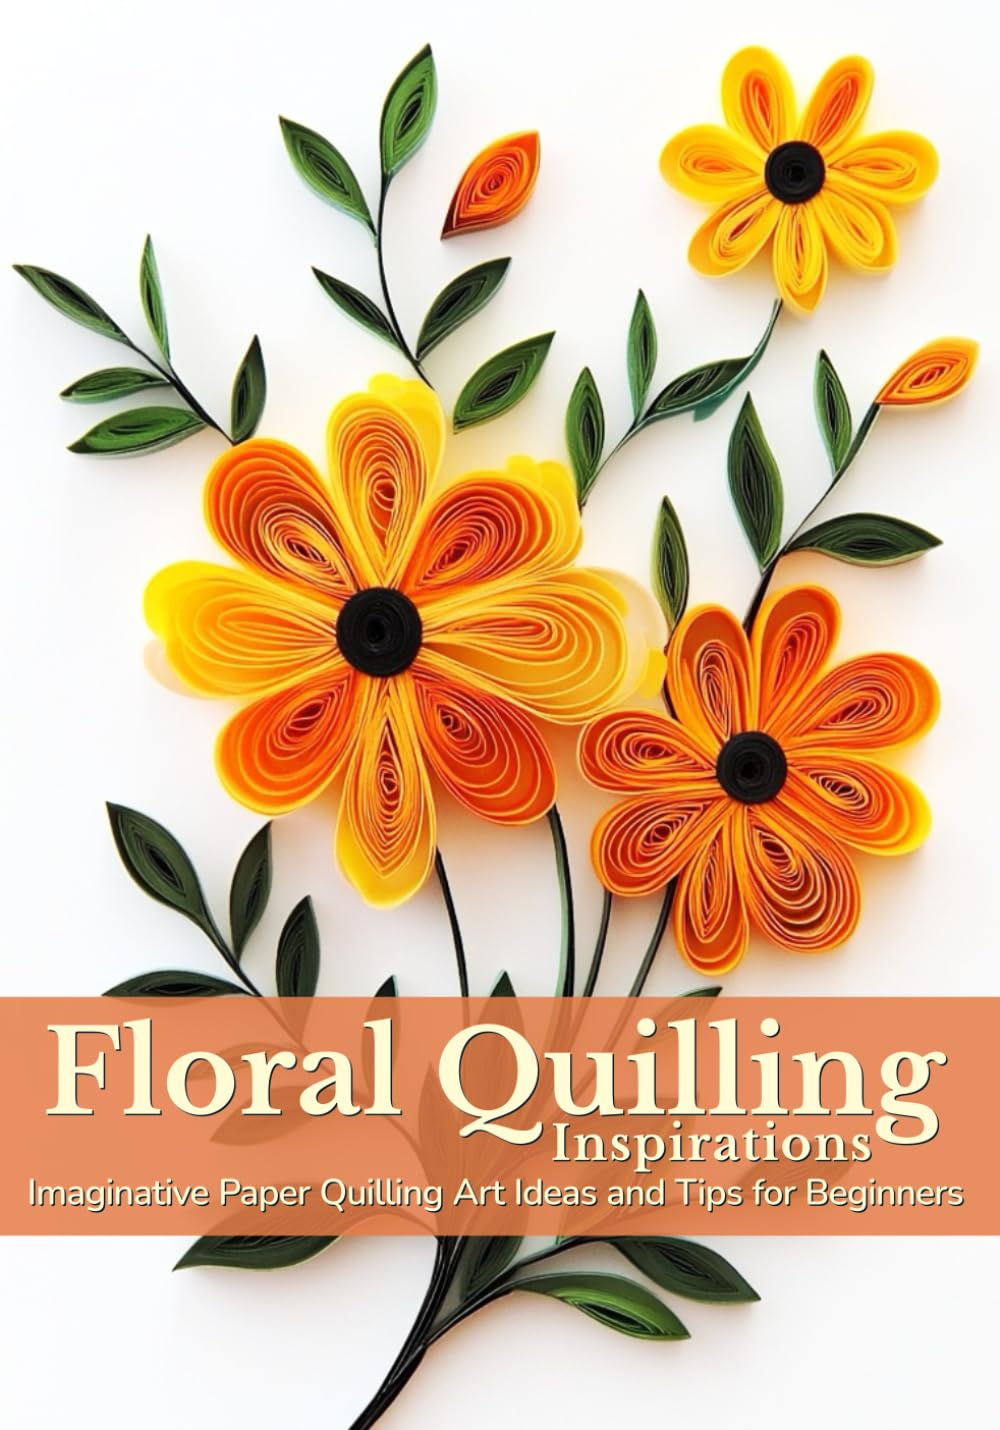
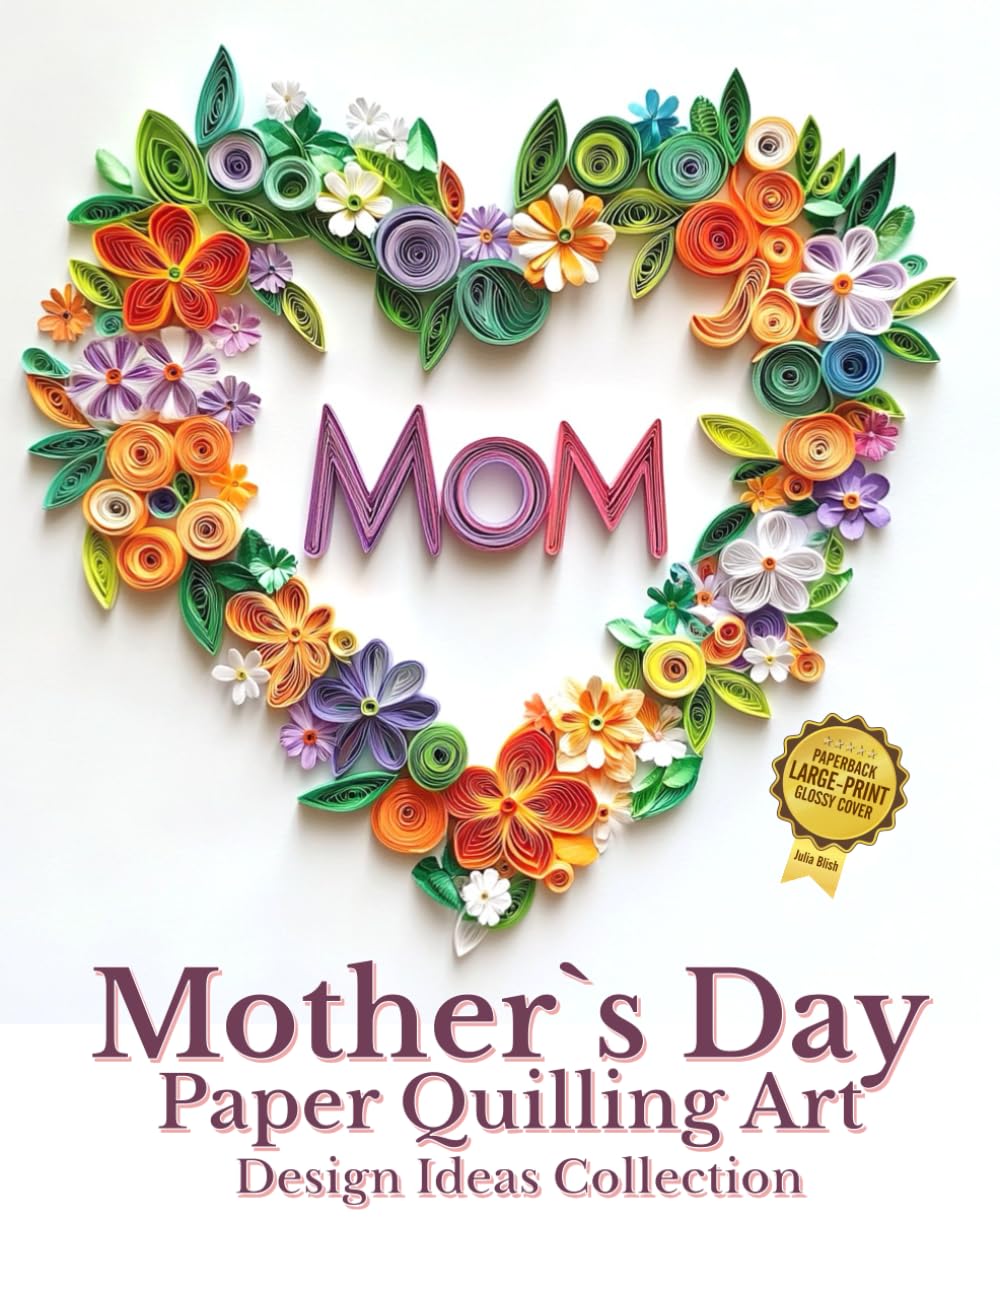
Papercraft is one of the most accessible and endlessly creative hobbies out there. Whether you're a longtime quiller, a coloring book enthusiast, or someone just discovering the joy of working with paper, small adjustments to your technique can make a big difference in your finished pieces. Here are my favorite papercraft tips and ideas to help you create with more confidence and polish in 2026.
Choose the Right Paper for the Job
Not all paper is created equal, and using the wrong weight or finish can make even a great design look flimsy. For paper quilling, look for strips specifically designed for the craft, as they hold curls better than regular cardstock. For coloring projects, thicker paper (90 lb or higher) prevents markers and watercolors from bleeding through. When in doubt, always test a scrap piece before committing to your final project.
- Quilling: 20-24 lb quilling paper strips
- Card making: 80-110 lb cardstock
- Watercolor coloring: 90-140 lb watercolor paper
- Origami: thin, crisp paper that holds a fold
Invest in a Few Key Tools
You don't need a huge toolkit to get started, but a few quality tools go a long way. A slotted quilling tool makes coiling paper strips much easier for beginners, while a needle tool gives more control for advanced shapes. A good pair of precision scissors, a bone folder for crisp creases, and reliable adhesive (like a glue pen for quilling) round out the essentials. Investing in tools that fit comfortably in your hand will save your wrists during long crafting sessions.
Master the Basics Before Getting Fancy
It's tempting to jump straight into intricate designs, but mastering foundational shapes first will make everything else easier. In quilling, that means practicing tight coils, loose coils, teardrops, and marquise shapes until they become second nature. In card making, practice clean folds and straight cuts. Once the basics feel effortless, combining them into complex designs becomes much more enjoyable and far less frustrating.
Plan Your Color Palette Ahead of Time
One of the easiest ways to make a papercraft project look professional is to plan your colors before you start cutting or coiling. Pulling three to five colors that complement each other creates a cohesive, intentional look rather than a scattered one. Try using a color wheel or pulling inspiration from a favorite photo, fabric pattern, or even nature. This small planning step can transform an average project into something that feels gallery-worthy.
Use Negative Space Creatively
New papercrafters often feel like they need to fill every inch of a design, but negative space can be just as powerful as the paper itself. Leaving breathing room around a quilled flower or a die-cut shape draws the eye exactly where you want it to go. It also gives your work a cleaner, more modern feel—especially useful for cards, wall art, and shadow box designs.
Keep a Reference Board of Ideas
Inspiration can strike anywhere, from a museum exhibit to a walk in the park. Keeping a physical or digital mood board of colors, shapes, and design ideas ensures you always have a starting point when you sit down to craft. Save images of quilling patterns, card layouts, or coloring palettes you love, and revisit them whenever you need a creative spark.
Don't Be Afraid to Mix Techniques
Some of the most eye-catching papercraft projects combine multiple techniques—think quilled accents on a hand-lettered card, or coloring pages embellished with paper cutouts. Mixing mediums keeps your work fresh and gives you room to experiment without committing to an entirely new craft. Start small, like adding a single quilled flower to a greeting card, and build confidence from there.
Practice Patience and Have Fun
Papercraft rewards patience, but it should never feel like a chore. If a shape isn't turning out right, set it aside and come back with fresh eyes. Progress in this craft is often gradual, and every strip you coil or shape you cut builds your skill for the next project. Above all, remember that papercraft is meant to be a joyful, meditative escape—so give yourself grace and enjoy the process.