Papercraft is one of the most rewarding hobbies you can pick up because it requires so little to get started, yet offers endless room for creativity. Whether you're rolling your first paper quilling coil, folding intricate origami, or experimenting with layered paper art, a few smart techniques can make all the difference. Here are my favorite papercraft tips and ideas to help you level up your projects this year.
Start With the Right Tools
Good results begin with good tools. You don't need to spend a fortune, but investing in a few quality basics will save you frustration down the road.
- A sharp pair of small scissors for precision cuts
- A slotted quilling tool or needle tool for tight, even coils
- Bone folder for crisp, clean folds
- Craft glue with a fine-tip applicator to avoid mess
- A self-healing cutting mat and metal ruler for straight lines
Once you have these staples on hand, you'll notice your projects look more polished almost immediately.
Choose Paper With Purpose
Not all paper is created equal. Cardstock works beautifully for structured projects like paper cutting or 3D models, while lightweight quilling paper is designed to curl and hold its shape without cracking. For layered art, consider mixing textures and finishes, like matte and metallic, to add visual depth. Always test a scrap piece before committing to a full project so you know how the paper behaves when folded, curled, or glued.
Practice Patience With Quilling
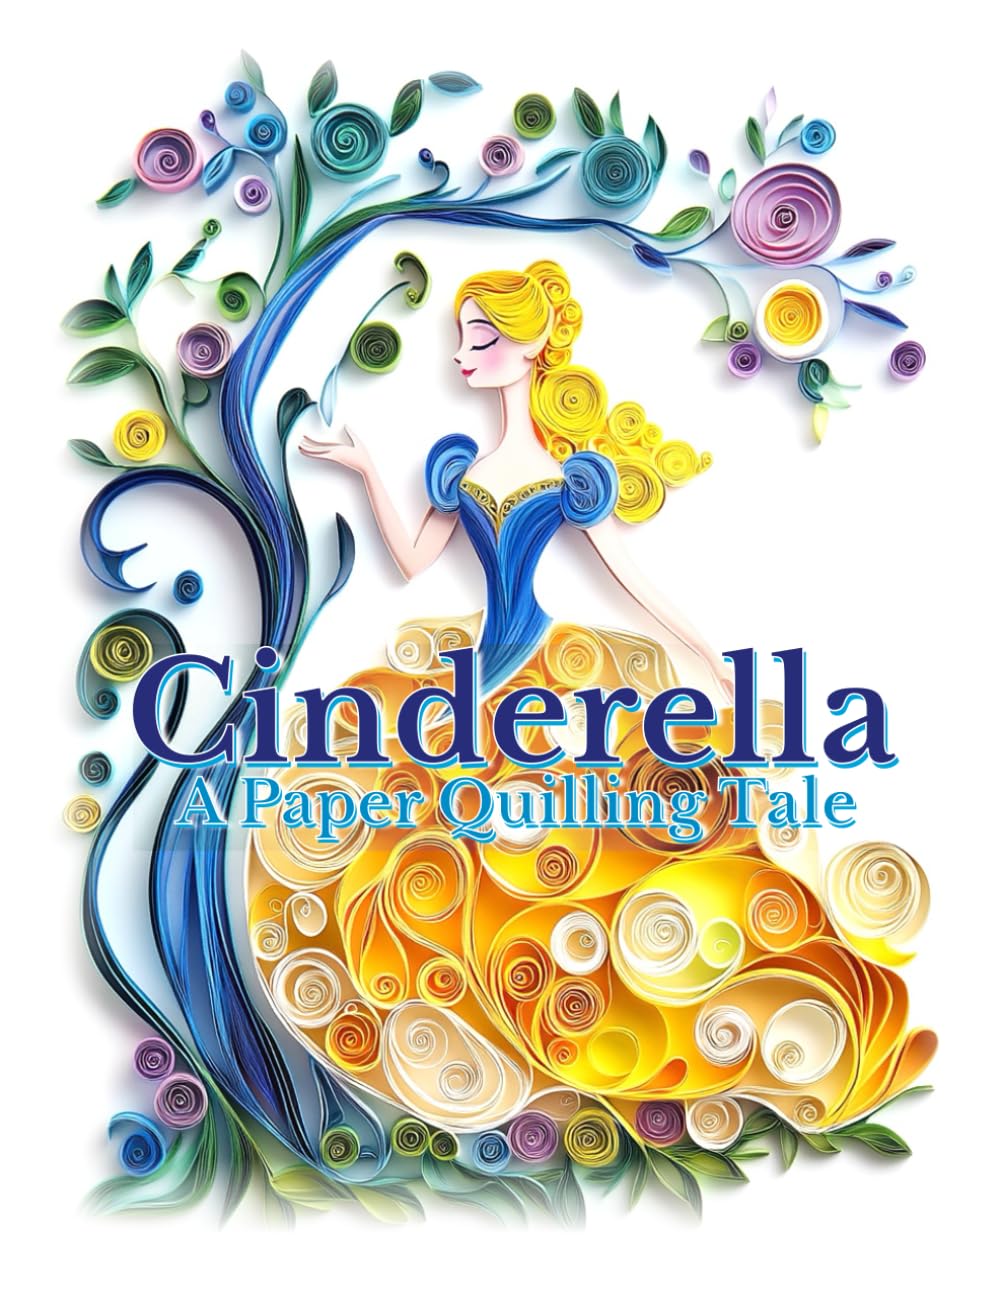
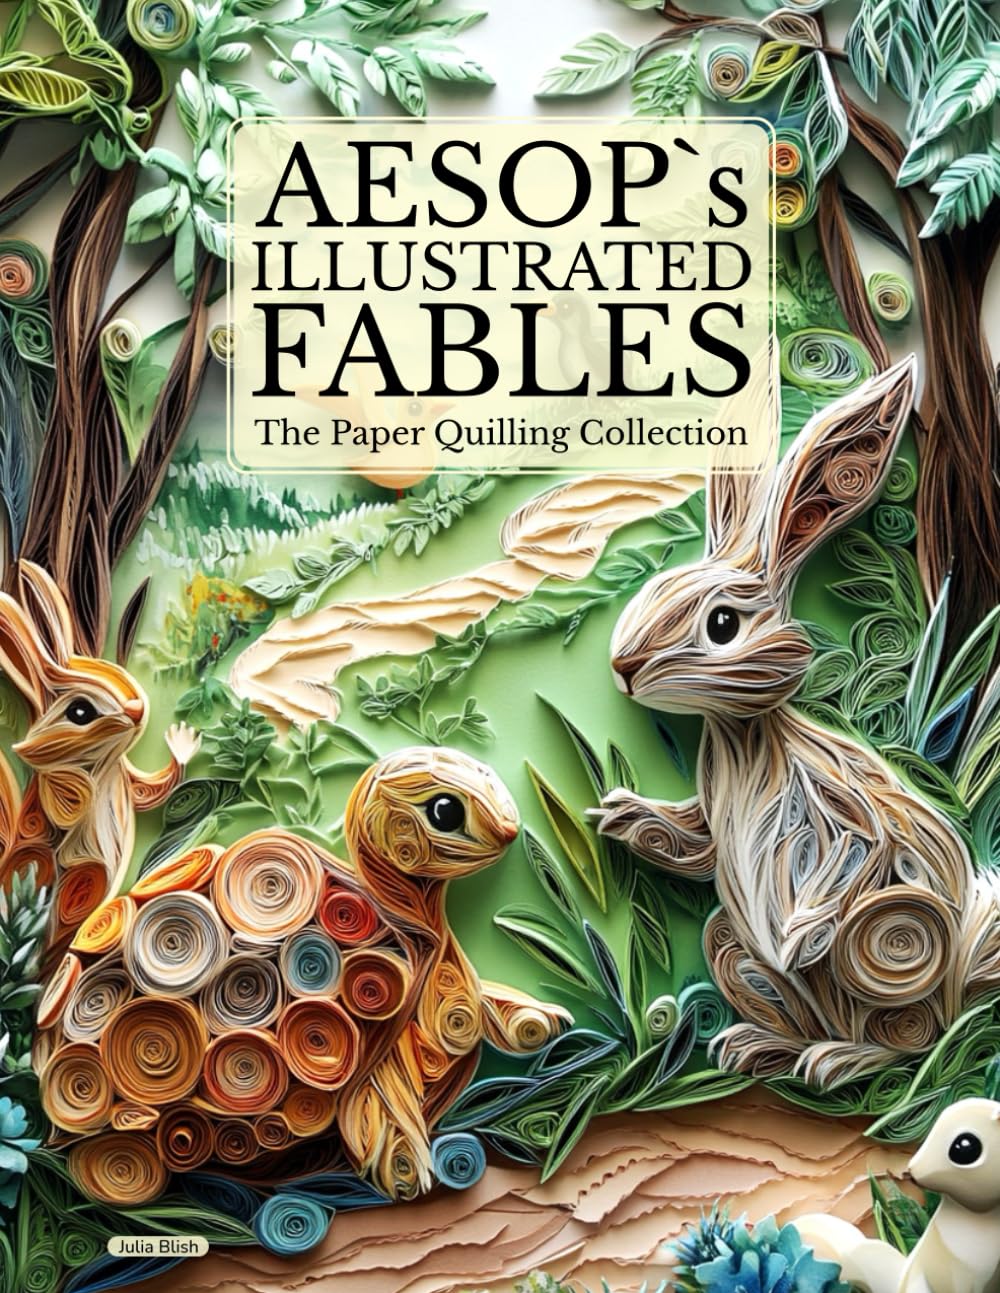
Paper quilling is a favorite technique of mine because it transforms simple paper strips into elegant, dimensional designs. The key to beautiful quilling is consistency. Try to keep tension even as you roll, and let your coils rest for a few seconds before releasing them from the tool. This helps them hold their shape. Don't be afraid to experiment with different coil shapes, teardrops, marquises, and scrolls can add wonderful variety to a single piece.
Layer for Dimension
One of the easiest ways to make papercraft projects pop is by adding dimension through layering. Foam dots or small rolled paper spacers placed between layers create subtle shadows that make flat designs feel alive. This technique works wonderfully for greeting cards, shadow boxes, and wall art alike.
Color With Confidence
If you enjoy coloring as part of your papercraft process, remember that color choices can make or break a design. Stick to a simple palette of three to five colors for a cohesive look, and use a color wheel to find complementary shades that make your project pop without overwhelming the eye. Blending colored pencils or watercolor pencils before cutting can also add beautiful gradients to your finished piece.
Fresh Ideas to Try
Looking for inspiration? Here are a few project ideas to spark your creativity:
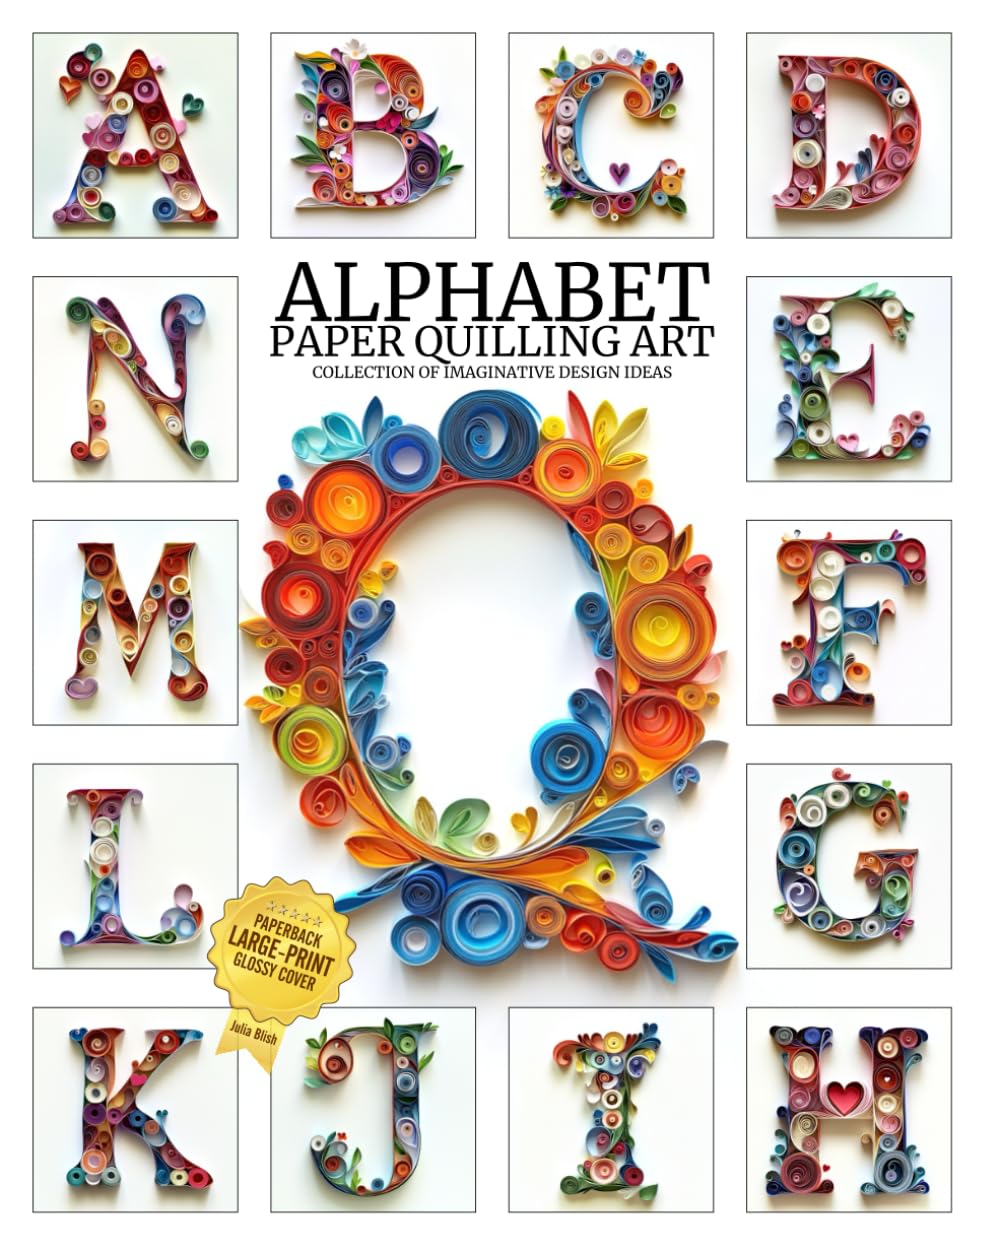
- Quilled monogram wall art using your initials as the base shape
- Layered paper flowers mounted in a shadow box frame
- Handmade greeting cards with mixed quilling and cut-paper elements
- Seasonal wreaths made from rolled paper coils in autumn or winter colors
- Paper mosaic portraits using small squares of colored cardstock
Starting with a small, achievable project is a great way to build confidence before tackling something more elaborate.
Keep Learning and Experimenting
Papercraft is a skill that grows the more you practice. Don't be discouraged if your first few coils are uneven or your folds aren't perfectly crisp, every crafter starts somewhere. Keep a small notebook of techniques that work well for you, and revisit projects that challenged you in the past. Over time, you'll develop your own signature style.
Above all, remember that papercraft is meant to be enjoyable. Give yourself permission to experiment, make mistakes, and discover new techniques along the way. With patience and the right tools, you'll find that even a simple sheet of paper can become something truly beautiful.