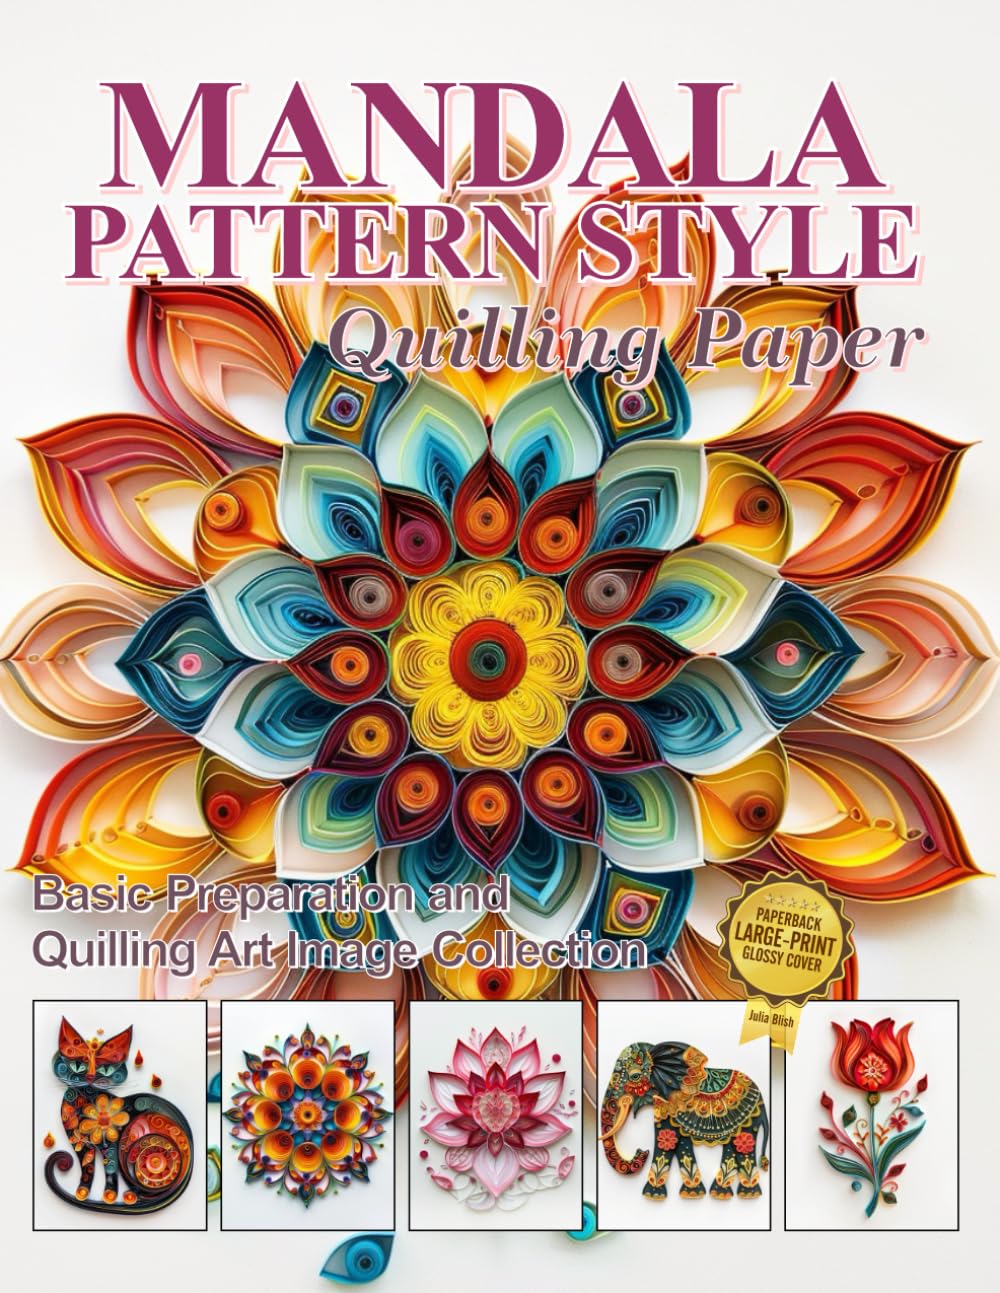
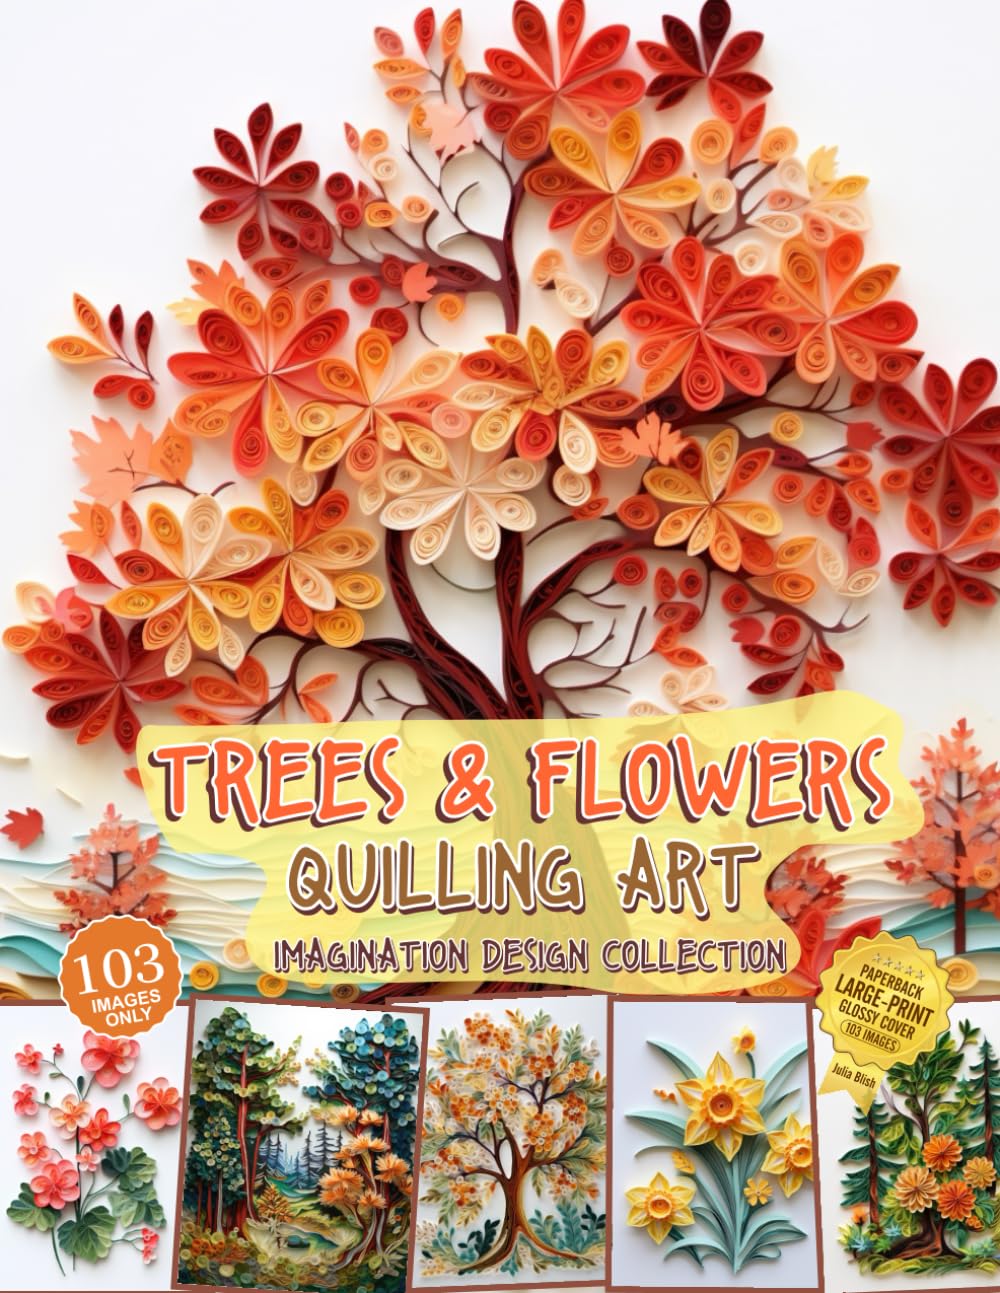
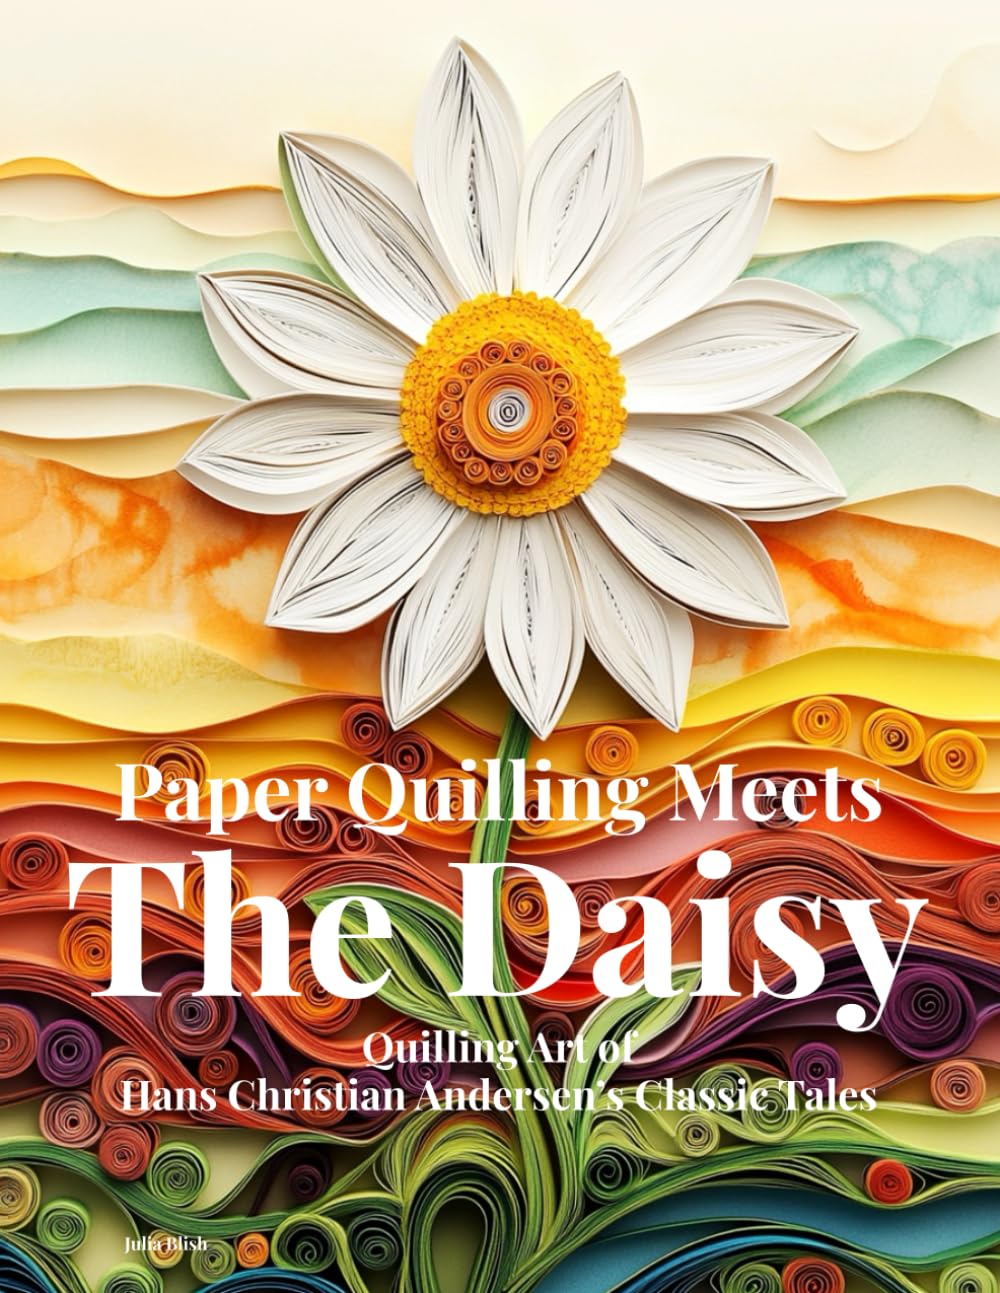
Papercraft is one of the most rewarding hobbies you can pick up because it requires so little to get started, yet offers endless room to grow. Whether you're just discovering paper quilling, cardmaking, or paper cutting, a few smart habits and the right tools can make a huge difference in the quality of your finished pieces. Here are my favorite tips and ideas gathered from years of teaching workshops and writing craft books.
Start With the Right Paper
Not all paper is created equal, and choosing the wrong weight can sabotage a project before you even begin. For quilling, look for strips specifically labeled as quilling paper, since they hold curls and shapes far better than regular printer paper. For cardmaking and layered paper art, cardstock between 65lb and 110lb gives you sturdiness without being too stiff to fold cleanly. Always keep a variety of weights on hand so you're never limited by your supplies.
Invest in a Few Quality Tools
You don't need an overflowing craft cabinet to make beautiful papercraft, but a handful of quality tools will save you time and frustration. Consider adding these to your toolkit:
- A slotted and needle quilling tool for tight, even coils
- A bone folder for crisp, professional folds
- Sharp precision scissors and a fresh craft blade for clean cuts
- A self-healing cutting mat to protect your work surface
- Strong, quick-drying glue with a fine-tip applicator
Cheap tools tend to slip, tear, or leave messy edges, so it's worth spending a little more on the essentials you'll use most often.
Practice Patience With Precision Work
Papercraft rewards slow, deliberate movements more than speed. When cutting intricate shapes, let the blade do the work rather than forcing it through the paper. When quilling, keep consistent tension on your coils so your finished pieces look uniform. If a shape isn't coming out right, it's almost always better to unroll and start over than to try to fix it midway.
Color Theory Makes a Big Difference
Even a technically perfect papercraft piece can fall flat if the colors clash or blend into a muddy mess. Before starting a project, pull your paper colors together and look at them as a group. Aim for a mix of light, medium, and dark tones so your design has depth. Complementary colors, like orange and blue or purple and yellow, create energy and contrast, while analogous colors, like blues and greens, feel calm and cohesive.
Fresh Project Ideas to Try
If you're feeling stuck creatively, try one of these papercraft projects to spark new inspiration:
- Quilled wall art featuring botanical shapes like leaves, flowers, and vines
- Layered paper shadow boxes with a nature or city skyline theme
- Handmade greeting cards using a mix of quilling and stamping
- 3D paper sculptures of animals using simple geometric folds
- Personalized paper banners for birthdays or seasonal decor
Mixing techniques, like combining quilling with paper cutting or watercolor backgrounds, is a great way to develop your own signature style.
Store Your Supplies Thoughtfully
Paper is sensitive to humidity, sunlight, and dust, so proper storage matters more than most crafters realize. Keep your paper flat in labeled folders or a filing box, away from direct sunlight that can cause fading. Store finished quilled pieces in a box with tissue paper between layers to prevent crushing delicate coils.
Keep Learning and Experimenting
The beauty of papercraft is that there's always a new technique to explore, whether it's iris folding, paper weaving, or 3D pop-up engineering. Follow other paper artists for inspiration, take a class if you find one locally, and most importantly, keep your hands busy with regular practice. The more you create, the more your confidence and creativity will grow.
Papercraft doesn't require a huge investment to get started, just a willingness to experiment and a love for working with your hands. With the right paper, a few quality tools, and a bit of patience, you'll be amazed at what you can create one fold, cut, or coil at a time.