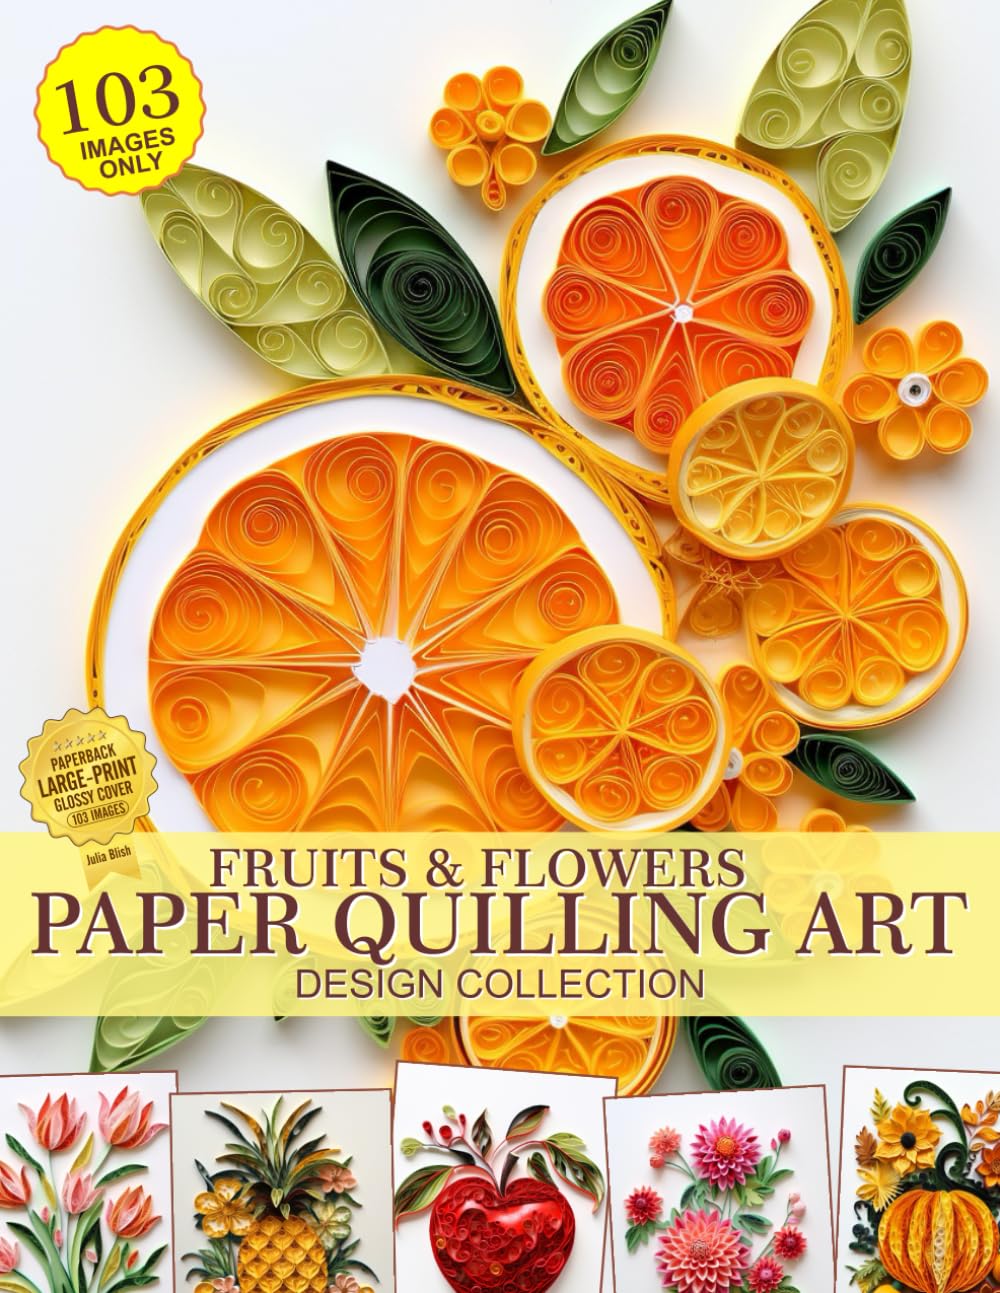
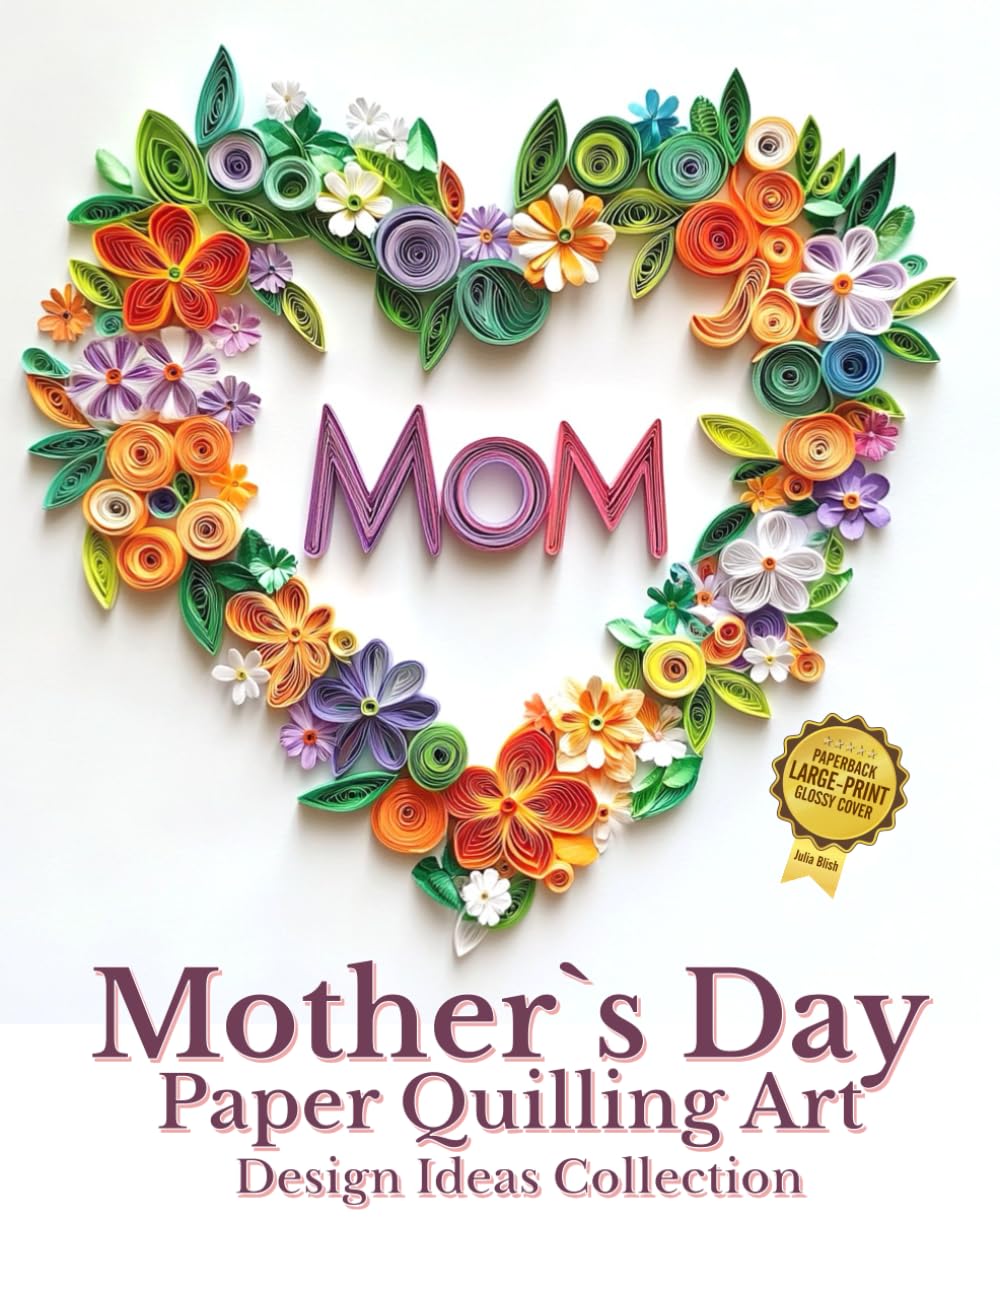
Paper quilling has been winning over crafters for years, and in 2026 it's more popular than ever thanks to its low startup cost, portability, and endless design possibilities. If you're new to rolling strips of paper into elegant coils, or you've been quilling for a while and want to refine your skills, these tips and ideas will help you get the most out of this delightful hobby.
Start With the Right Basic Supplies
You don't need a huge investment to begin quilling, but a few quality tools make a big difference in your results.
- A slotted quilling tool or a needle tool for rolling coils
- Precut quilling paper strips in varying widths (1/8 inch is great for beginners)
- A good craft glue with a fine-tip applicator
- A quilling board or corkboard with pins for shaping
- Tweezers for placing small pieces precisely
Investing in these basics early will save you frustration and help your coils stay tight and uniform.
Master the Fundamental Shapes First
Before diving into complex designs, spend time practicing the core quilling shapes: tight coils, loose coils, teardrops, marquise, and hearts. These foundational shapes are the building blocks for almost every quilled design, from simple flowers to intricate mandalas. Practicing them slowly and consistently will train your hands to create even, professional-looking coils every time.
Tips for Cleaner, More Consistent Coils
Even experienced quillers run into uneven coils or paper that won't hold its shape. Here are some tried-and-true tips to improve your technique:
- Keep consistent tension while rolling—too loose and your coil unravels, too tight and it loses its bounce
- Let each coil relax slightly before gluing the end, so it doesn't pop open later
- Use a fine applicator or toothpick to add glue precisely to the paper's edge, avoiding messy fingerprints
- Store your paper strips flat in a dust-free container to prevent curling or warping before use
Fresh Project Ideas to Keep Things Interesting
One of the best parts of paper quilling as a hobby is how versatile it is. Once you're comfortable with the basics, try branching out with these ideas:
- Quilled greeting cards — perfect for birthdays, holidays, or thank-you notes, and a wonderful way to use up scrap strips
- Framed wall art — create botanical designs, abstract patterns, or personalized monograms for a handmade home decor piece
- Quilled jewelry — earrings and pendants made from sealed, lightweight coils are a fun way to wear your craft
- Nature-inspired mandalas — combine symmetry and color theory for a meditative, satisfying project
- Miniature ornaments — small quilled shapes glued onto ornament bases make lovely seasonal gifts
Color and Design Tips That Elevate Your Work
Color choice can make or break a quilled piece. Try grouping strips by color family before you start a project so you're not hunting through your stash mid-project. Analogous color schemes (colors next to each other on the wheel) tend to feel calm and cohesive, while complementary colors add vibrant contrast for statement pieces. Don't be afraid to mix paper weights and finishes, like pearlized or metallic strips, to add subtle shimmer and depth to your designs.
Make It a Sustainable, Long-Term Hobby
To keep paper quilling enjoyable rather than overwhelming, organize your supplies in a way that makes sense for your space—labeled drawers or a rolling cart work beautifully for storing strips by color and width. Set aside even just fifteen minutes a day for practice; quilling is wonderfully forgiving of short crafting sessions. Joining online quilling communities or local craft groups can also keep you inspired and motivated, offering fresh pattern ideas and troubleshooting support when a design isn't quite working.
Whether you're making your very first coil or your five-hundredth, paper quilling rewards patience and practice with genuinely stunning results. Keep experimenting, keep a small notebook of your favorite shape combinations, and most importantly, enjoy the meditative rhythm of rolling paper into art.