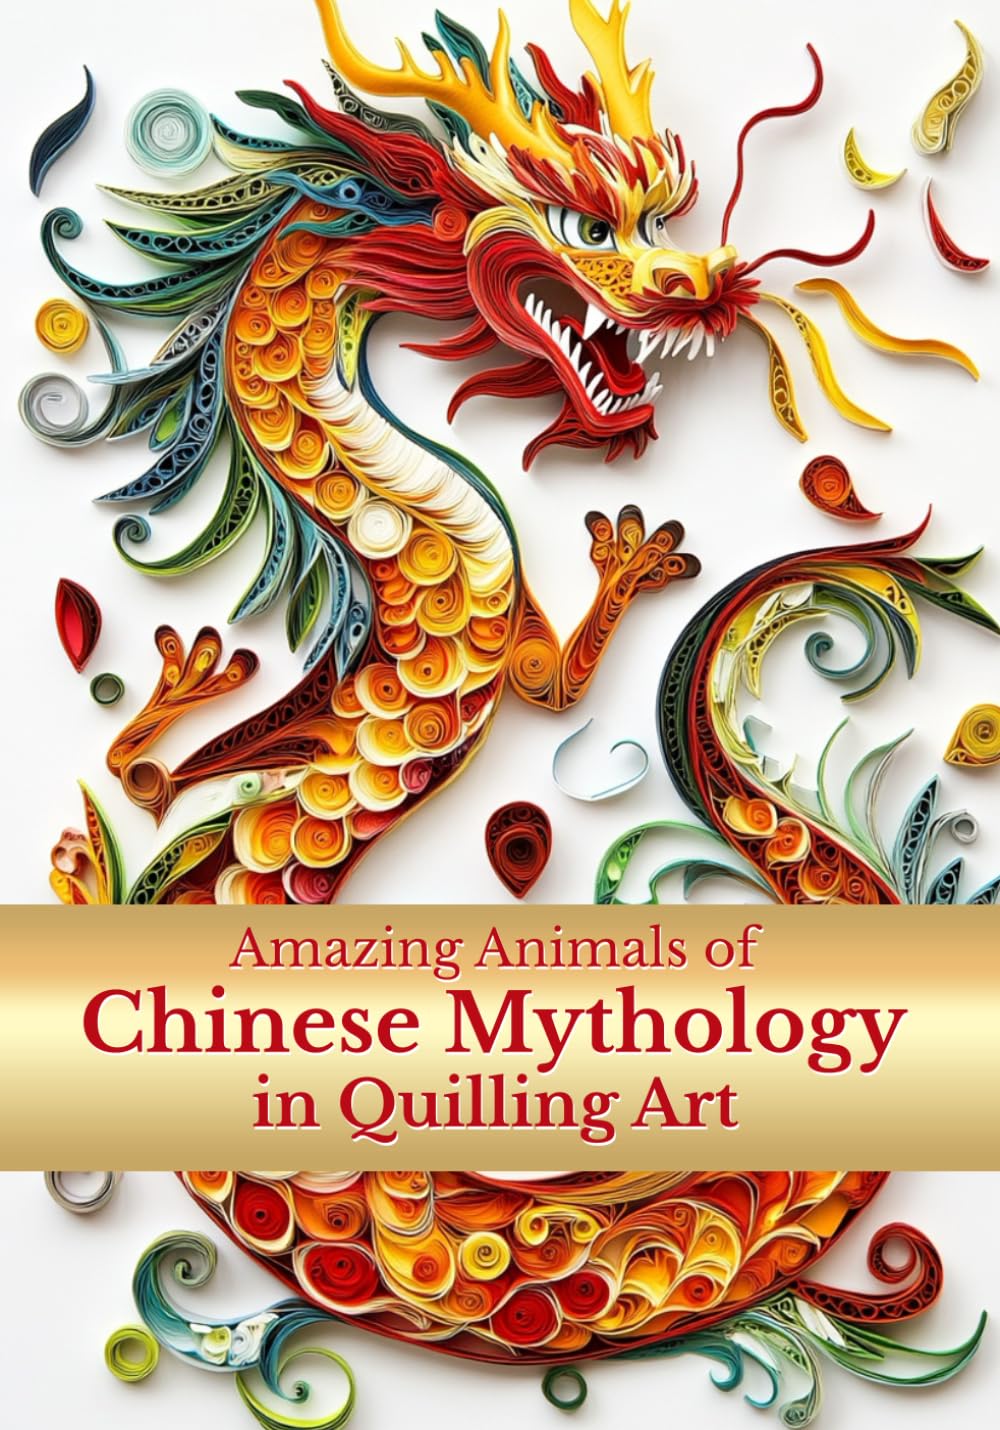
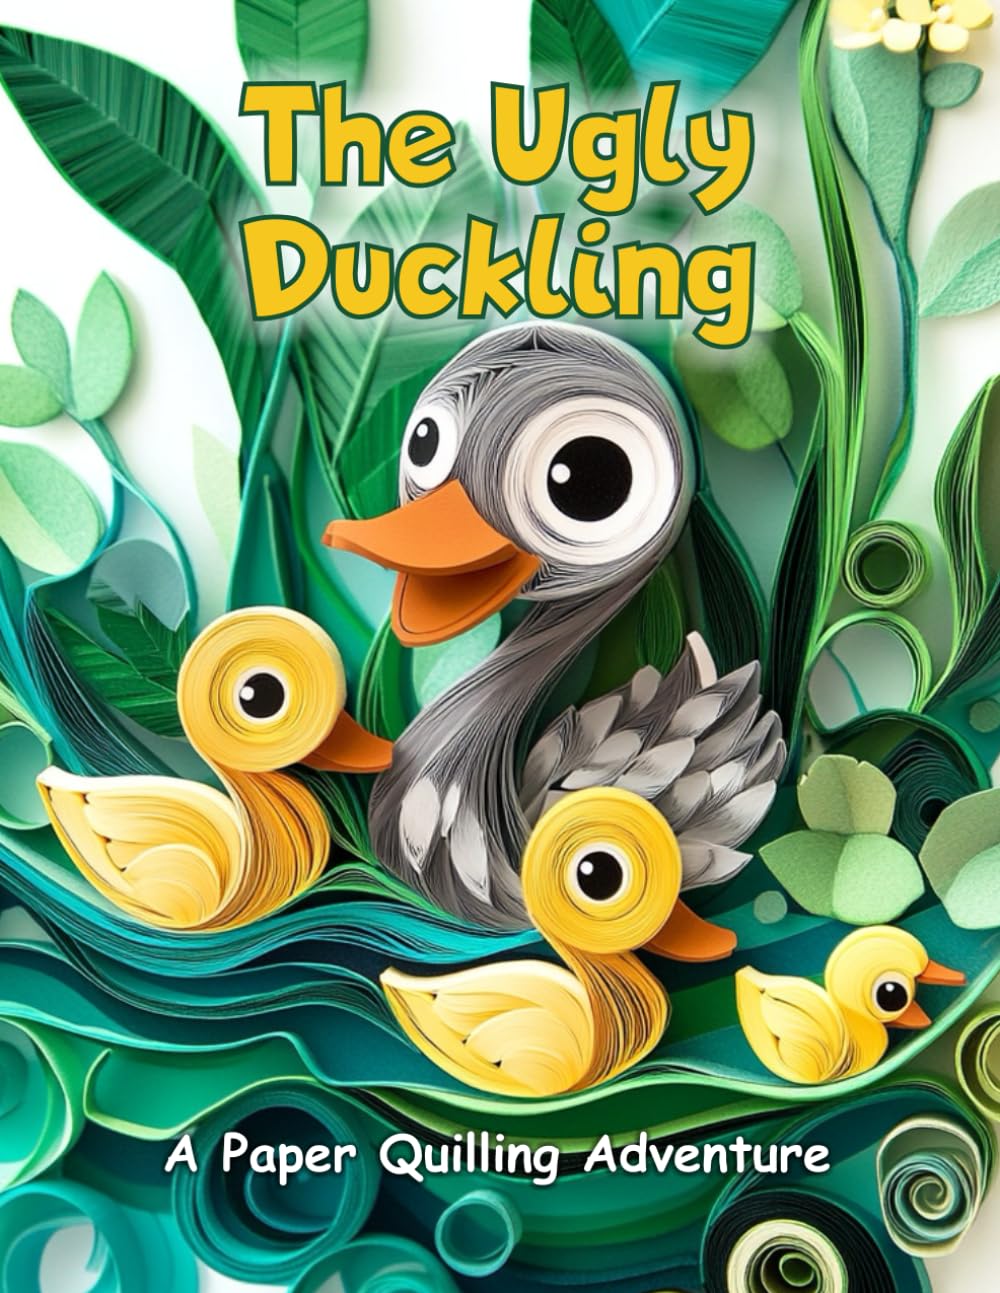
Paper quilling has been quietly winning over crafters for years, and in 2026 it's enjoying a fresh wave of popularity as people look for relaxing, screen-free hobbies that produce beautiful, tangible results. If you've ever admired those delicate coiled paper designs on greeting cards or framed wall art and wondered how they're made, you're in the right place. Whether you're picking up a slotted tool for the first time or looking to refine your technique, these tips and ideas will help you fall in love with quilling.
Getting Started the Right Way
One of the biggest mistakes beginners make is rushing into complicated designs before mastering the basics. Quilling is built on a handful of foundational shapes—tight coils, loose coils, teardrops, marquises, and scrolls—and every intricate design you've ever admired is really just a clever combination of these simple forms. Spend your first few sessions practicing shapes until your fingers develop muscle memory. It sounds tedious, but it pays off enormously once you start assembling real projects.
- Use good quality quilling paper strips (typically 1/8 to 1/4 inch wide) rather than cutting your own from scrapbook paper, at least when you're starting out.
- Invest in a slotted quilling tool and a needle tool—each has its place depending on the shape you're making.
- Keep a small dish of white glue with a fine-tip applicator or toothpick nearby for precise dots of glue.
- Work on a non-stick craft mat so drying pieces don't fuse to your table.
Tips for Cleaner, More Professional Results
As you grow more confident, small adjustments in technique make a big visual difference. Here are some tried-and-true tips that seasoned quillers swear by.
- Pinch with intention. When shaping teardrops or marquises, pinch firmly at one point and let the coil relax naturally on the other end for a crisp, professional look.
- Let coils rest before gluing. Coils have memory and will spring open slightly after you release them from the tool. Let them sit for a few seconds before securing the end, so your finished piece keeps a consistent, intentional shape.
- Vary your coil sizes. Using a circle sizing board or ruler ensures uniform coils when a design calls for repetition, which instantly elevates the polish of your work.
- Handle with tweezers. Fine-tipped tweezers protect delicate paper from finger oils and give you better control when placing tiny pieces.
- Seal your work. A light coat of clear-drying paper sealant or diluted glue protects finished pieces from humidity and adds subtle durability, especially for pieces destined for frames or cards.
Project Ideas to Keep You Inspired
Once your technique feels solid, the real fun begins: deciding what to make. Quilling is wonderfully versatile, scaling from quick five-minute embellishments to ambitious framed masterpieces.
- Greeting cards. A single quilled flower or geometric burst can transform a plain card into a handmade keepsake, perfect for birthdays, weddings, or thank-you notes.
- Wall art and framed designs. Try quilling a mandala, a favorite quote in quilled lettering, or a nature scene like a sunflower field for a striking piece of home decor.
- Jewelry. Sealed quilled coils can become lightweight earrings or pendants—a great way to use up leftover paper scraps.
- Seasonal decorations. Snowflakes, pumpkins, hearts, and shamrocks are simple shapes that make quilling perfect for holiday-themed crafting throughout the year.
- Gift toppers and bookmarks. Small quilled accents dress up wrapped presents or add a personal touch to a favorite book.
Making Quilling a Lasting Hobby
The best way to stick with any new hobby is to make it enjoyable and low-pressure. Keep a small kit ready to grab during quiet evenings, join an online quilling community for inspiration and feedback, and don't be afraid to experiment with color combinations and paper weights. Every wobbly first coil is a step toward the smooth, confident designs you'll be making before you know it. Happy quilling!