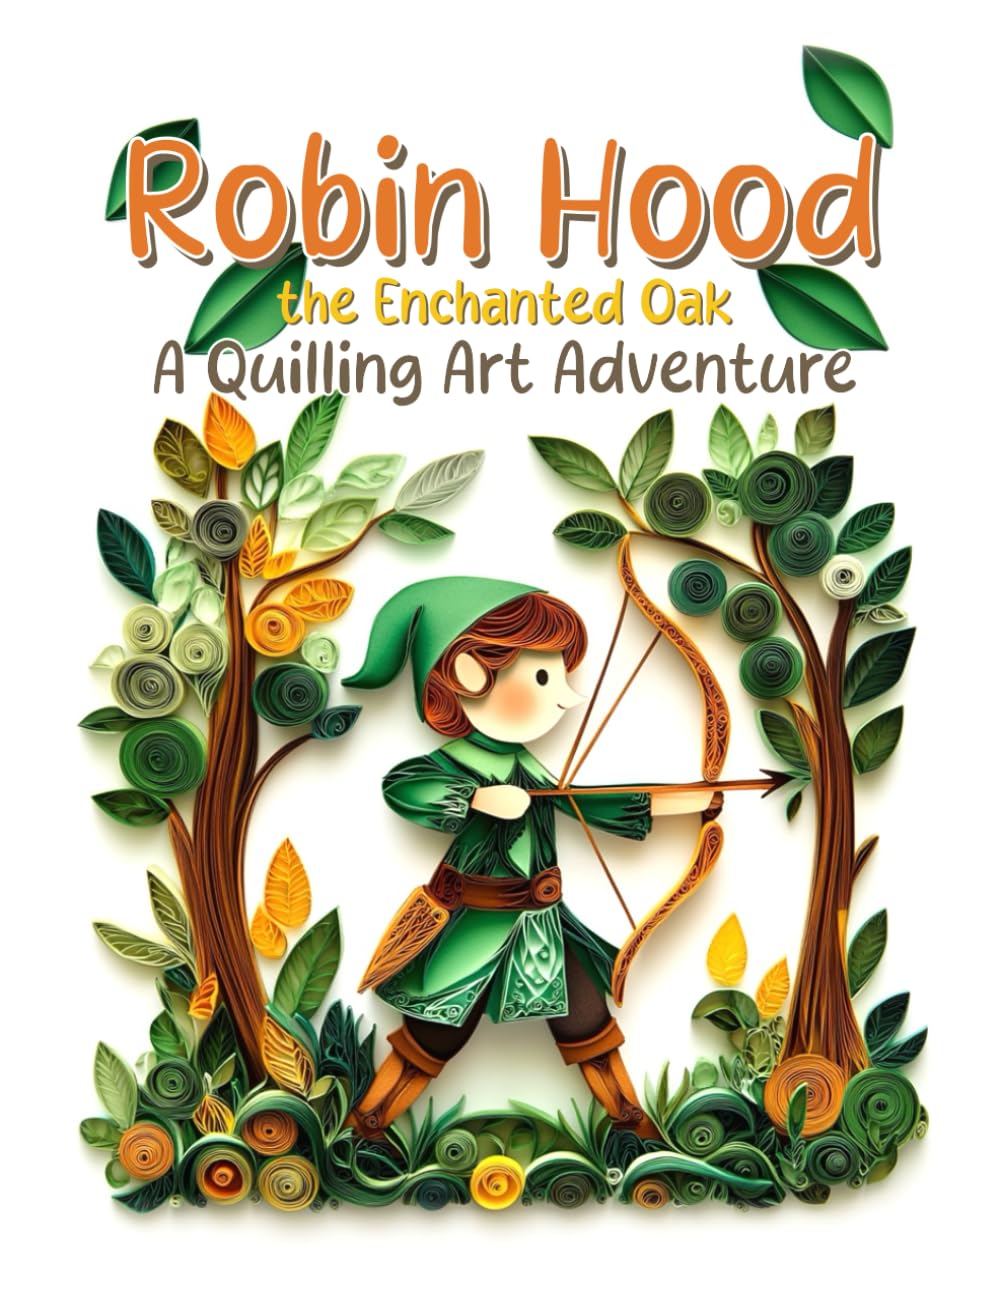
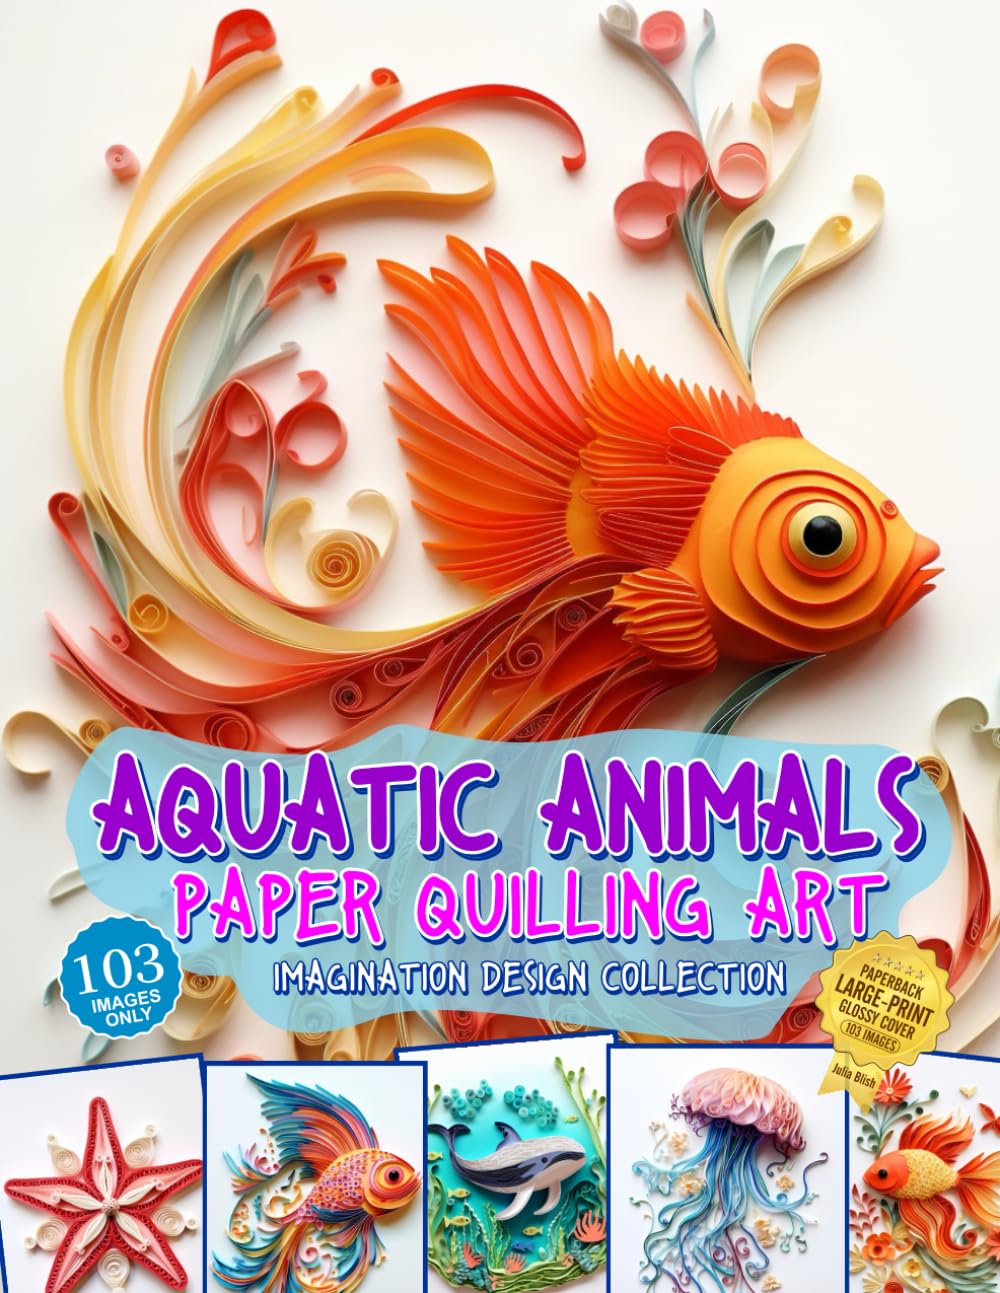
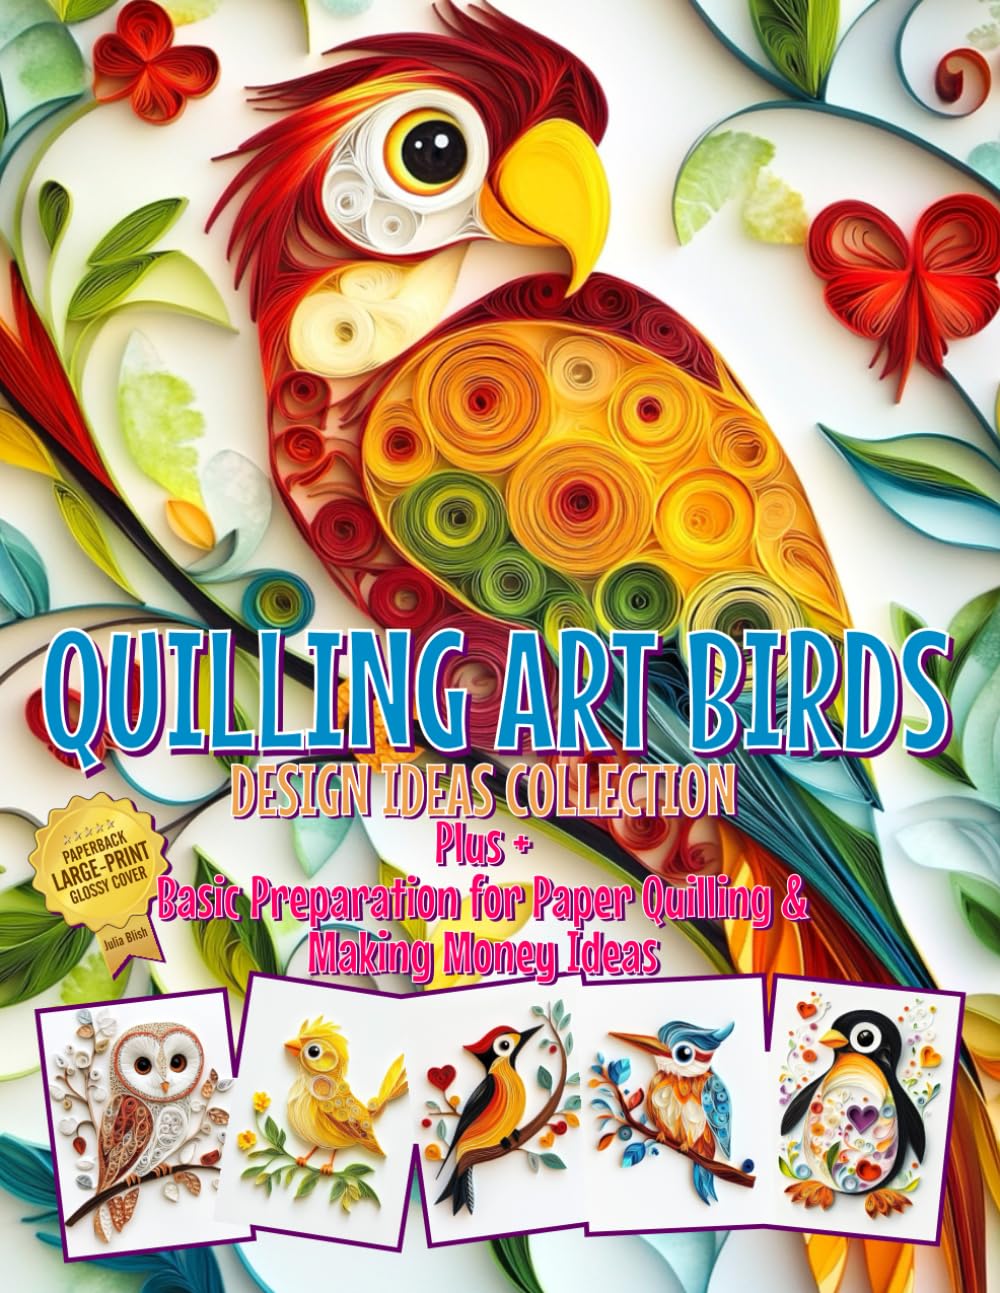
Paper quilling is one of those hobbies that looks intricate and impressive but is surprisingly approachable once you learn the basics. All you need is paper, glue, and a slotted tool to start rolling coils into beautiful shapes. Whether you're picking up a quilling tool for the first time in 2026 or you've been coiling paper for years, there's always something new to try. Here are my favorite tips and ideas to help you fall in love with this relaxing, rewarding craft.
Start With the Right Supplies
Good results start with good materials. Quilling paper strips come pre-cut in various widths, with 1/8 inch and 1/4 inch being the most common for beginners. Look for acid-free paper so your finished pieces don't yellow over time. A slotted quilling tool makes rolling coils much easier than trying to do it by hand, and a needle tool is great for more advanced, tighter coils. Don't forget a good craft glue with a fine-tip applicator, a corkboard with pins for shaping, and a quilling paper strip storage box to keep your colors organized.
Master the Basic Shapes First
Before diving into complex designs, practice the foundational shapes: tight coils, loose coils, teardrops, marquises, and shapes like hearts and squares. These basic coils are the building blocks of nearly every quilling project, from simple flowers to elaborate wall art. Spend an afternoon just rolling and shaping different coils without worrying about a finished project. Muscle memory matters in quilling, and the more comfortable you get with consistent, even coils, the more professional your finished pieces will look.
Tips for Cleaner, More Polished Results
- Roll your paper tightly and consistently for uniform coils, then let them relax slightly before gluing the end.
- Use a toothpick or small dish to apply tiny dots of glue rather than dipping strips directly into the bottle.
- Work on a non-stick craft mat or wax paper so stray glue doesn't ruin your project surface.
- Let each piece dry completely before moving on to the next layer, especially with 3D quilled projects.
- Keep a damp cloth nearby to wipe your fingers and tools clean as you work.
Project Ideas to Spark Your Creativity
Once you've got the basics down, the possibilities are nearly endless. Quilled greeting cards are a wonderful place to start since they're small, forgiving, and make thoughtful handmade gifts. Try quilled flowers for spring-themed cards, or geometric mandalas for a more modern look. Framed quilled art is another rewarding project — florals, birds, and landscapes all translate beautifully into this medium. For something functional, consider quilled earrings, ornaments, or gift tags. If you want a bigger challenge, three-dimensional quilled sculptures like vases, baskets, or animals really showcase how versatile this craft can be.
Find Inspiration and Keep Growing
Like any hobby, quilling grows more enjoyable as your skills develop. Follow quilling artists on social media, join online communities, or pick up a dedicated quilling book filled with patterns and step-by-step guidance. Seasonal projects are a great way to stay motivated throughout the year — think quilled snowflakes in winter, blooming flowers in spring, and colorful leaves in autumn. Don't be afraid to experiment with unconventional paper types, mixed media, or combining quilling with other crafts like scrapbooking or card making.
Most importantly, remember that quilling is meant to be relaxing. It's a wonderful way to slow down, focus your hands, and create something beautiful with very little investment. Keep a small quilling kit handy for quiet evenings, and don't worry about perfection — even slightly imperfect coils have their own handmade charm. With a bit of practice and these tips in your back pocket, you'll be creating gorgeous quilled designs in no time.