If you're looking for a hobby that's inexpensive, portable, and endlessly creative, paper quilling might be your perfect match. This gentle craft involves rolling, shaping, and gluing thin strips of paper into beautiful coils that come together to form flowers, animals, patterns, and even framed art. Whether you're brand new to quilling or looking to refine your skills in 2026, these tips and ideas will help you fall in love with the process.
Getting Started with the Right Supplies
You don't need a big investment to begin quilling. A slotted quilling tool, a pack of quilling paper strips, some craft glue, and a piece of cardstock are really all it takes. As you grow more comfortable, consider adding a needle tool for tighter coils, a circle sizing board to keep your shapes consistent, and tweezers for placing delicate pieces precisely.
- Start with wider strips (about 1/4 inch) since they're easier to handle for beginners.
- Choose a slotted tool at first, then experiment with a needle tool once you're ready for more control.
- Keep a damp sponge or fine-tip glue applicator nearby to avoid messy fingers.
Simple Techniques Every Quiller Should Know
Paper quilling relies on just a handful of core shapes, so mastering the basics will open up endless design possibilities. The tight coil, loose coil, teardrop, marquise, and heart shapes form the foundation of almost every quilled design you'll see. Practice rolling consistent coils by keeping your paper taut and your rolling speed steady — this is the secret to professional-looking results.
Here are a few tips that make a real difference:
- Always let your glue dry completely before moving a piece, especially for 3D projects.
- Use a circle sizing template to ensure coils of the same shape end up the same size.
- Store your paper strips in labeled envelopes by color to save time during projects.
- Work on a mat or felt board so pieces don't slide around while you're gluing.
Project Ideas to Spark Your Creativity
Once you're comfortable with the basics, it's fun to branch out into different styles of quilling projects. Try starting with something small and rewarding before working up to more detailed pieces.
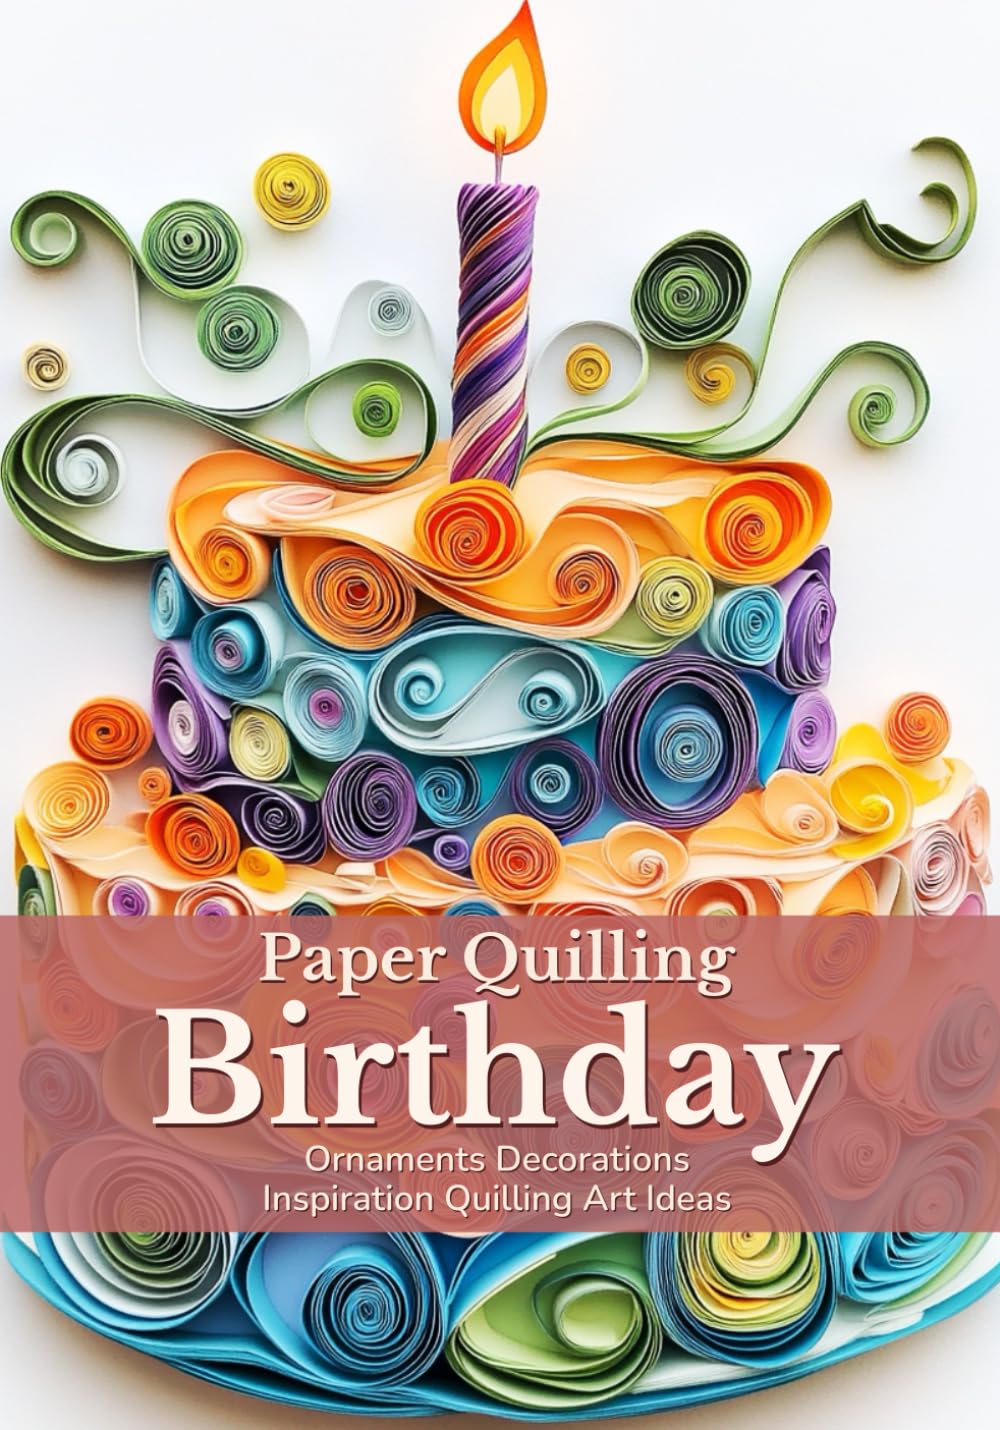
- Greeting cards: A quilled flower or butterfly makes a heartfelt handmade card for birthdays or holidays.
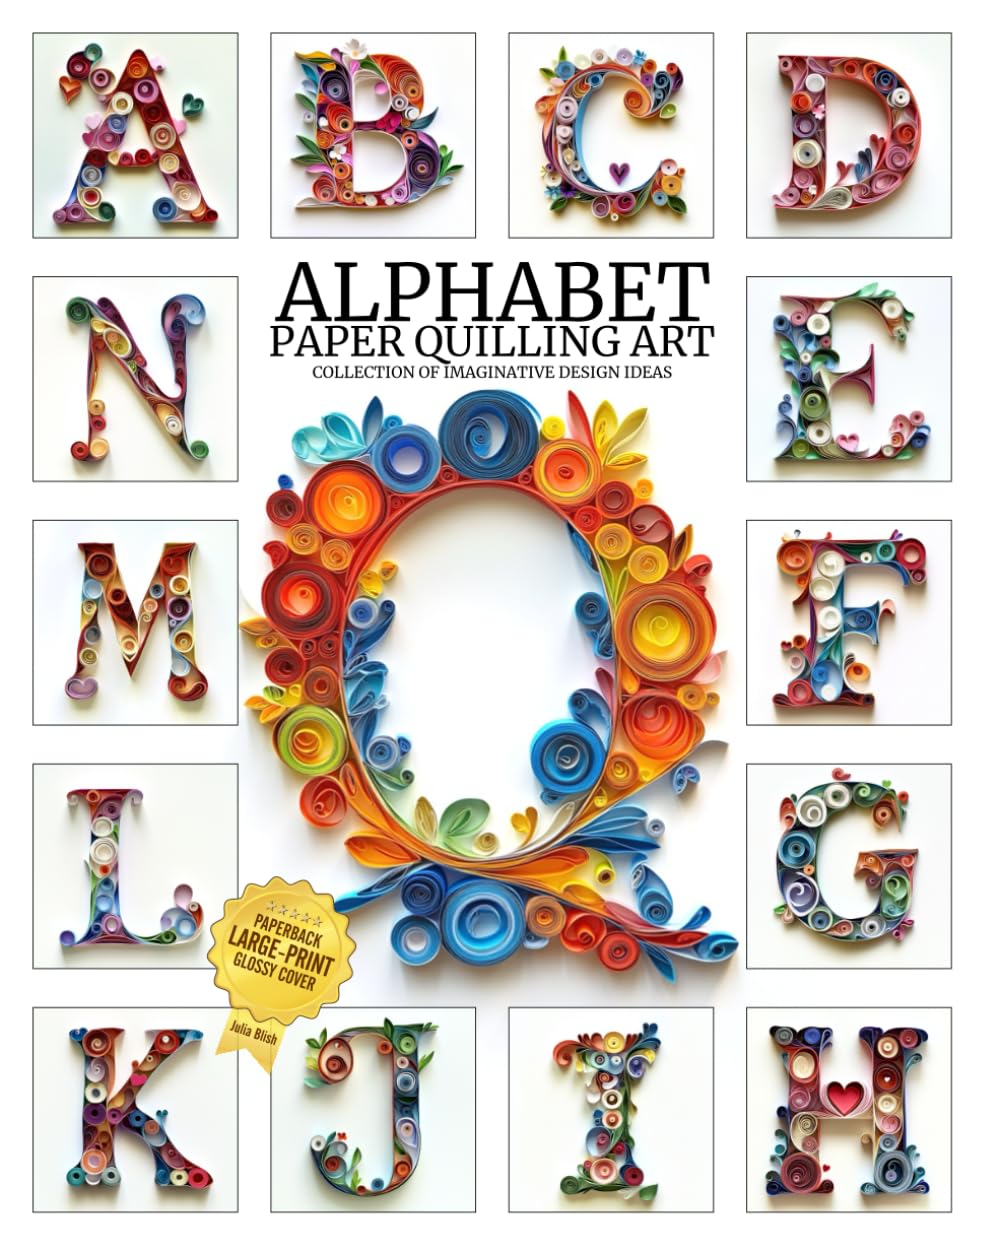
- Framed wall art: Combine several coils into a mandala or floral wreath design for a striking piece of decor.
- Jewelry: Small quilled shapes sealed with resin can become earrings, pendants, or brooches.
- Ornaments: Quilled snowflakes or stars are lightweight and lovely for seasonal decorating.
- Bookmarks: A single quilled flower glued to cardstock makes a quick, giftable project for beginners.
Troubleshooting Common Frustrations
New quillers often get discouraged by uneven coils or paper that won't hold its shape. If your coils keep unrolling, try applying a small dot of glue at the very end of the strip before you finish rolling, then hold it gently for a few seconds. If your shapes look lopsided, slow down your rolling speed and make sure your paper strip is aligned straight on the tool. Humidity can also affect paper quilling, so store your finished pieces and paper strips in a cool, dry place.
Making It a Relaxing Ritual
Many crafters find quilling to be meditative — the repetitive rolling motion can be calming after a long day. Consider setting aside a regular time each week for your quilling practice, even if it's just fifteen minutes. Play some music, lay out your tools, and let yourself enjoy the process rather than rushing toward a finished product.
Paper quilling rewards patience and practice, but even your earliest attempts can result in charming, giftable art. Start with a simple flower or heart shape, gather a few basic supplies, and give yourself permission to experiment. Before long, you'll have a colorful collection of quilled creations — and a hobby you'll want to return to again and again.