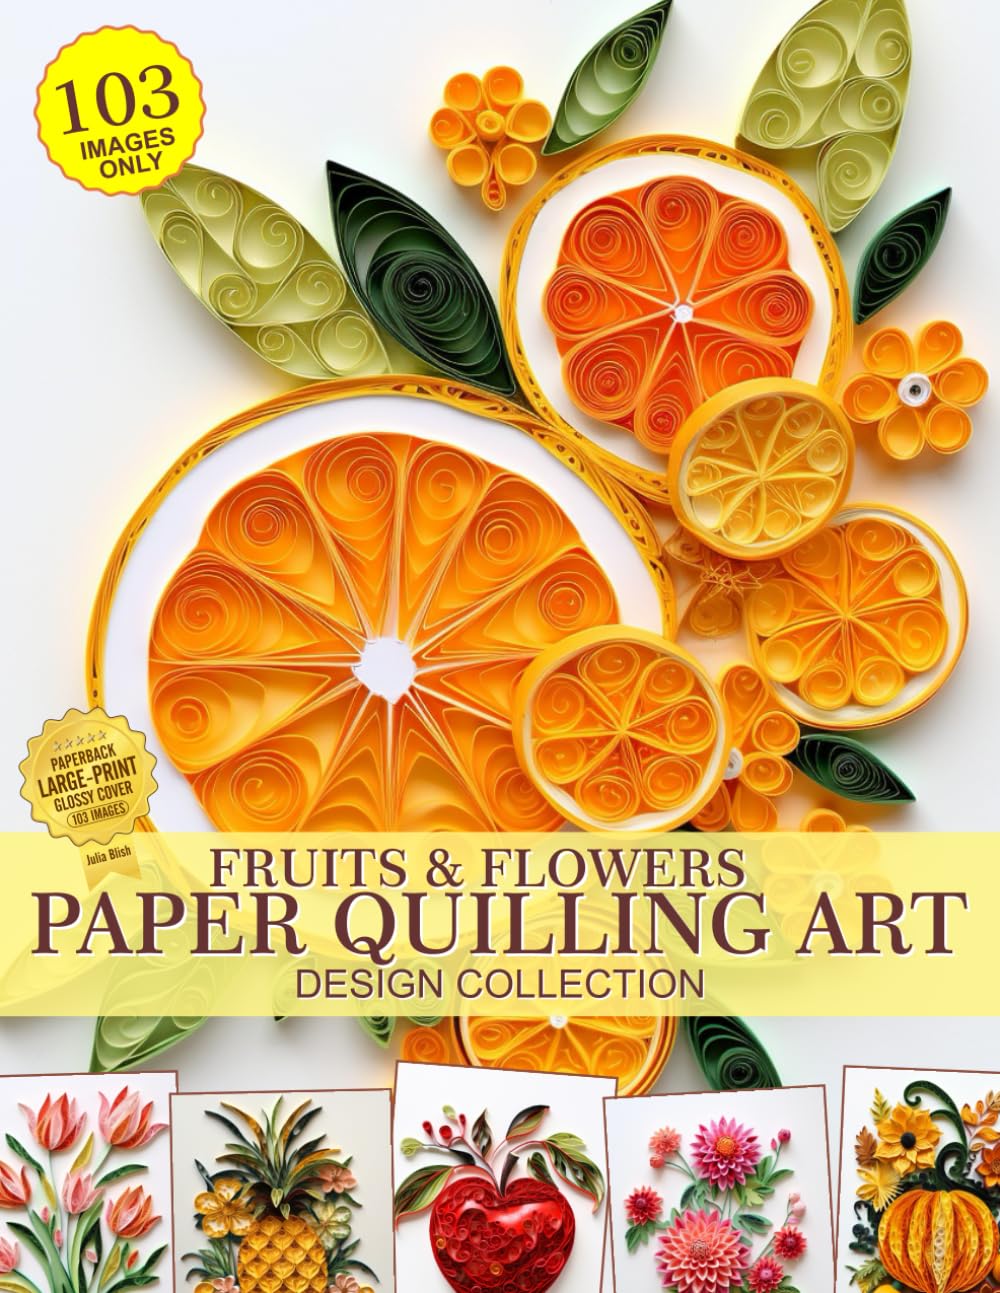
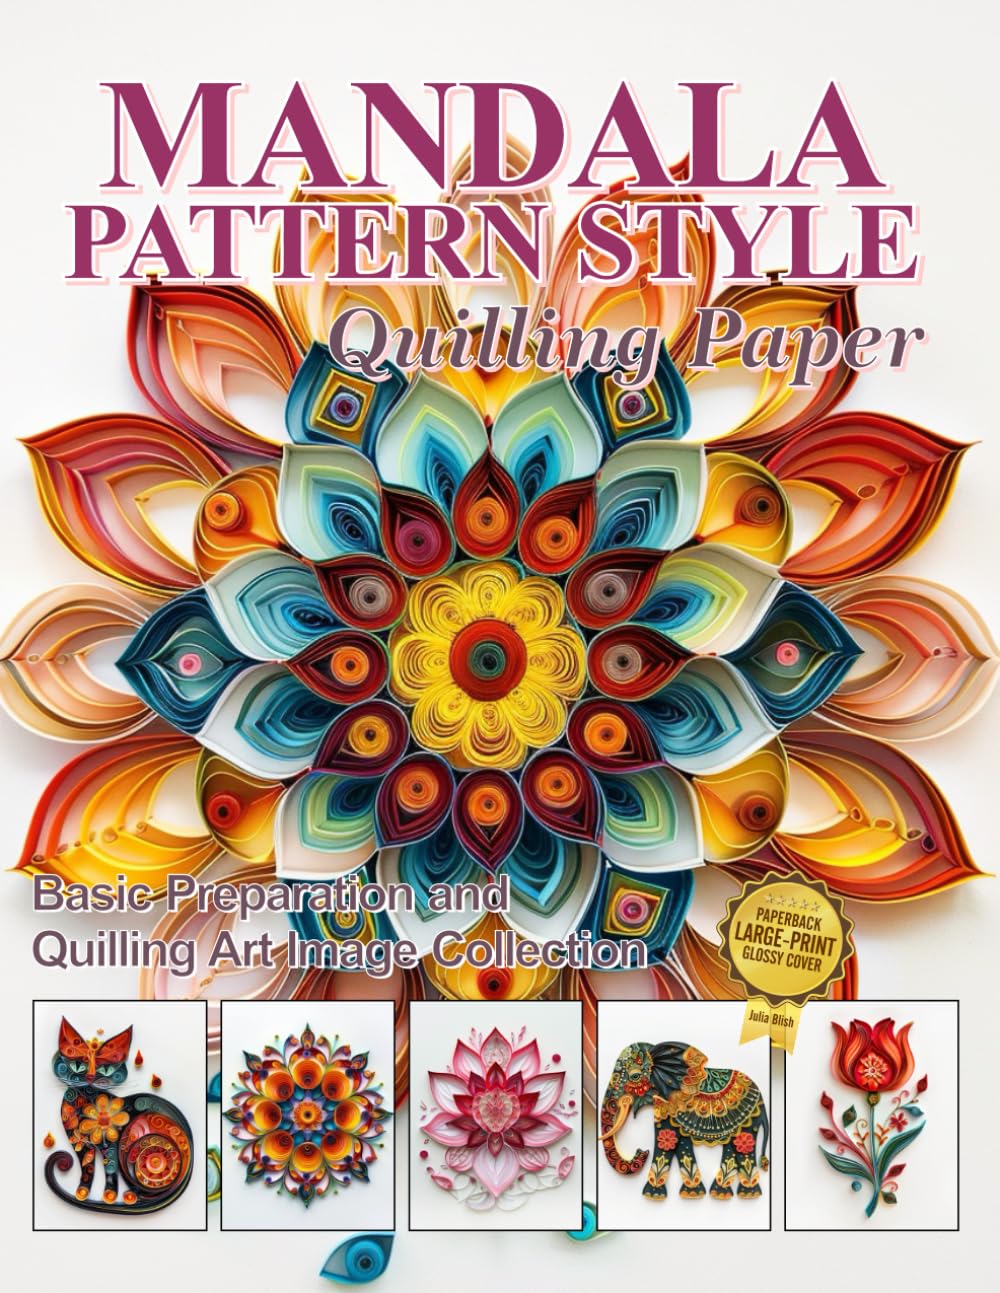
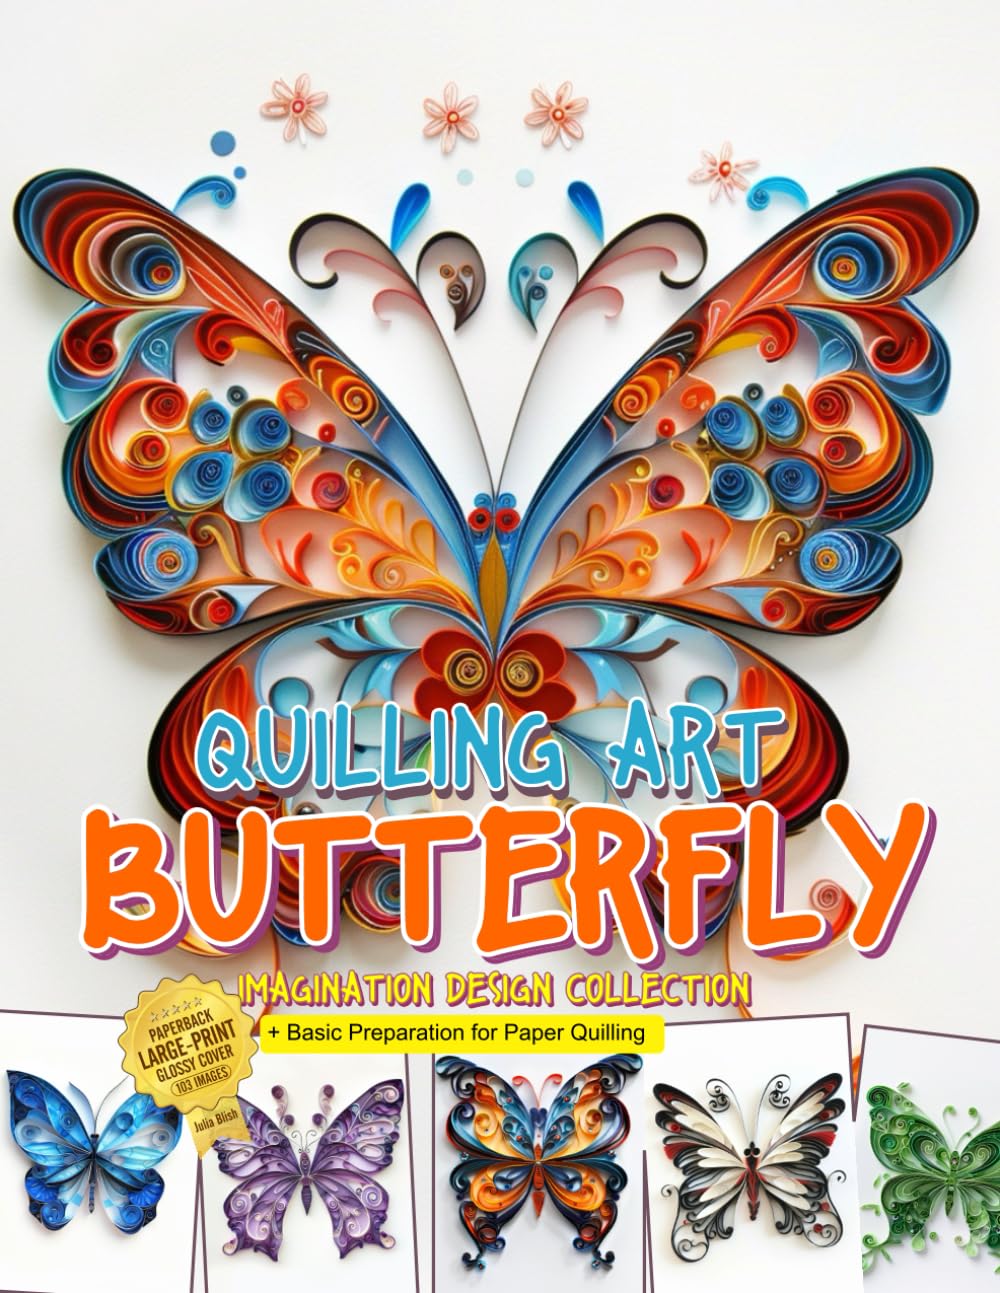
If you're looking for a hobby that's affordable, portable, and endlessly creative, paper quilling deserves a spot on your list. Also called paper filigree, quilling is the art of rolling thin strips of paper into coils and shaping them into beautiful designs for cards, wall art, jewelry, and home decor. Whether you're a total beginner or returning to quilling after a break, these tips and ideas will help you fall in love with the craft all over again.
Why Paper Quilling Is Worth Trying
Quilling requires very few supplies, making it one of the most budget-friendly crafts you can start today. All you really need is quilling paper strips, a slotted tool or needle tool, glue, and a little patience. It's also wonderfully meditative — the repetitive motion of rolling coils can feel almost like a form of mindfulness, similar to knitting or coloring.
Essential Tools and Materials
- Quilling paper strips: Precut strips in various widths (1/8 inch is a popular standard) and colors are widely available and save you time versus cutting your own.
- Slotted tool: This handy tool has a slit at the tip that grips the paper so you can roll tight, even coils.
- Needle tool: Great for creating coils without the small central hole a slotted tool can leave behind.
- Glue: A precision-tip glue bottle or toothpick for dabbing small amounts of glue exactly where you need it.
- Corkboard and pins: Useful for holding pieces in place while you build larger designs.
- Circle sizer board: Helps you make consistent, matching coils for symmetrical designs.
Beginner-Friendly Tips
Start simple. Practice the basic coil shapes first — tight coils, loose coils, teardrops, marquise, and shapes — before attempting a full design. These basic shapes are the building blocks of nearly every quilled project, so mastering them early pays off later.
Keep your paper strips organized by color and width in small containers or a divided tray. Nothing slows down a crafting session like hunting for the right shade of blue in a tangled pile of paper.
Don't rush your glue. Applying too much glue can warp your paper or make your coils lose their crisp shape. A small dot is usually all you need to secure a coil's tail.
Fun Project Ideas to Try
- Greeting cards: Quilled flowers, hearts, and monograms make gorgeous handmade cards for birthdays, weddings, and holidays.
- Wall art: Frame a quilled mandala or botanical design for a striking piece of home decor that guests will always ask about.
- Jewelry: Seal quilled paper shapes with resin or varnish to create lightweight earrings and pendants.
- Gift tags and bookmarks: Small quilled accents add a handmade touch to gifts and reading nooks alike.
- Seasonal decor: Quilled pumpkins, snowflakes, and flowers are perfect for rotating decorations throughout the year.
Troubleshooting Common Quilling Struggles
If your coils keep slipping before you can glue them, try holding the coil against the table for a few seconds after releasing it from the sizer board — this lets the paper relax slightly and hold its shape better. If your finished pieces look uneven, double-check that you're using consistent tension while rolling; too loose and shapes lose definition, too tight and they can look stiff.
Patience truly is the secret ingredient in quilling. Like most crafts, your first few pieces may not look exactly like the picture in a tutorial, and that's perfectly normal. Each project builds your muscle memory and confidence.
Keep the Inspiration Flowing
Follow other quilling artists online, flip through craft books for pattern ideas, and don't be afraid to experiment with color combinations that feel unique to you. Quilling is a craft that rewards curiosity, so keep a small notebook of shapes and color palettes you love for future projects.
With a few basic tools, a stack of colorful paper strips, and a willingness to practice, you'll find that paper quilling can quickly become a favorite creative outlet — one coil at a time.