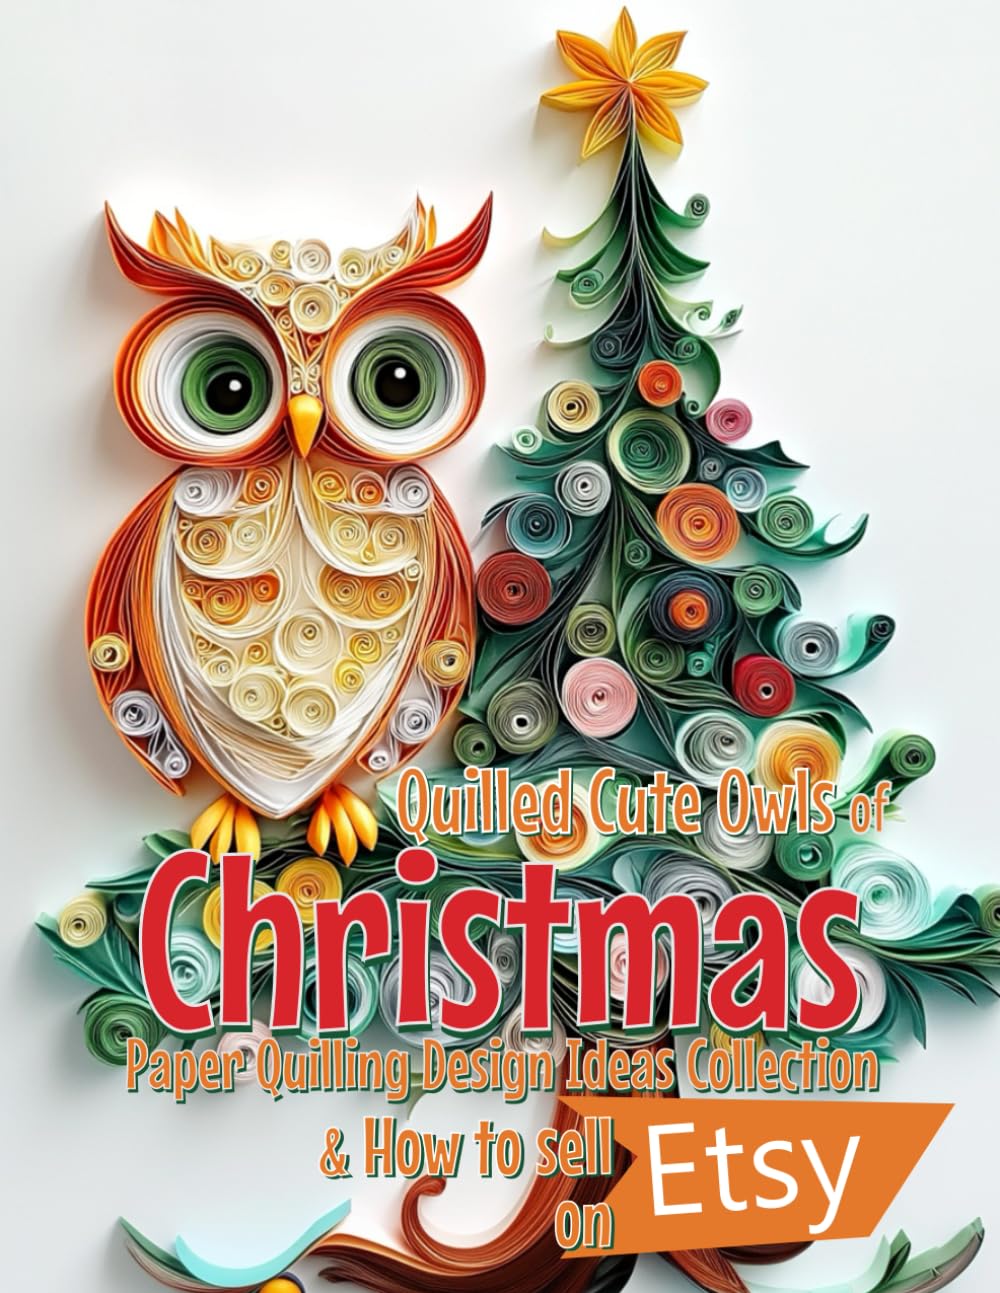
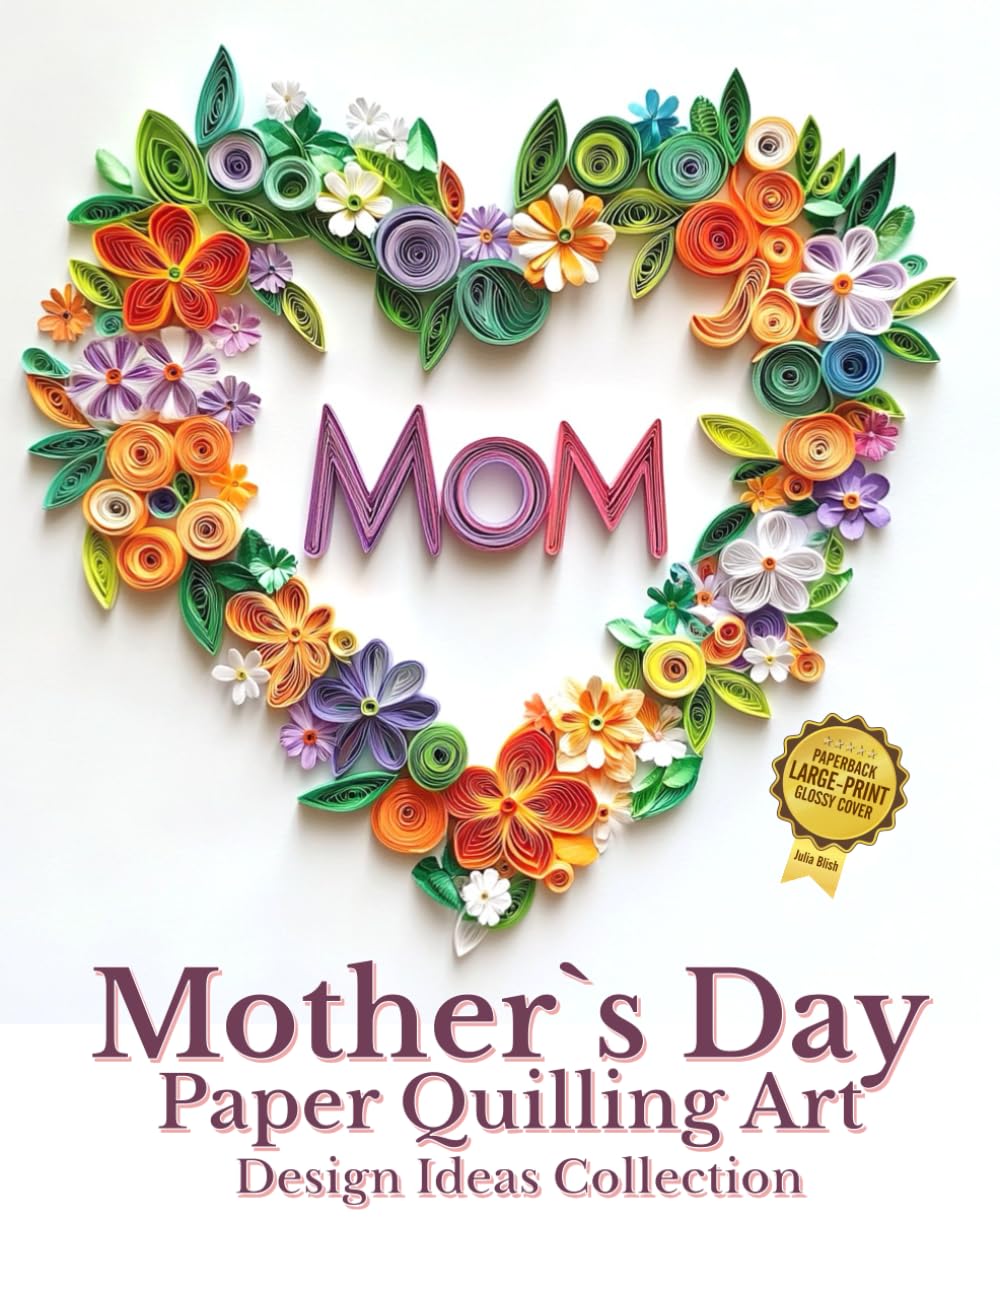
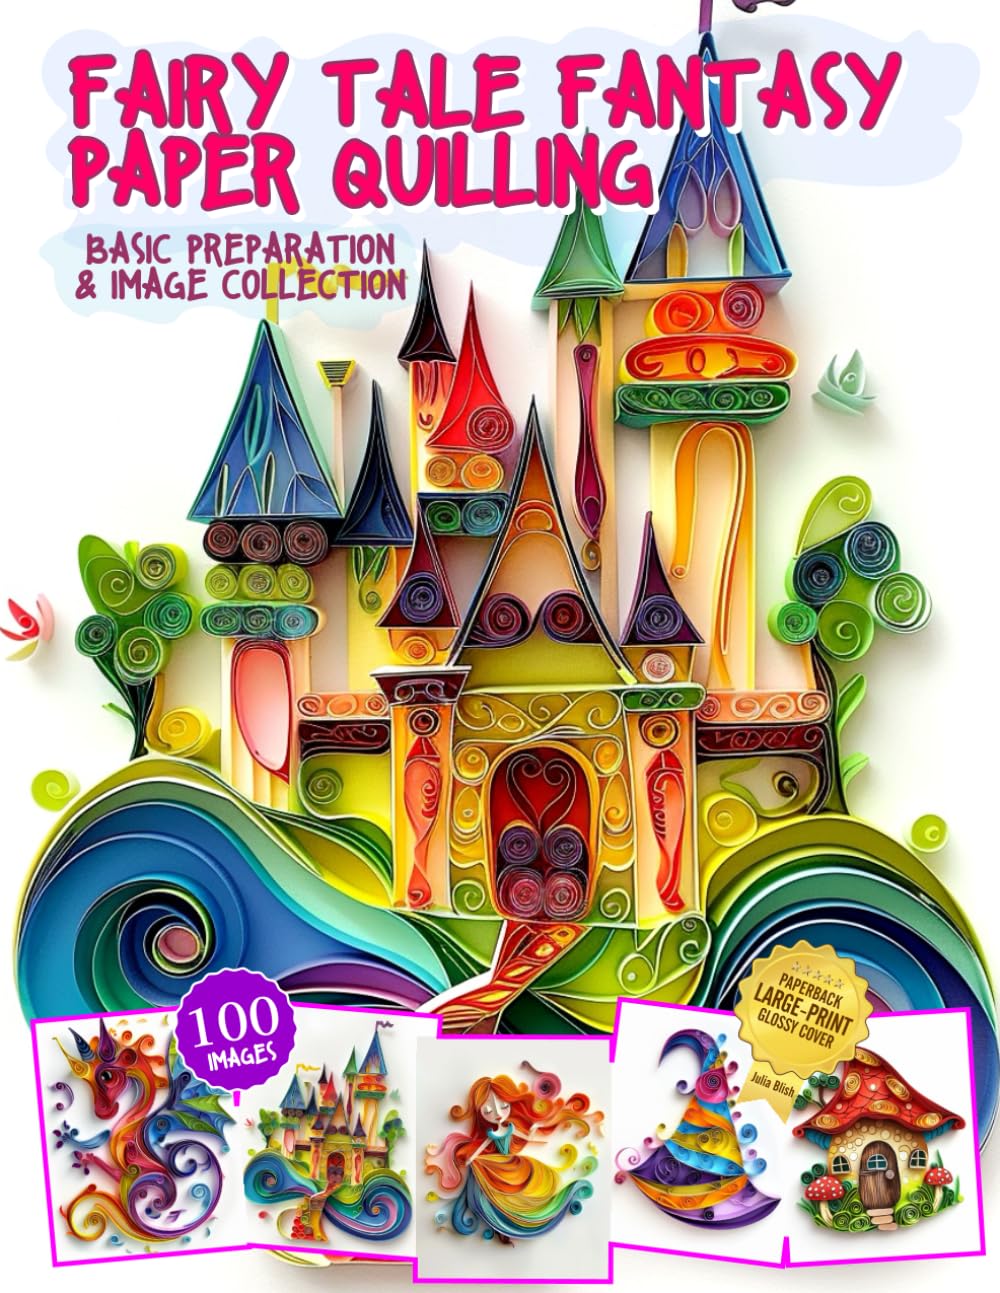
If you're searching for a hobby that's inexpensive, portable, and endlessly rewarding, paper quilling deserves a spot on your list. Also called paper filigree, quilling involves rolling thin strips of paper into coils and shaping them into beautiful designs for cards, wall art, jewelry, and home decor. All you really need is paper, glue, and a slotted tool, making it one of the most accessible crafts to pick up this year.
Why Paper Quilling Is Perfect for Any Hobbyist
Quilling is often called a form of meditation with paper. The repetitive motion of rolling strips is calming, similar to knitting or coloring, while the finished projects give you an immediate sense of accomplishment. It's also budget-friendly compared to many other crafts. A pack of quilling paper strips costs just a few dollars, and one bundle can produce dozens of small projects. Plus, quilling supplies take up very little storage space, making it ideal for crafters with limited room.
Essential Tools to Get Started
Before diving in, gather these basic supplies to set yourself up for success:
- A slotted quilling tool or needle tool for rolling coils
- Precut quilling paper strips in various widths (1/8 inch is a great beginner size)
- Craft glue with a fine-tip applicator
- A quilling board with circle templates for consistent coil sizes
- Tweezers for precise placement
- A corkboard and pins if you're working on larger designs
Once you have these on hand, you're ready to practice the foundational shapes that make up nearly every quilling design: tight coils, loose coils, teardrops, marquise shapes, and scrolls.
Tips for Quilling Success
Even experienced crafters benefit from revisiting the basics. Here are some tips to keep your quilling projects looking polished:
- Glue sparingly. A tiny dot at the end of each strip is usually enough. Too much glue can warp your paper or create visible clumps.
- Let coils relax before gluing. After rolling a coil, let it loosen slightly on the quilling board before securing the end. This prevents overly tight, stiff shapes.
- Work on a non-stick mat. This keeps your projects from sticking to your work surface and makes cleanup easier.
- Practice consistent pressure. Uniform pressure while rolling helps your coils come out even, which makes a noticeable difference in finished pieces.
- Keep strips organized by color and width. Small labeled containers or a divided storage box will save you time and frustration.
Project Ideas to Try This Year
Ready to put your new skills to work? Here are a few project ideas perfect for beginners and beyond:
- Greeting cards. Quilled flowers, hearts, and geometric patterns make gorgeous handmade cards for birthdays, holidays, and thank-you notes.
- Wall art. Frame a quilled mandala or floral wreath for a stunning statement piece.
- Jewelry. Seal small quilled shapes with resin to create earrings, pendants, or brooches.
- Gift tags and bookmarks. These make great quick projects when you want a finished piece in under an hour.
- Seasonal decor. Quilled pumpkins, snowflakes, and hearts add a handmade touch to your home throughout the year.
Finding Inspiration and Growing Your Skills
As you grow more comfortable with basic shapes, challenge yourself with husking techniques, 3D quilling, and shading with multiple paper colors. Following quilling artists online, joining craft communities, and working through a good project book can all help spark new ideas. Many hobbyists find that keeping a small notebook of design sketches helps them plan more intricate pieces before committing paper and glue.
Whether you're looking for a calming solo activity or a craft to share with friends, paper quilling offers endless creative possibilities. Start simple, be patient with your first few coils, and before long you'll be creating intricate designs that make wonderful gifts, decor, and conversation pieces.