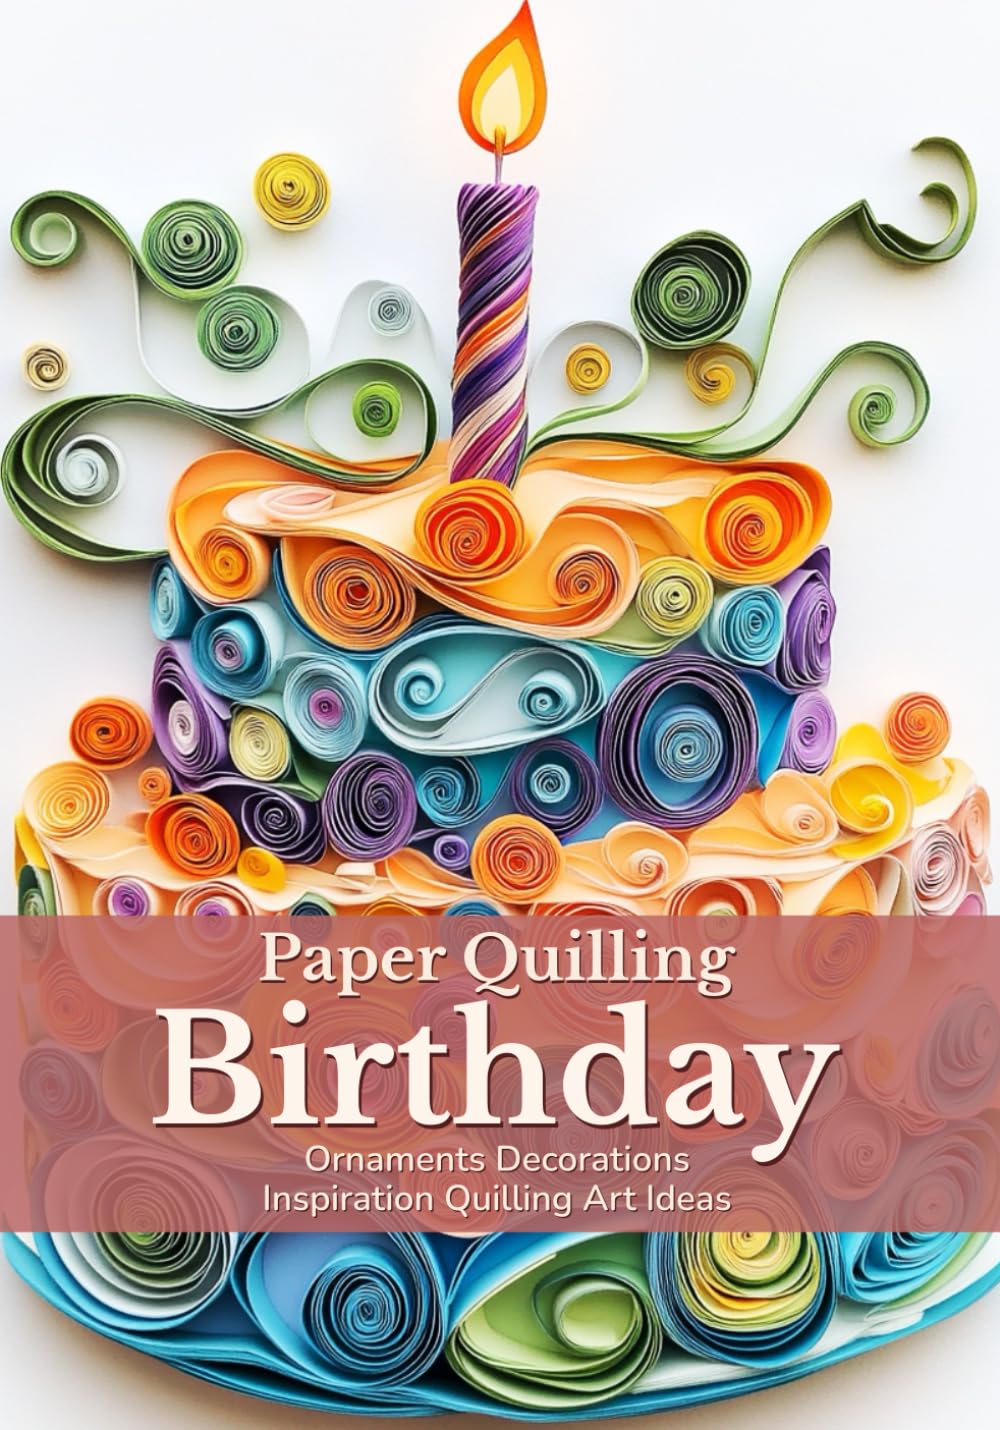
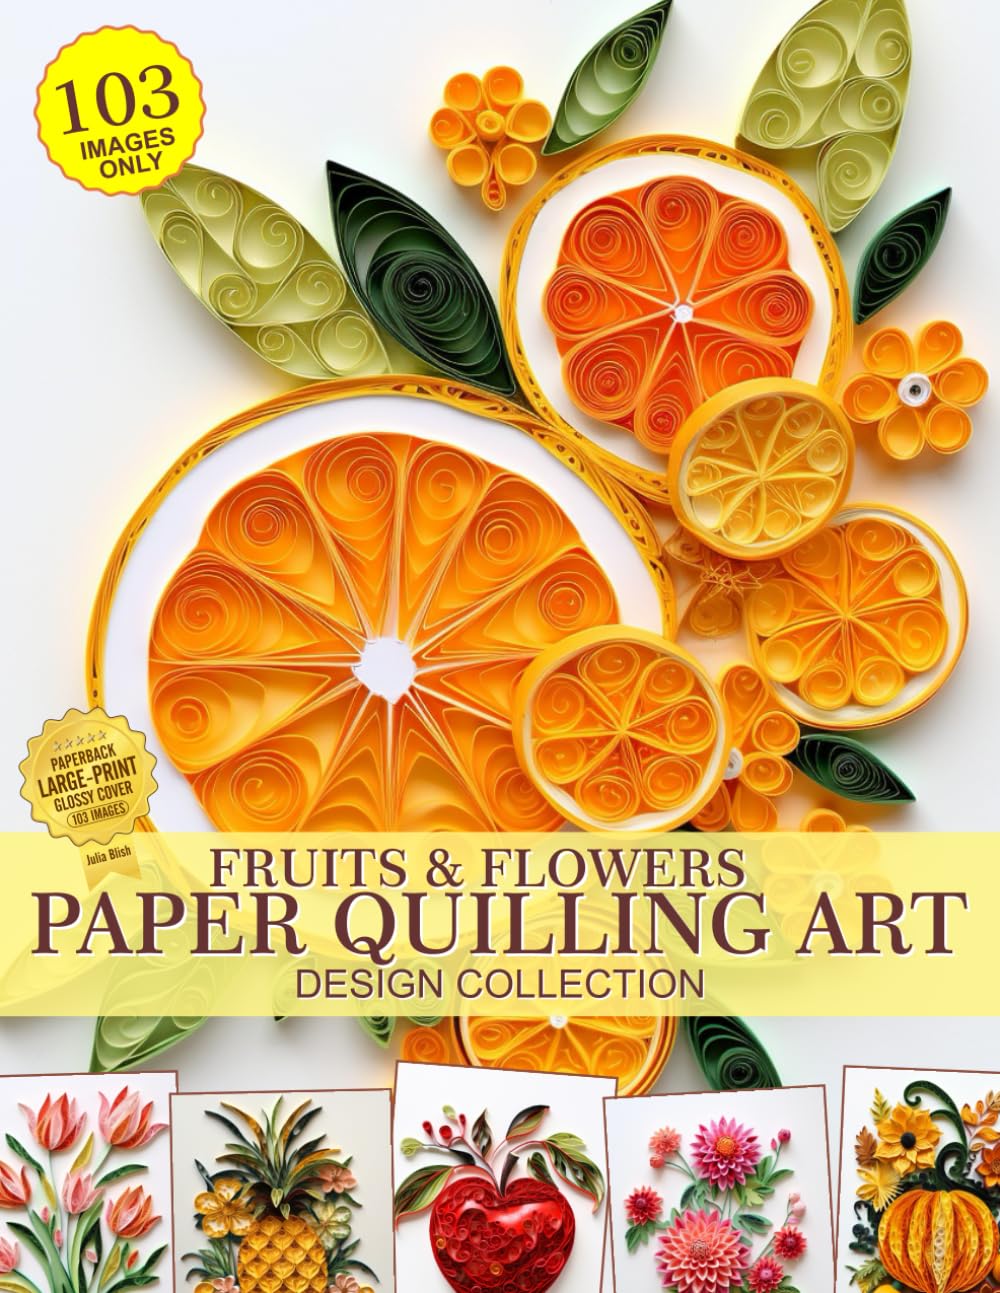
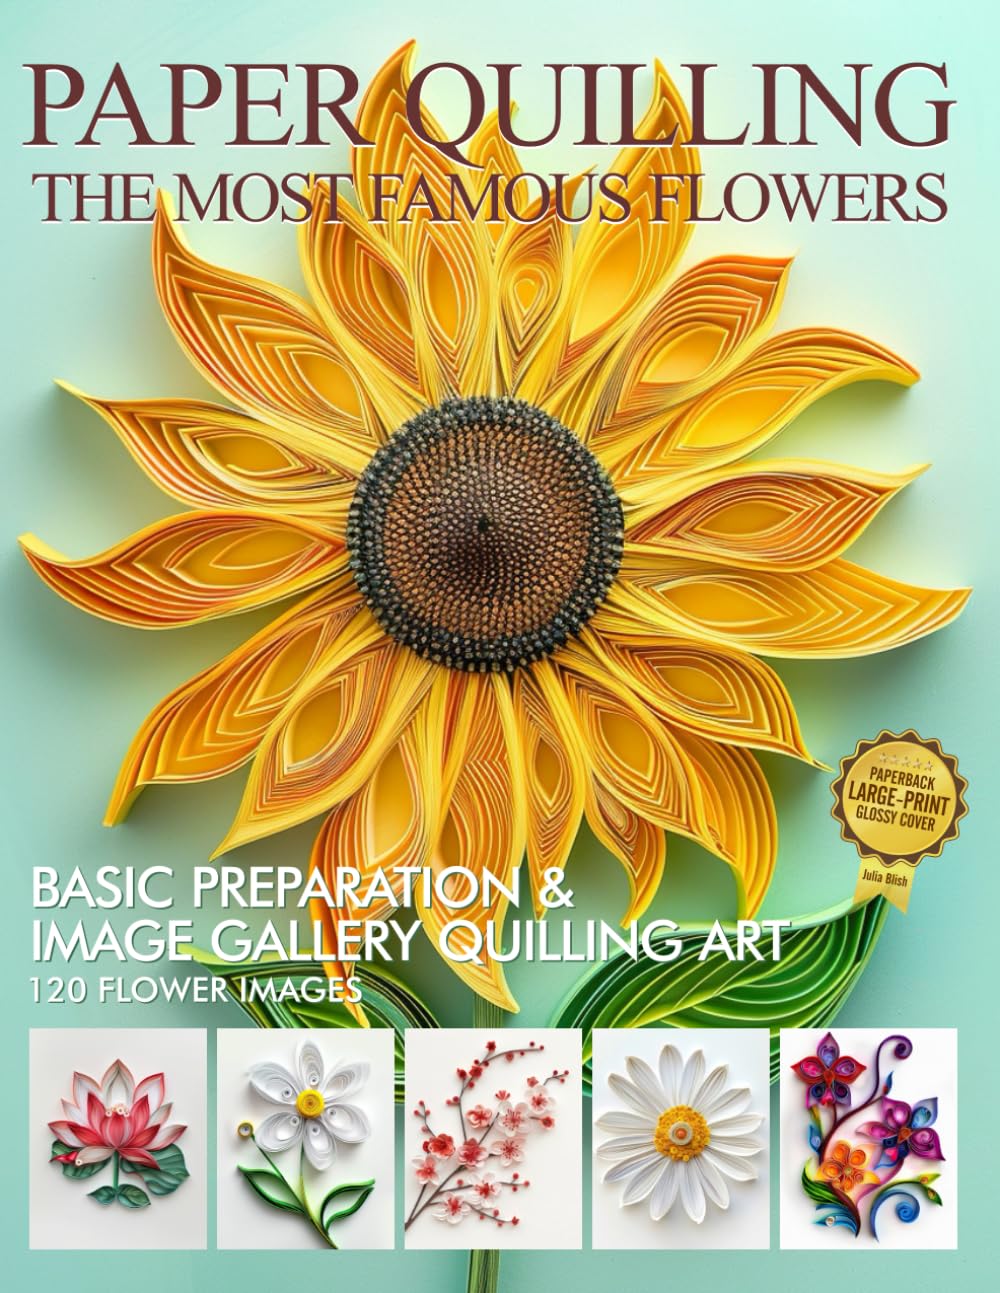
If you're looking for a hobby that's portable, affordable, and endlessly creative, paper quilling deserves a spot on your list. This gentle art of rolling and shaping strips of paper into beautiful designs has been enjoyed for centuries, and in 2026 it's having a wonderful resurgence thanks to crafters rediscovering slow, mindful hobbies. Whether you're brand new to quilling or looking to fall back in love with it, here are my favorite tips and ideas to inspire your next project.
Why Paper Quilling Makes a Great Hobby
Quilling requires very little space, minimal investment, and no special skills to start. All you really need is quilling paper strips, a slotted tool, glue, and a bit of patience. It's meditative in the way knitting or embroidery can be—perfect for winding down after a long day while still producing something beautiful to show for your time.
Essential Tools to Get Started
- Slotted quilling tool – helps you roll coils quickly and evenly, ideal for beginners.
- Needle tool – gives you more control for tighter, more precise coils once you're comfortable.
- Quilling paper strips – pre-cut strips in various widths (1/8", 1/4", and 3/8" are most common) save you time.
- Glue with a fine tip – a small bottle or toothpick applicator prevents messy, oversaturated paper.
- Corkboard and pins – useful for holding shapes in place while you build larger designs.
- Circle sizer board – ensures your coils are consistent, which makes a huge visual difference in finished pieces.
Tips for Better Quilling Results
Small adjustments in technique can make a big difference in how professional your quilled pieces look. Here are a few tried-and-true tips:
- Let coils rest before gluing. Roll your coil, let it relax slightly on the table, then glue the end. This prevents overly tight, stiff shapes.
- Use tweezers for tiny pieces. They give you far better control than fingers alone, especially for delicate shapes like teardrops or marquise.
- Mind your paper grain. Quilling paper rolls more smoothly in one direction—experiment to find it before starting a big project.
- Work in layers. Build dimension by gluing smaller quilled elements on top of larger background shapes.
- Practice consistent pressure. Uneven pressure while rolling creates lopsided coils, so aim for a steady, relaxed grip.
Fun Project Ideas for Every Skill Level
Once you've got the basics down, the possibilities are nearly endless. Here are some ideas to spark your creativity:
- Greeting cards – Simple quilled flowers or hearts make heartfelt, handmade cards for any occasion.
- Framed wall art – Combine quilled shapes into a mandala or floral wreath design for a striking piece of decor.
- Ornaments – Small quilled snowflakes or stars make lovely holiday decorations and gifts.
- Jewelry – Seal quilled shapes with resin to create earrings, pendants, or brooches.
- Bookmarks – A quick project using just a few coils, perfect for using up scrap paper.
- 3D sculptures – Once you're more advanced, try quilled animals, vases, or miniature scenes for an impressive showcase piece.
Finding Community and Inspiration
Paper quilling communities online are thriving in 2026, with crafters sharing tutorials, patterns, and encouragement. Joining a local craft group or an online forum can help you stay motivated and pick up new techniques faster than working alone. Don't be afraid to experiment with color combinations, paper textures, and even mixed media—quilling pairs beautifully with watercolor backgrounds or ink-drawn details.
Final Thoughts
Paper quilling is one of those hobbies that rewards patience with genuinely stunning results. Start small, be kind to yourself as you learn, and remember that even simple coils can become extraordinary art with a little creativity. Grab some paper strips, put on your favorite music, and let your hands relax into the gentle rhythm of rolling and shaping—you might just find your new favorite way to unwind.