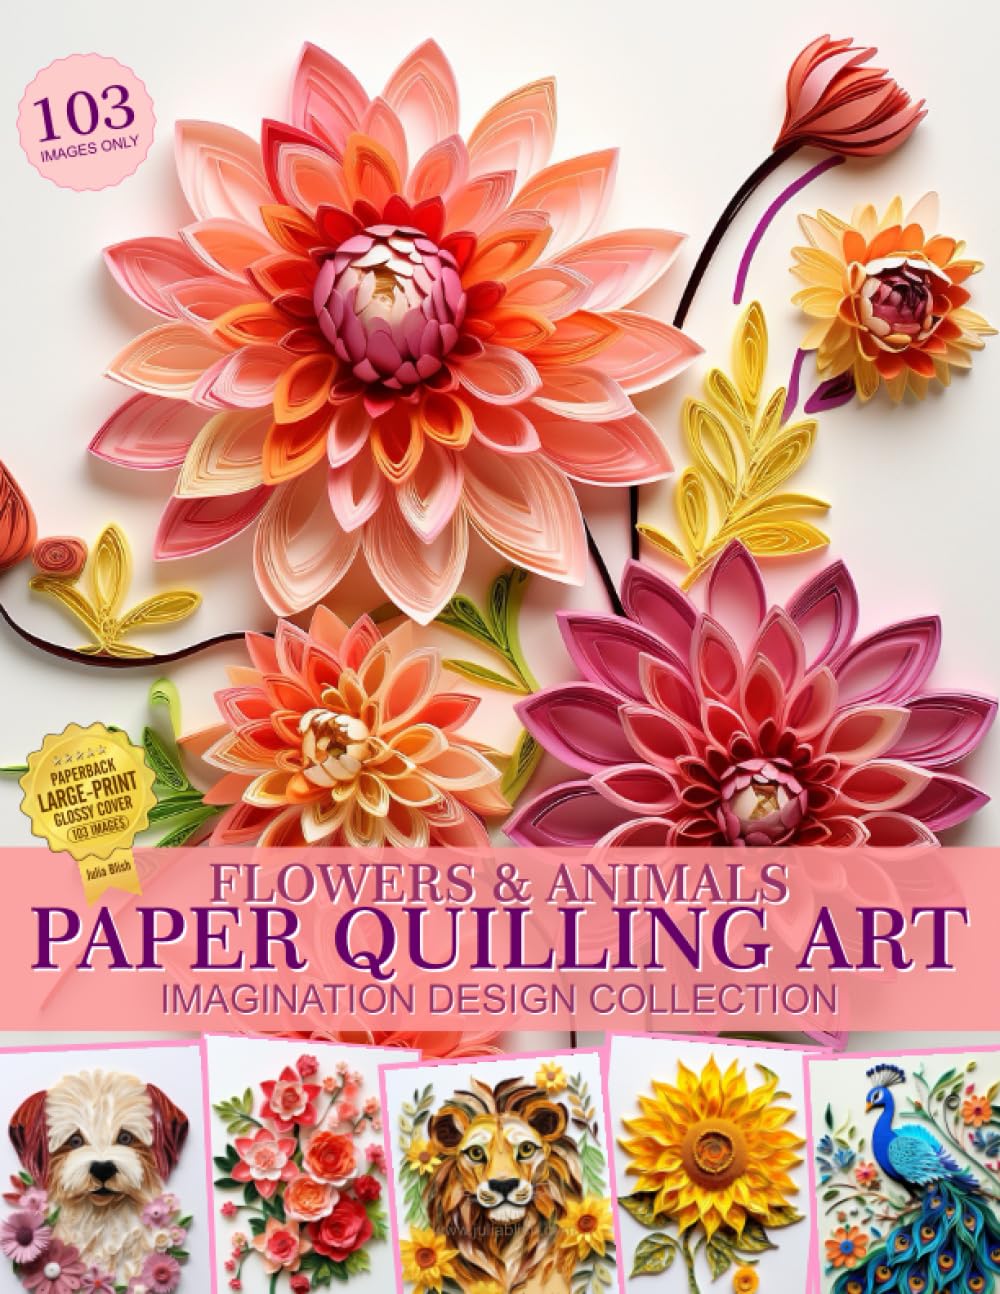
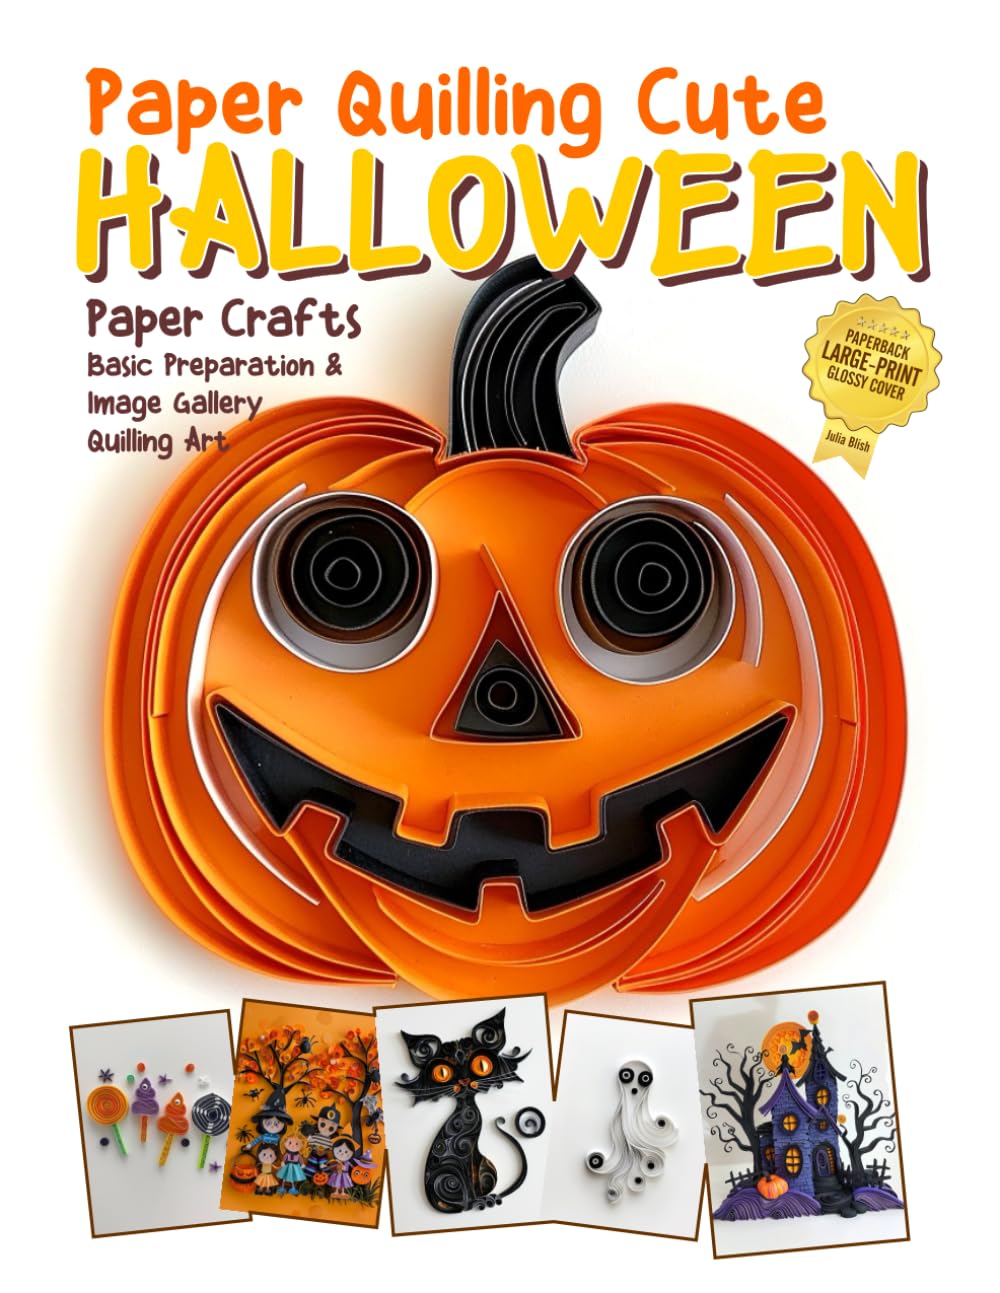
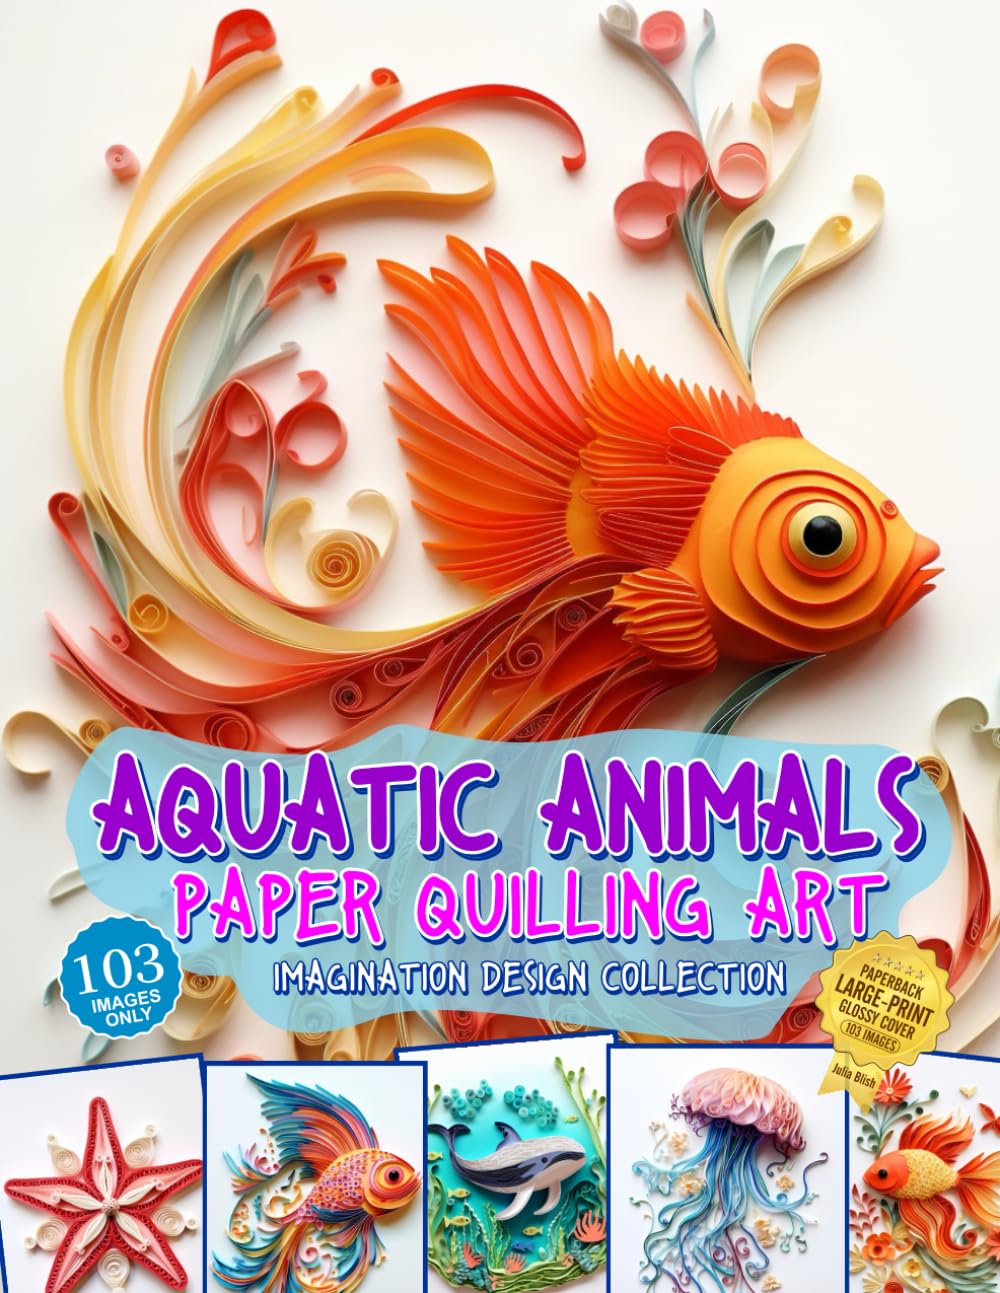
Paper quilling has quietly become one of the most satisfying hobbies for crafters who love detail, color, and a bit of meditative repetition. All you need is a few strips of paper, a slotted tool, and some glue to start rolling your way into an entire world of coils, scrolls, and shapes. Whether you're brand new to quilling or looking to refresh your skills, this guide offers practical tips and fresh ideas to inspire your next project.
Getting Started: Tools and Materials
One of the best things about quilling is how affordable it is to begin. You don't need a studio full of supplies—just the basics done well.
- A slotted quilling tool (or a simple needle tool if you prefer more control)
- Precut quilling paper strips in various widths, typically 1/8 inch to 1/4 inch
- A good craft glue with a fine-tip applicator
- A quilling board with circle templates to keep your coils consistent
- Tweezers for placing tiny pieces precisely
- A corkboard or foam mat with pins for shaping larger designs
If you're just starting out, buy a beginner kit that includes assorted paper colors and a basic tool. This lets you experiment without committing to a large supply order before you know which techniques you enjoy most.
Mastering the Basic Shapes
Quilling is built on a small library of foundational shapes that combine to create endless designs. Practice these first:
- Tight coil: rolled and glued immediately without loosening
- Loose coil: rolled, released slightly, then glued at the end
- Teardrop: a loose coil pinched to a point on one side
- Marquise: a loose coil pinched on both ends
- Square and triangle shapes: created by pinching a loose coil at multiple points
Spend time simply making these shapes with scrap paper before attaching them to a project. Consistency comes from practice, and even experienced quillers keep a scrap pile going for warm-up rolls.
Tips for Cleaner, More Professional Results
Small adjustments in technique can make a big visual difference in your finished pieces.
- Roll paper strips evenly and avoid pulling too tight, which can crease the paper
- Let coils rest for a few seconds before gluing so they hold their shape naturally
- Use a toothpick or fine applicator tip to place glue precisely, avoiding smudges
- Work on a non-stick craft mat so pieces release cleanly without tearing
- Store finished coils in a shallow box divided by shape or color to stay organized
Patience truly is the secret ingredient in quilling. Rushing the glue-drying process is the most common reason pieces end up misshapen or loose over time.
Project Ideas to Spark Your Creativity
Once you're comfortable with the basics, it's fun to branch into projects that showcase your growing skills.
- Greeting cards featuring quilled flowers, hearts, or seasonal motifs
- Framed wall art using layered coils to create depth and texture
- Quilled jewelry, like earrings or pendants sealed with resin
- Ornaments for holidays or gift tags with tiny quilled accents
- Nature-inspired scenes, such as birds, butterflies, or trees with swirling branches
Greeting cards are a wonderful place to start because they're small, forgiving, and quick to finish, giving you a confidence boost before tackling larger art pieces.
Making Quilling a Lasting Hobby
To keep your enthusiasm alive, set small, achievable goals: one new shape a week, one finished card a month, or a themed project for each season. Joining online quilling communities or local craft groups can also provide inspiration and troubleshooting support when a design isn't working the way you imagined.
Above all, remember that quilling rewards patience and playfulness in equal measure. Don't be afraid to experiment with unconventional paper colors, mix shapes in unexpected ways, or scale up to bold, sculptural designs once you feel ready. With a rolling tool in hand and a little curiosity, this humble craft can turn into a lifelong creative outlet.