If you've ever admired those delicate coiled paper designs on greeting cards or framed wall art and wondered how they're made, you've discovered the wonderful world of paper quilling. This centuries-old craft uses thin strips of paper rolled, shaped, and glued into beautiful patterns, and it's one of the most affordable and portable hobbies you can pick up in 2026. Whether you're brand new to quilling or looking to refine your skills, here are my favorite tips and ideas to help you create stunning quilled art.
Getting Started: The Essential Tools
You don't need a big investment to begin quilling. A few basics will take you far:
- A slotted or needle quilling tool for rolling coils
- Quilling paper strips in various widths (1/8 inch is great for beginners)
- A glue pen or thin-tipped white glue for precise application
- A corkboard with pins to shape and hold your designs while they dry
- A circle sizer template or ruler to keep coils consistent
Start with a basic kit rather than buying every tool at once. As you grow more confident, you'll discover which specialty tools—like a crimping tool or fringing scissors—suit your personal style.
Master the Basic Shapes First
Every intricate quilled masterpiece begins with a handful of foundational shapes: the tight coil, loose coil, teardrop, marquise, and heart shape. Spend your first few practice sessions simply rolling paper and getting comfortable with tension. Too loose, and your coils will be sloppy; too tight, and they'll lack that lovely organic curve. Practicing on scrap paper before committing to a project saves both paper and frustration.
Tips for Cleaner, More Professional Results
- Always let glue dry completely before moving a shape, even if it looks set
- Use tweezers for tiny or delicate pieces to avoid fingerprints and smudges
- Keep a damp cloth nearby to wipe excess glue off your fingertips as you work
- Work in good lighting—quilling involves a lot of fine detail, and eye strain sneaks up fast
- Store finished pieces in a shallow box lined with tissue paper to protect the delicate curls from being crushed
Fresh Ideas to Inspire Your Next Project
Once you've got the basics down, the creative possibilities are nearly endless. Here are a few ideas to spark your next quilling session:
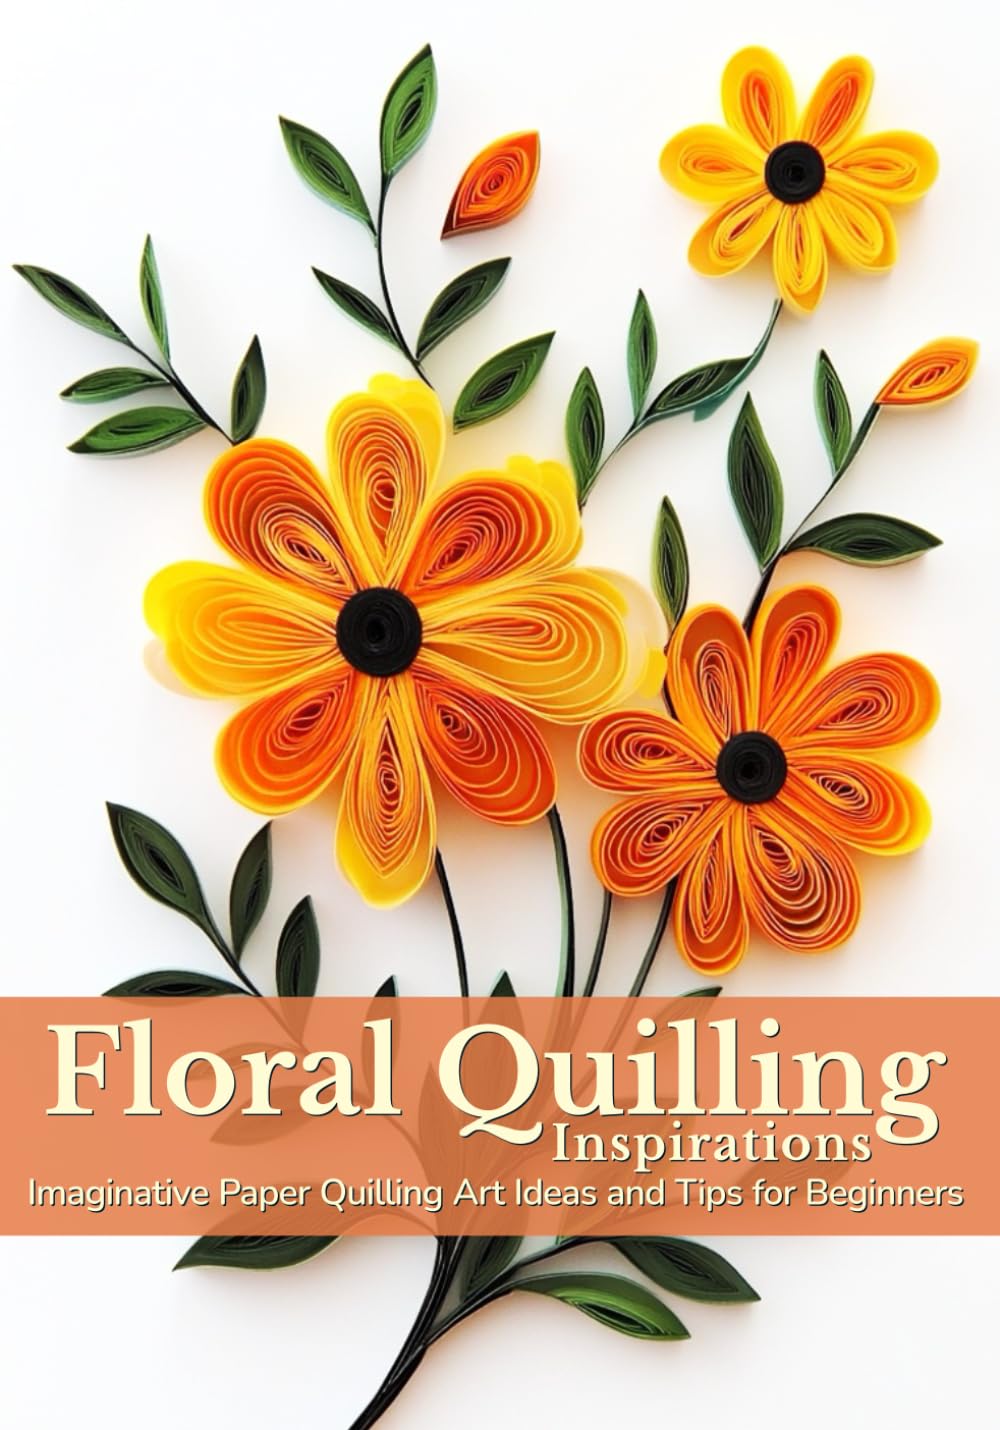
- Botanical wall art: Quilled flowers, leaves, and vines make gorgeous framed pieces for any room
- Personalized greeting cards: Birthday, wedding, and holiday cards feel extra special with a hand-quilled monogram or motif
- 3D ornaments: Try quilling snowflakes, hearts, or tiny wreaths to hang on a tree or gift tag
- Quilled jewelry: Seal small quilled shapes with resin to create lightweight earrings or pendants
- Nursery decor: Soft pastel quilled animals or letters make sweet, budget-friendly nursery art
Troubleshooting Common Frustrations
New quillers often struggle with coils popping loose or paper strips fraying at the edges. If your coils keep unrolling, add a tiny drop of glue at the very end of the strip before releasing it from the tool. For fraying, try cutting your strips with a sharp paper trimmer rather than scissors, and store your paper strips flat to prevent creasing.
Make It a Regular Practice
Like any hobby, quilling rewards consistency. Even fifteen minutes a day rolling coils while listening to a podcast can steadily build your skill and muscle memory. Many quillers find the repetitive motion wonderfully calming—it's become a favorite stress-relief activity for crafters of all ages.
Paper quilling is proof that beautiful art doesn't require expensive supplies or a large studio—just a little paper, a little patience, and a willingness to experiment. Grab a few strips, roll your first coil, and see where this delightful hobby takes you.