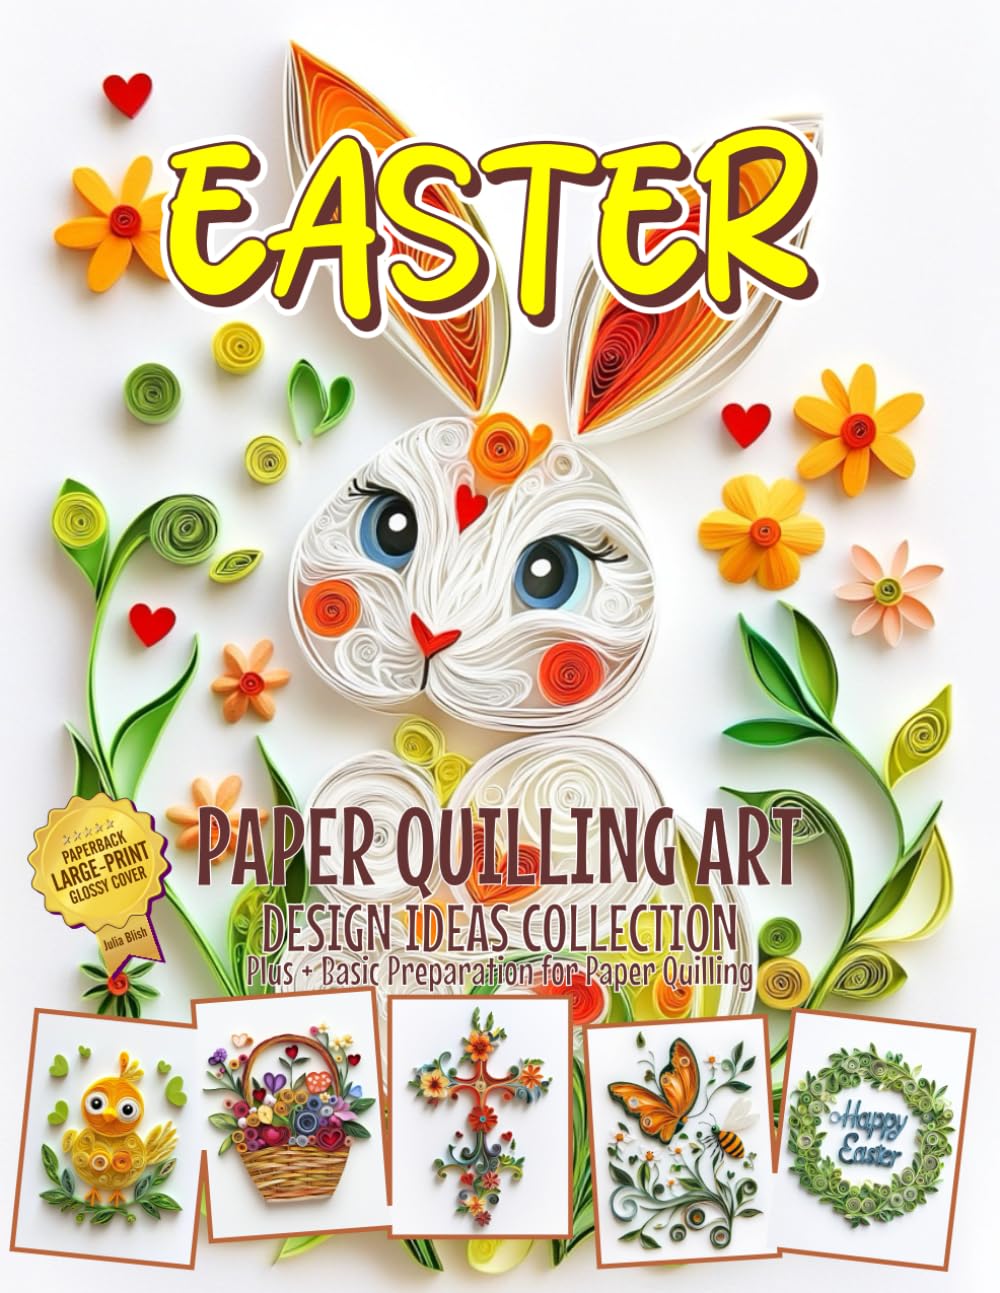
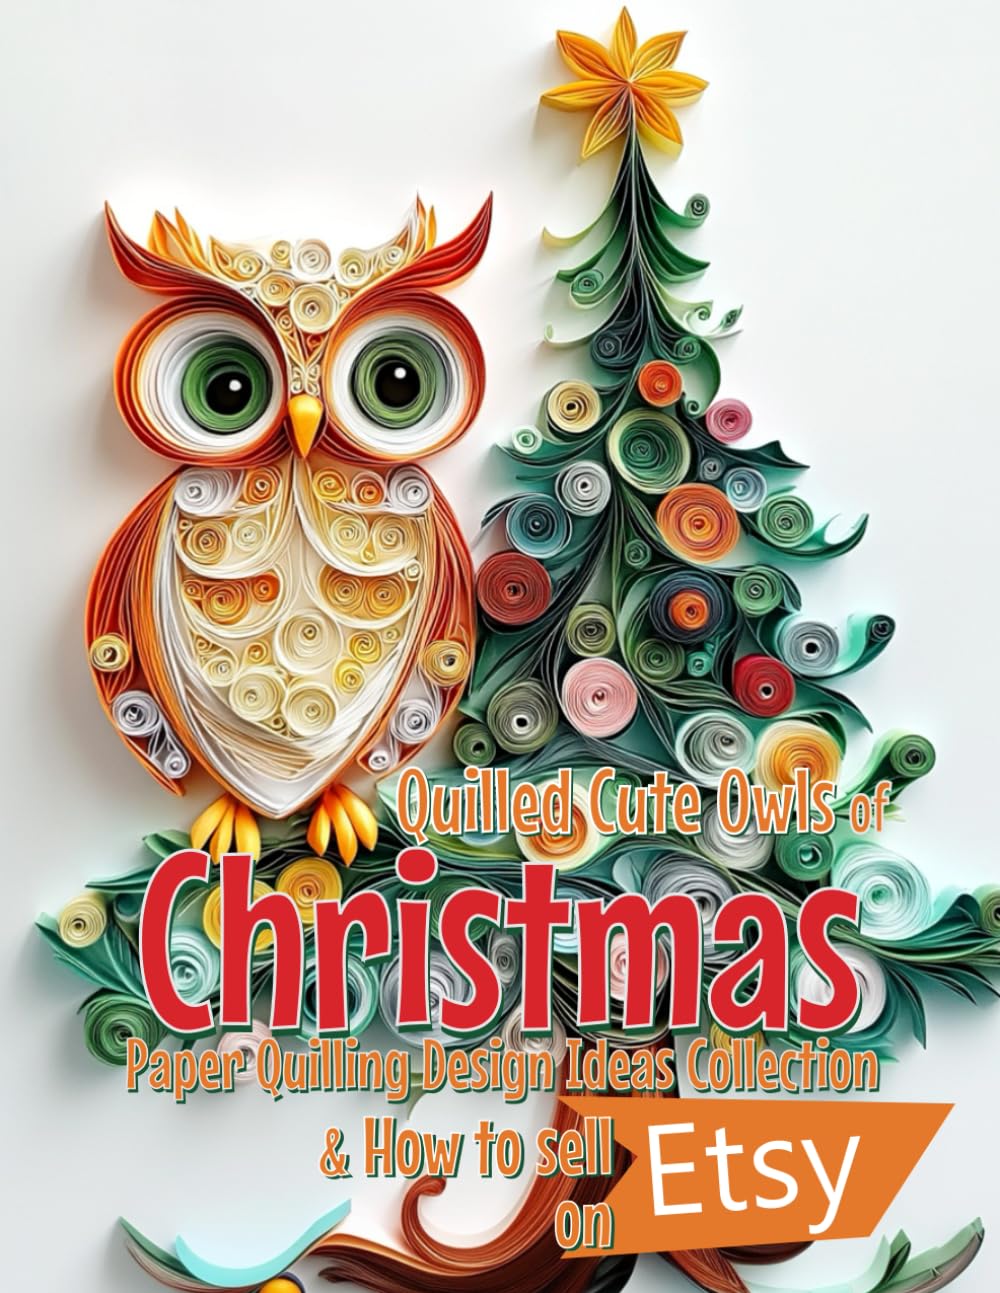
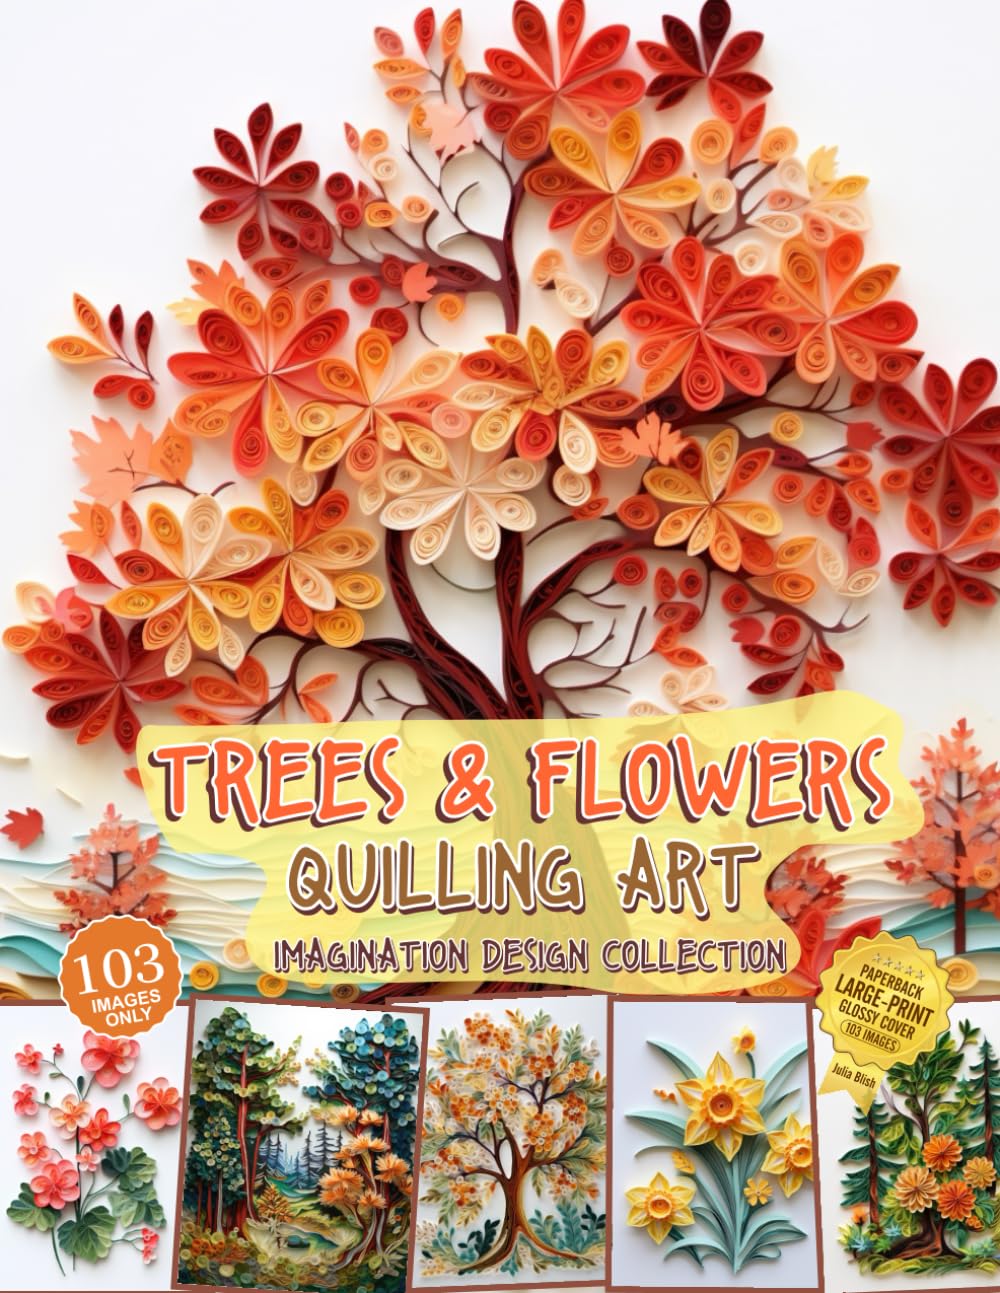
If you've ever admired those delicate coiled paper designs on greeting cards or framed wall art, you've seen paper quilling in action. This gentle, meditative craft has been quietly gaining popularity in 2026 as more people look for hobbies that slow them down and let them create something beautiful with their hands. Whether you're brand new to quilling or looking to refine your skills, here are my favorite tips and ideas to keep your paper strips curling in the right direction.
Why Paper Quilling Makes a Wonderful Hobby
Quilling is inexpensive to start, endlessly customizable, and surprisingly relaxing. All you really need is paper strips, a slotted tool, glue, and a little patience. It's portable enough to take on trips, quiet enough to do while watching TV, and rewarding enough that even your first wobbly coils will feel like an accomplishment.
Getting Your Tools and Supplies Right
Before diving into intricate designs, make sure you have the basics covered. A good starter kit should include:
- A slotted quilling tool (or a needle tool for tighter coils)
- Quilling paper strips in various widths, typically 1/8 inch to 1/4 inch
- Quick-drying craft glue with a fine-tip applicator
- A corkboard or quilling board with circle guides
- Tweezers for precise placement
- A pair of sharp, small scissors
Investing in a quilling board with graduated circle templates early on will save you a lot of frustration when trying to make matching shapes for symmetrical designs.
Mastering the Basic Shapes
Every quilling project, from simple flowers to elaborate mandalas, is built from just a handful of foundational shapes. Practice these until they feel natural:
- Tight coils — the building block for centers and dots
- Loose coils — versatile shapes used in flowers and leaves
- Teardrops — perfect for petals
- Marquise (eye shapes) — great for leaves and accents
- Scrolls and S-shapes — ideal for borders and decorative flourishes
Once these shapes feel comfortable, you'll be surprised how quickly you can combine them into flowers, animals, and abstract art.
Tips for Cleaner, More Professional Results
Small adjustments in technique can make a big visual difference. Try these tried-and-true tips:
- Let coils relax slightly before gluing so they don't spring open later
- Use a toothpick to apply glue in tiny, controlled dots
- Work on a non-stick craft mat to avoid accidental sticking
- Keep a damp cloth nearby to wipe glue off your fingers between shapes
- Store finished pieces in a shallow box to prevent crushing
Patience really is the secret ingredient here — rushing glue application is the most common cause of messy, uneven pieces.
Project Ideas to Spark Your Creativity
Once you've got the fundamentals down, it's time to have fun. Some popular quilling projects for this year include:
- Personalized greeting cards for birthdays and holidays
- Framed floral wall art for home décor
- Quilled monograms and nameplates for nurseries
- Earrings and jewelry made from sealed, lightweight coils
- Seasonal ornaments, like snowflakes or autumn leaves
- 3D quilled boxes or vases for functional art
Starting with small, low-pressure projects like bookmarks or gift tags is a great way to build confidence before tackling larger wall art pieces.
Finding Inspiration and Community
Paper quilling communities online are thriving, and joining a local craft group or online forum can help you stay motivated. Following other quillers on social media, browsing craft books dedicated to quilling patterns, and setting small weekly goals will keep your enthusiasm high. Many hobbyists find that dedicating even fifteen minutes a day to quilling adds up to impressive results within just a few weeks.
Paper quilling is proof that beautiful art doesn't require expensive tools or a big studio — just paper, glue, and a little imagination. Pick up a few strips today, and see where your coils take you.