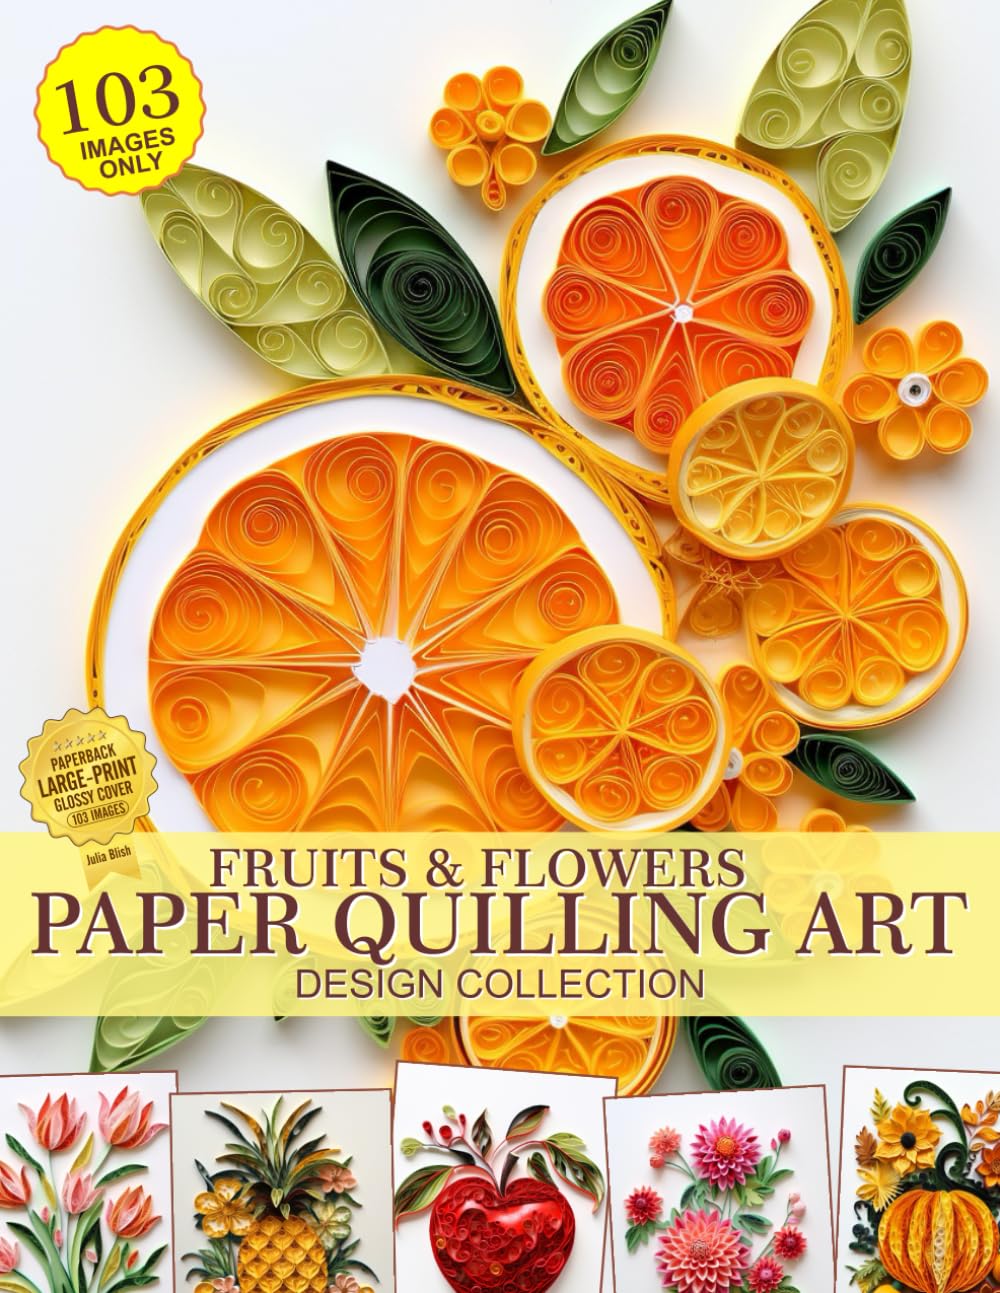
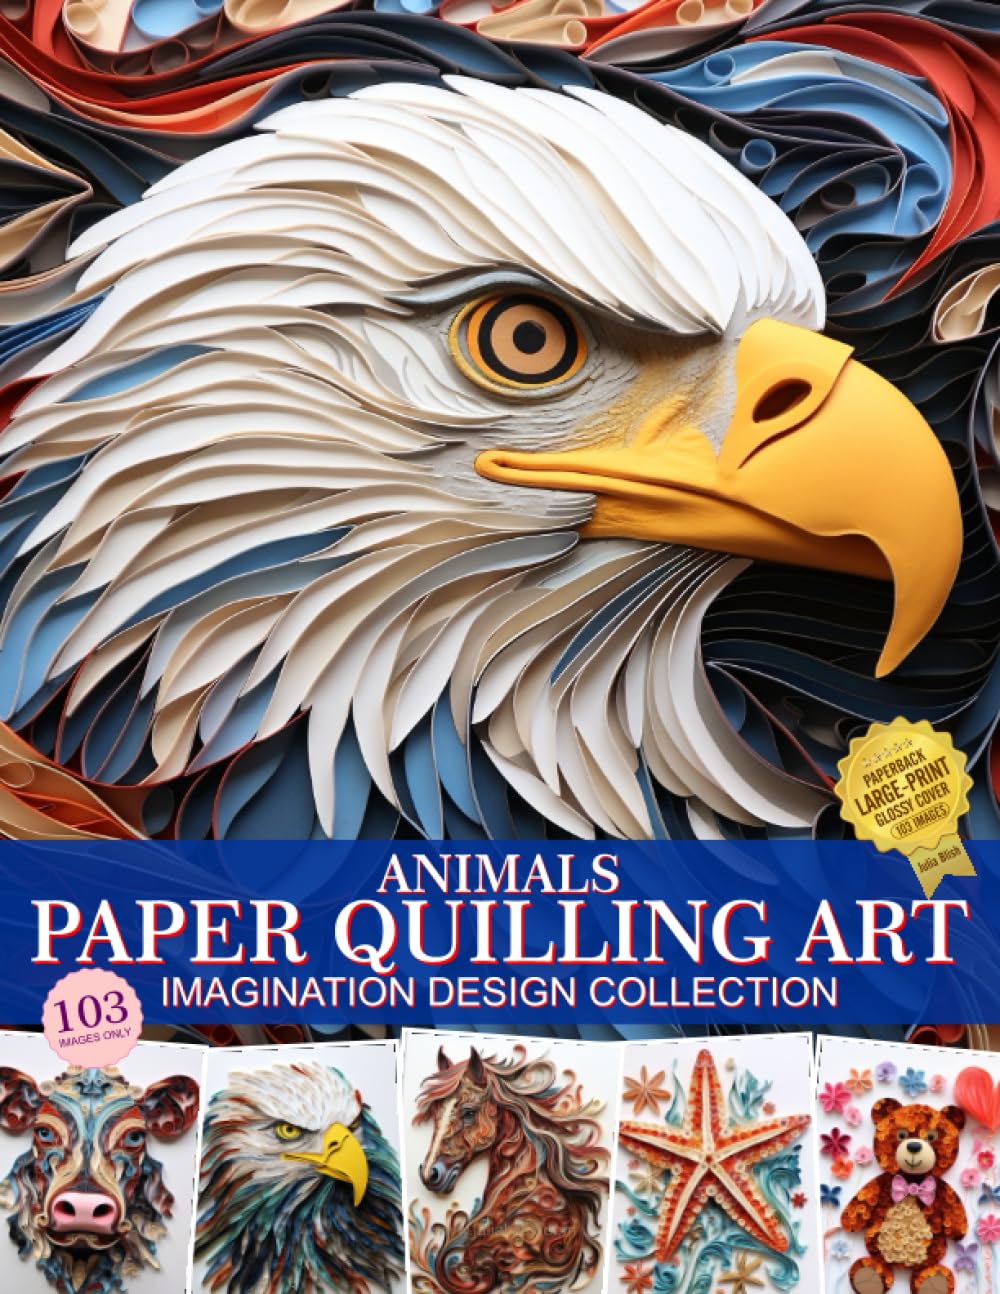
If you've ever admired the graceful loops of paper quilling and the dreamy translucency of watercolor painting, you're not alone. These two crafts might seem worlds apart, but when combined, they create art that feels both textured and painterly at once. In 2026, more crafters are discovering this hybrid technique, and it's easy to see why—watercolor backgrounds give quilled pieces a soft, atmospheric backdrop, while quilling adds a tactile, three-dimensional pop that flat paintings simply can't achieve.
Why These Two Crafts Work So Well Together
Watercolor painting is all about flow, transparency, and gentle gradients. Paper quilling, on the other hand, is precise, structural, and dimensional. When you place delicate quilled shapes—like tight coils, teardrops, or scrolls—on top of a softly painted watercolor background, the contrast creates visual depth. The watercolor sets the mood (think sunset skies, ocean waves, or garden scenes), while the quilling adds focal points such as flowers, birds, or trees that literally rise off the page.
Getting Started: Materials You'll Need
- Watercolor paper (cold press works best for both painting and mounting quilled pieces)
- A basic watercolor palette with a few blending brushes
- Quilling paper strips in coordinating colors
- A slotted quilling tool and quilling adhesive
- A pencil for sketching your composition lightly before painting
Choosing watercolor paper as your base is essential—it needs to hold up to both wet paint and the glue used in quilling without warping too much. Cold press paper has just enough texture to grip your quilled pieces securely once dry.
Step-by-Step: Combining the Techniques
Start by lightly sketching your composition. Decide which elements will be painted and which will be quilled. A common approach is to paint the background—sky, water, grass, or an abstract wash—and reserve the foreground details for quilling.
Once your watercolor sections are completely dry (patience is key here!), begin building your quilled elements separately on a work surface. Coil flowers, leaves, or geometric shapes according to your design. Let the glue set fully before transferring them to your painted background.
Use a strong craft glue or quilling adhesive to attach your paper shapes directly onto the dried watercolor surface. Press gently and hold for a few seconds to ensure a solid bond. Layer smaller quilled pieces on top of larger ones for added dimension, and don't be afraid to let some shapes overlap the edges of your painted areas for a more organic, integrated look.
Tips for Seamless Blending
- Match your quilling paper colors to your watercolor palette for cohesion, or use complementary colors for contrast and pop.
- Keep your watercolor washes light in areas where you plan to add quilled details, so the dimensional pieces stand out rather than compete with a busy background.
- Experiment with metallic or textured quilling paper against soft watercolor washes for an elegant, mixed-media effect.
- Allow adequate drying time between steps—rushing can cause warping or weak adhesion.
Project Ideas to Try
Botanical art is a natural starting point: paint a soft green or blue background, then quill vibrant flowers and leaves on top. Nursery art also lends itself beautifully to this technique, with pastel watercolor skies paired with quilled animals or balloons. For a more advanced project, try landscapes where painted mountains or trees serve as a base, and quilled birds, clouds, or flowers add fine detail.
Combining paper quilling and watercolor painting opens up a world of creative possibilities. It's a wonderful way to breathe new life into both crafts, and the results make stunning gifts, wall art, or even greeting cards. Give it a try this season—you might just find your new favorite way to create.